
Halloween Décor & Glittered Pumpkins
I love the Fall – and the awesome holidays that come with the cooling temperatures. Back in the day, my mother used to throw Halloween parties for the neighbourhood kids where we traipsed through cardboard mazes, stuck our fingers in bowls of witches’ eyeballs and monster brains, and of course there was the food. My dad worked a lot, so having him come home early to help us carve the pumpkin was always really special – and family pumpkin carving is a ritual my husband and I continue with our boys.
I’m not ready to host the neighbourhood yet…but I have come across some pretty awesome food and décor ideas online that I can’t wait to try out in a year or two. Here are a few project ideas to check out if you’re planning a Halloween bash for your little ghouls this year – and one project I just couldn’t pass up trying (with my own spin of course!).
By: Ryan Lockhart
The internet is incredible – type in “Halloween décor” and you’re flooded with ideas. I’ve sorted through many and here are some of my favourites:
- I LOVE these themed recipe ideas from Today’s Parent. What kid could pass-up a Mummy Pizza Grilled Cheese?
- DIY & Crafts has some great décor ideas – I particularly love the black button “Boo pumpkin” and the Tin Can Luminaries
- Listotic had an adorable illuminated ghost garland that would look fantastic during the day and at night
- For all things classy, I always turn to Martha Stewart. Her gorgeous bat mobile and glittery pumpkins prompted a trip to the local craft store…as you will see below

My materials and special helper.
Materials:
- Small pumpkins with strong stems (I picked up three from Longo’s for $2 each)
- White craft glue (already owned)
- Paint brushes (already owned) – you will want two sizes. One larger to cover ground, the other for accuracy around the stem
- Fine glitter (I used the Martha Stewart Crafts brand – fire opal and brownstone ($17 each) and the store brand – Licorice ($2.50), both at Michael’s. NOTE: I found no difference in quality between the two.
- Wide bowls & spoons for each colour of glitter and a small one for the glue
- Newspaper or craft paper
- Water
- Scissors
- Black construction paper
Time: It took me about an hour for the three pumpkins
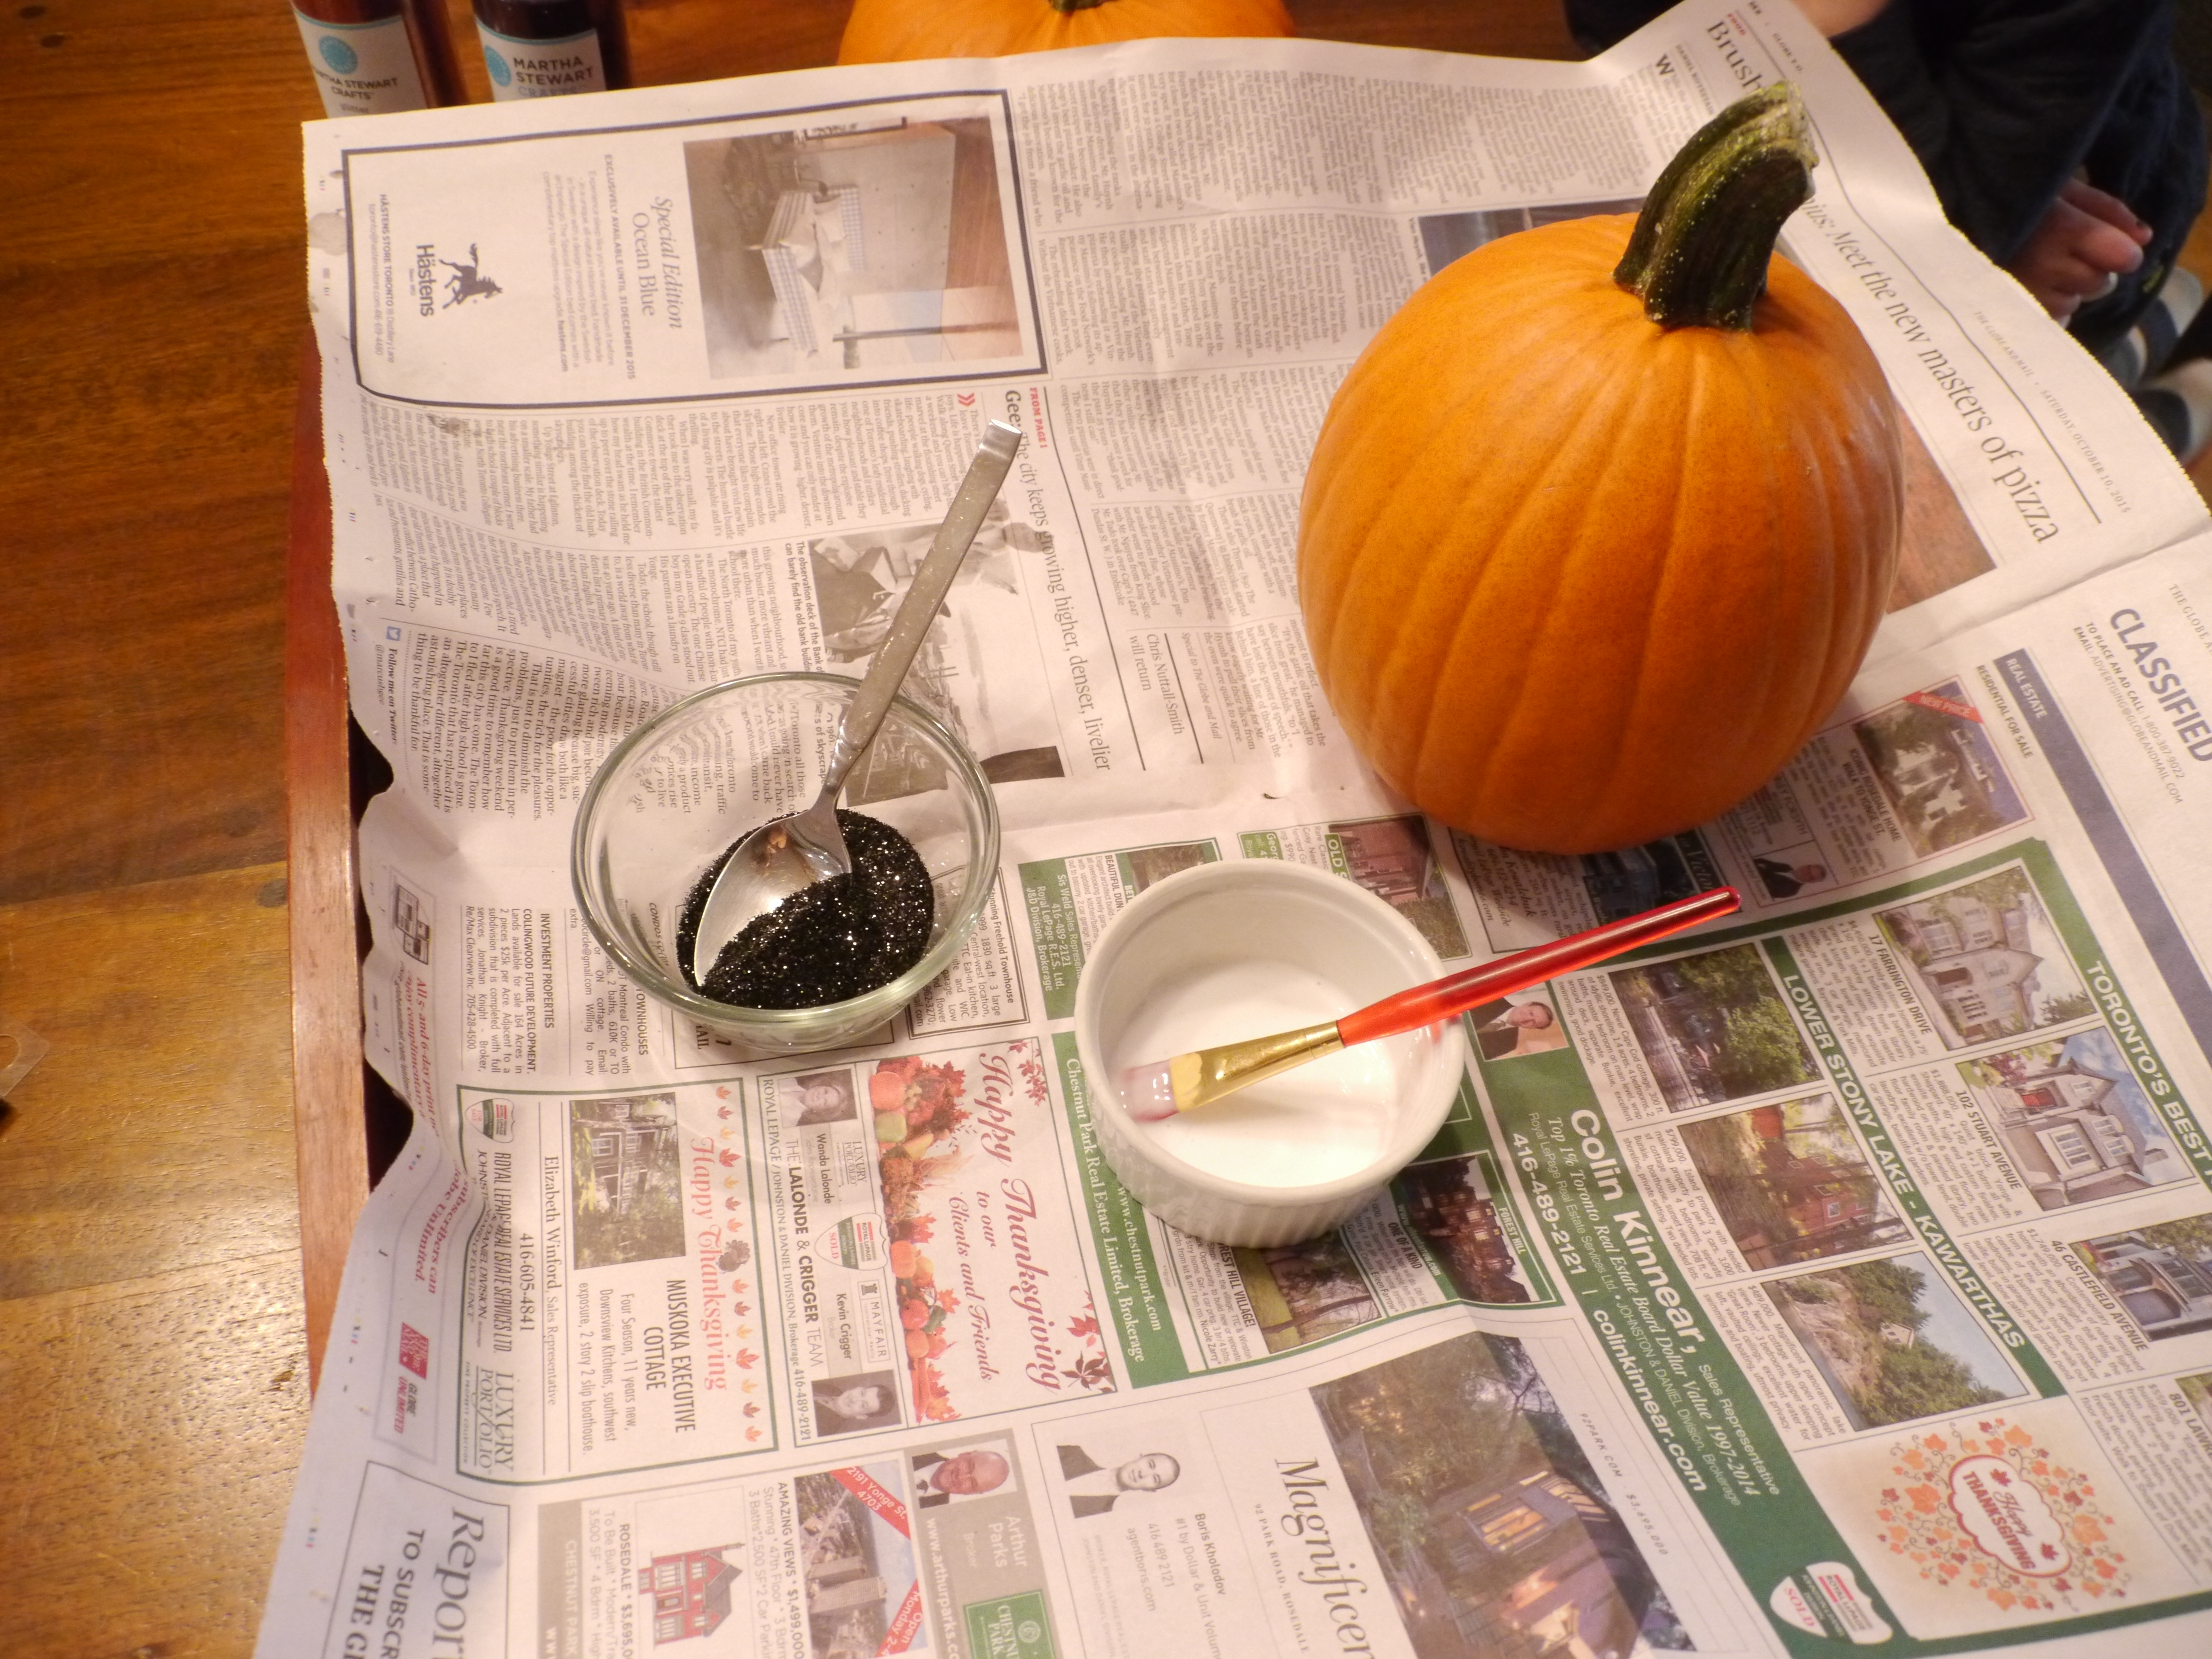
My set up. I found it really helpful to have a few layers of paper to help me manage the mess. I learned later that a wide bowl holding the sparkles made the job much easier.
Step 1: Lay out your materials and prepare your work station. A large piece of newspaper or craft paper will let you catch any fallen glitter and return it to your bowl.

I used a thin brush to paint glue around the pumpkin’s stem and let E do the rest.
Step 2: Paint your pumpkin with glue. I watered mine down a little so it wouldn’t dry too fast – it was my first time glittering and I wasn’t sure how it would go. I recommend you paint with a thinner brush around the stem and then use something bigger for the rest of the pumpkin. This is an awesome job for kids. You can also get fancy by painting stripes or designs on your pumpkin, mixing colours (I did this on my big orange pumpkin) or using two colours on one pumpkin.
Step 3: Hold your pumpkin over your bowl and spoon glitter over the pumpkin’s wet surface. This significantly cuts down on the mess as glitter falls back into the bowl. Martha recommends you paint and glue in sections but I found that you could see the lines and recommend that you try to do it in one go. The exception will be the bottom of the pumpkin.
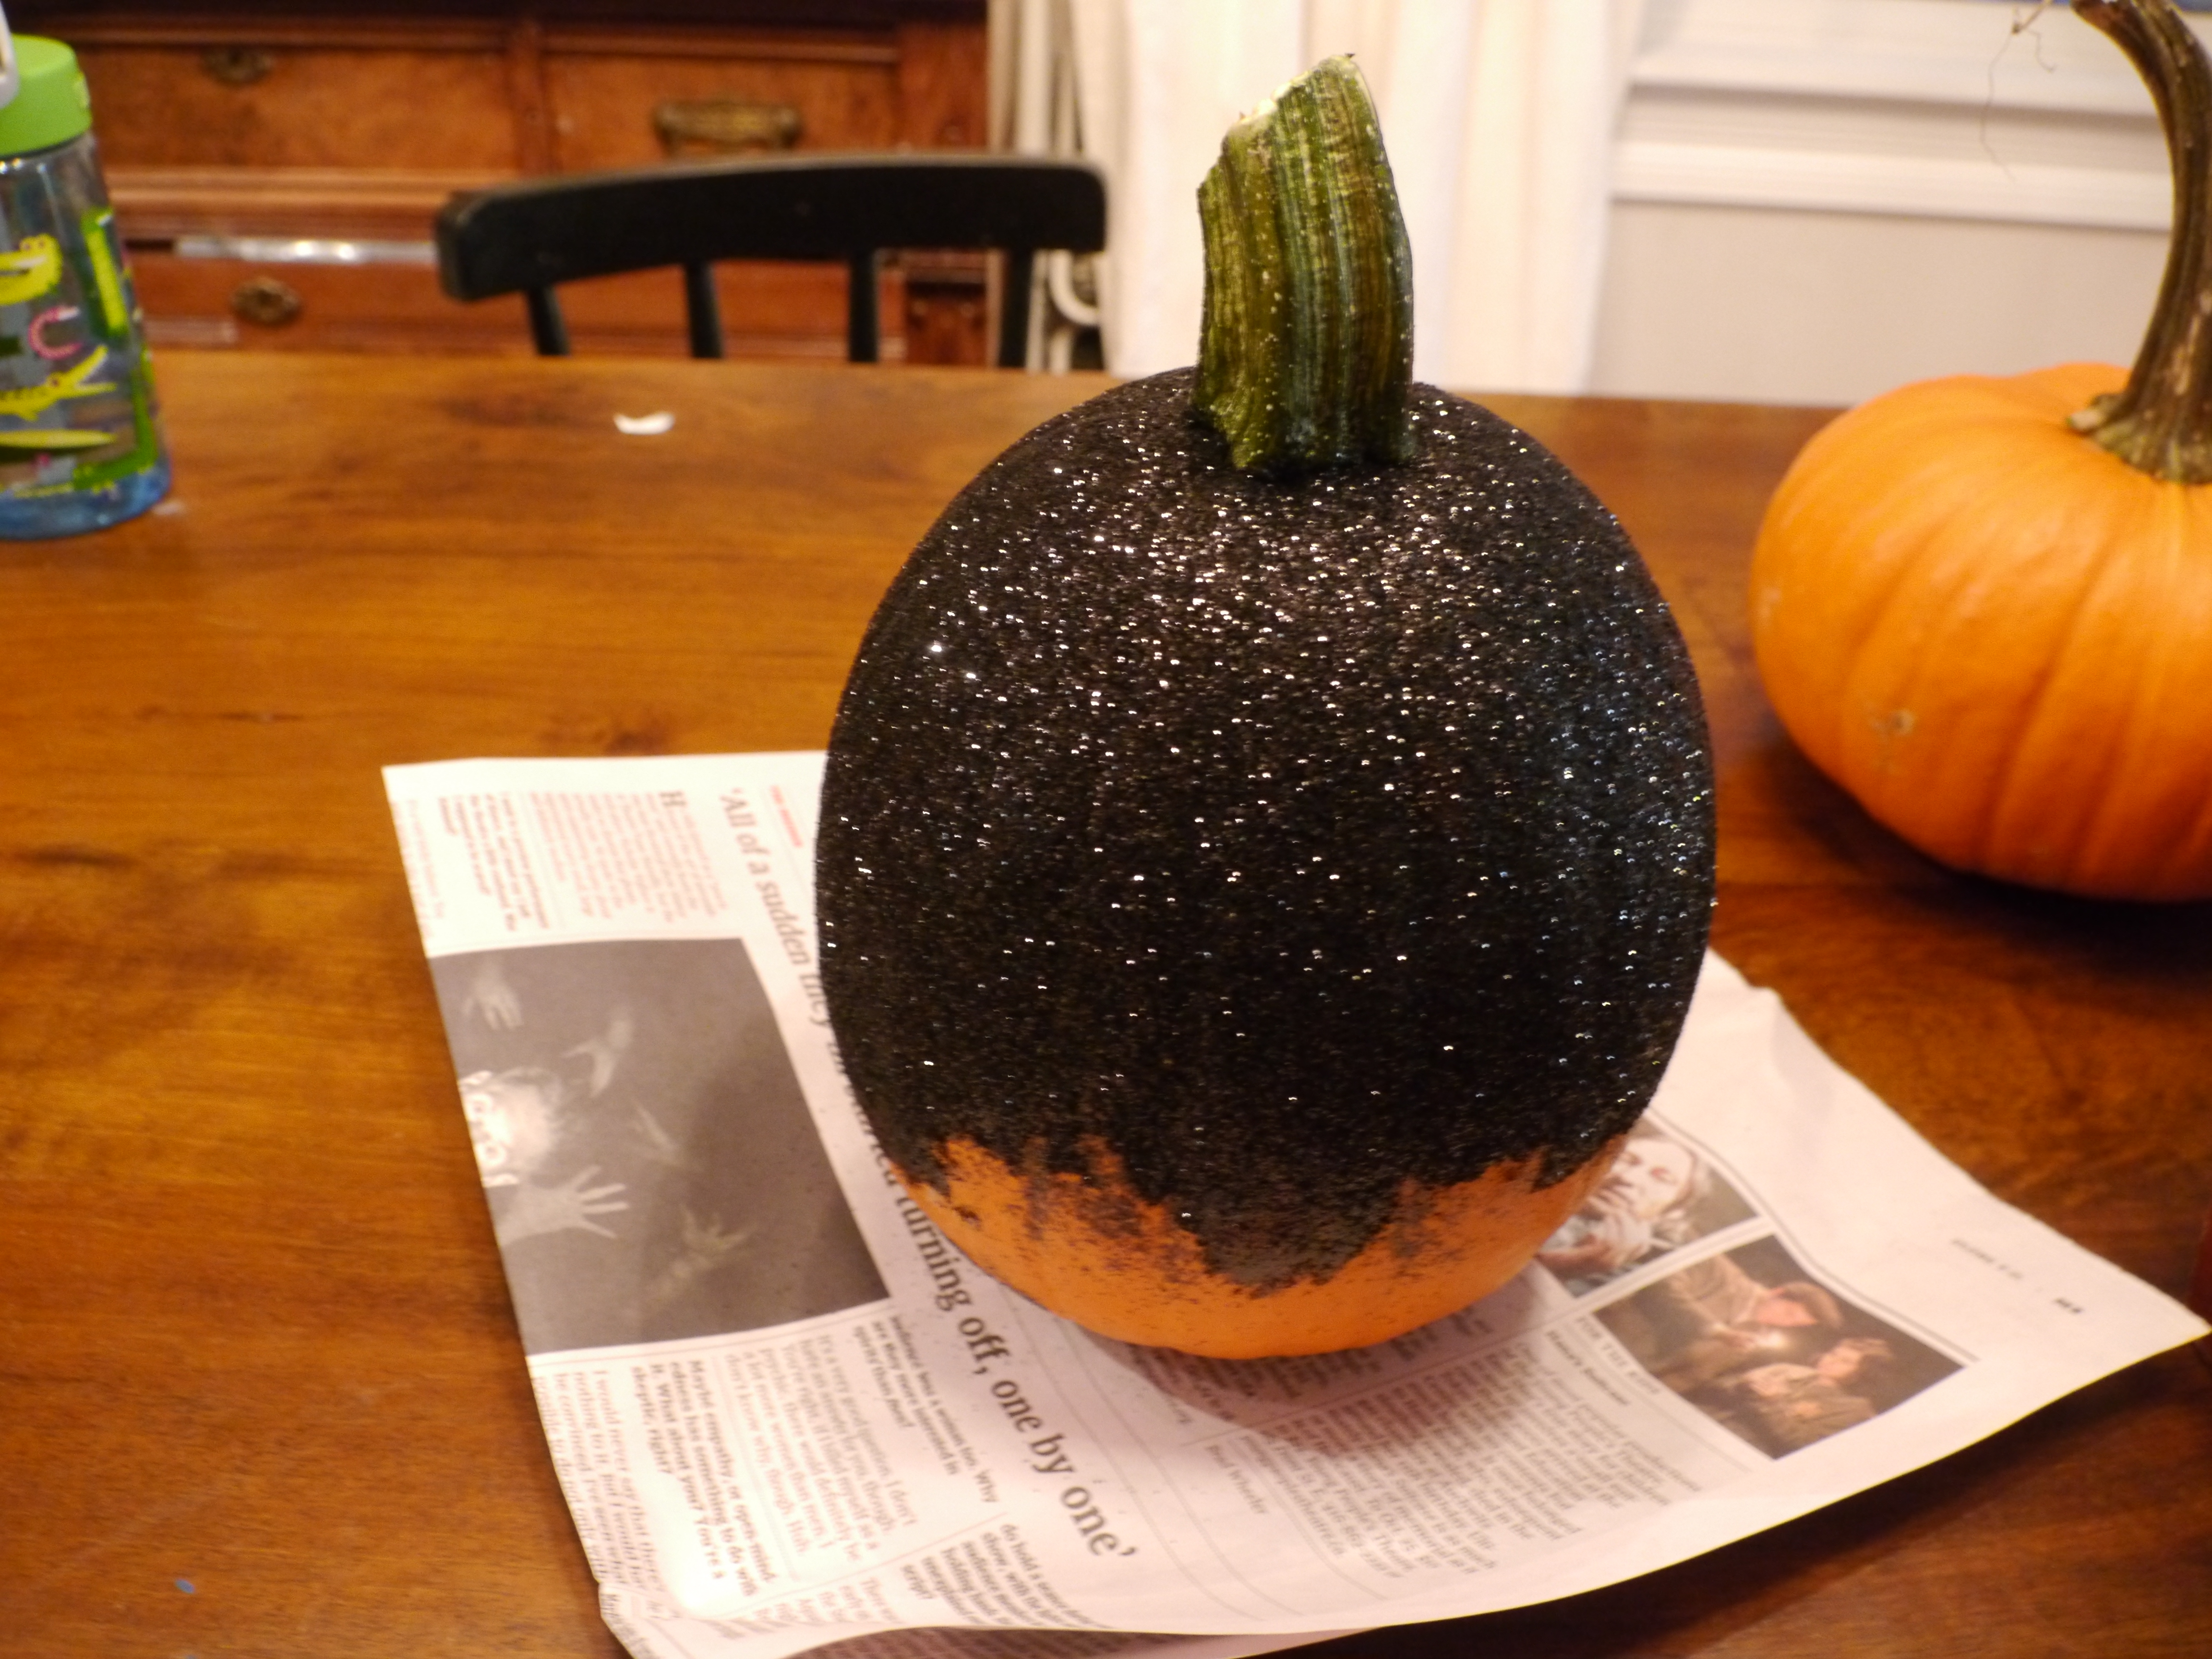
I let the glue dry and moved on to another pumpkin to keep the momentum going. This is when the multiple layers of newspaper on my work surface came in handy.
Step 4: Let the glue thoroughly dry.
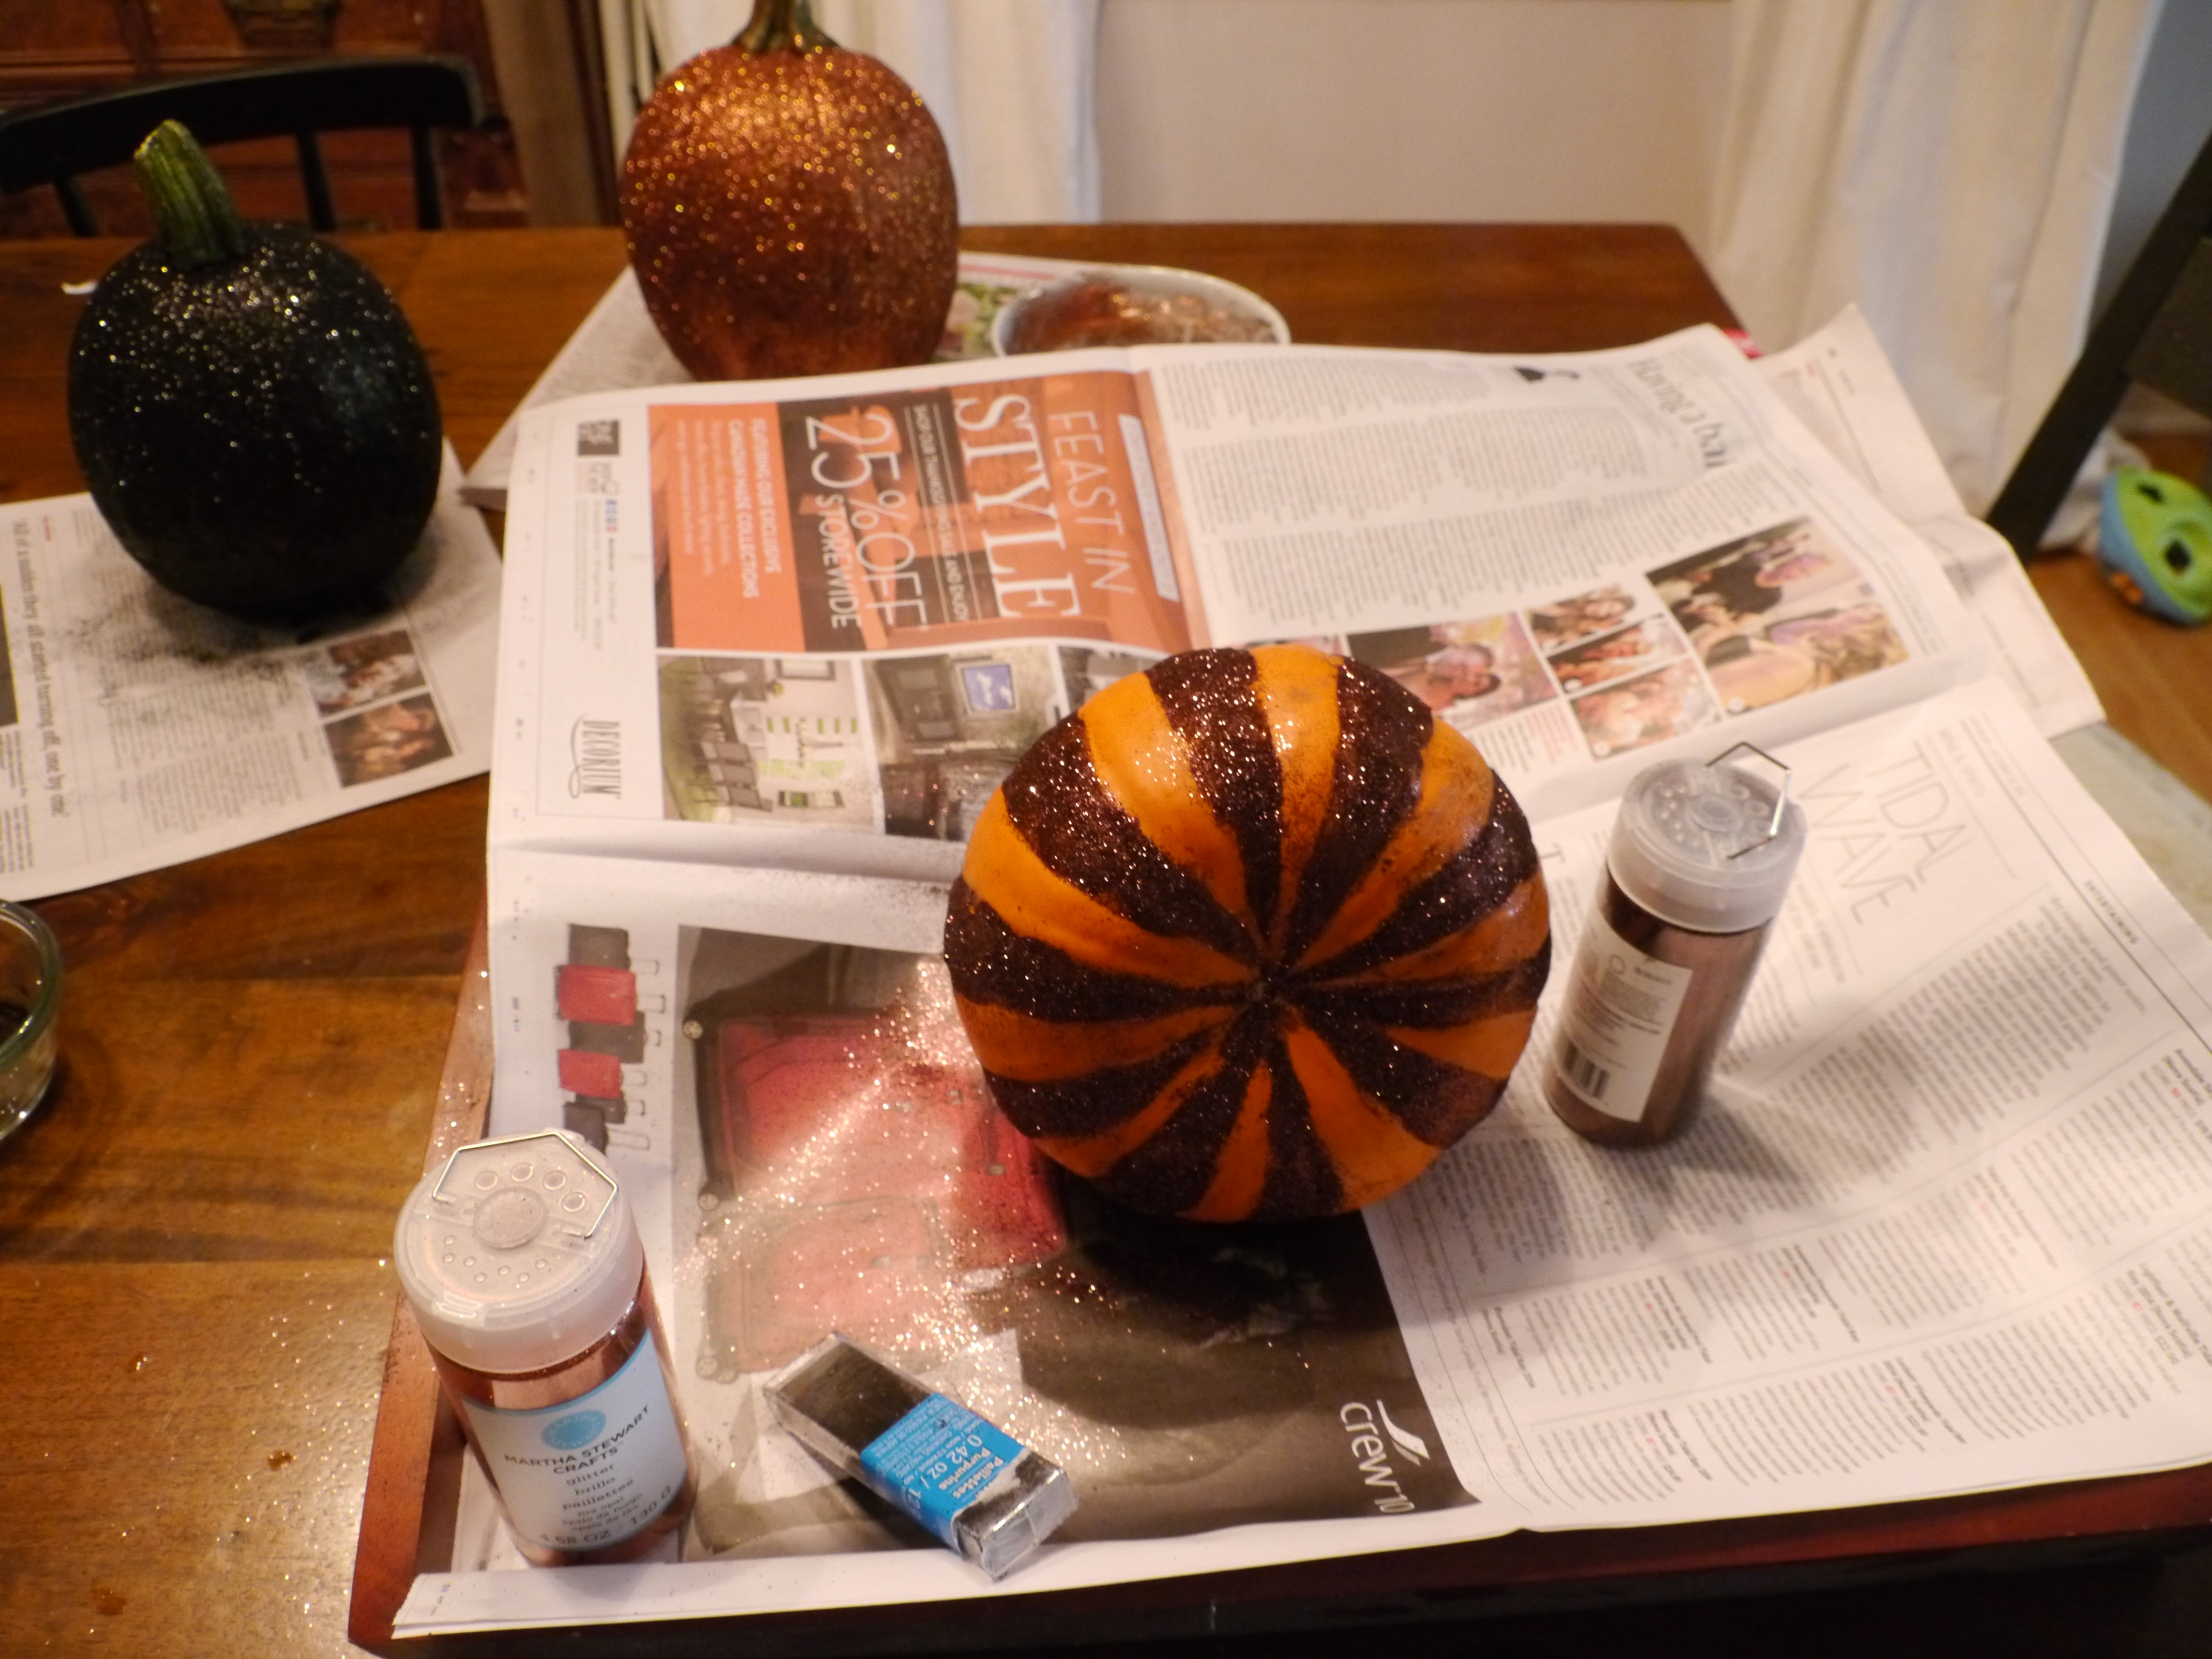
Finishing up my striped pumpkin. I made sure the glue was super dry on top before laying down my pumpkin.
Step 5: Finish any missed areas / spot correct as needed.
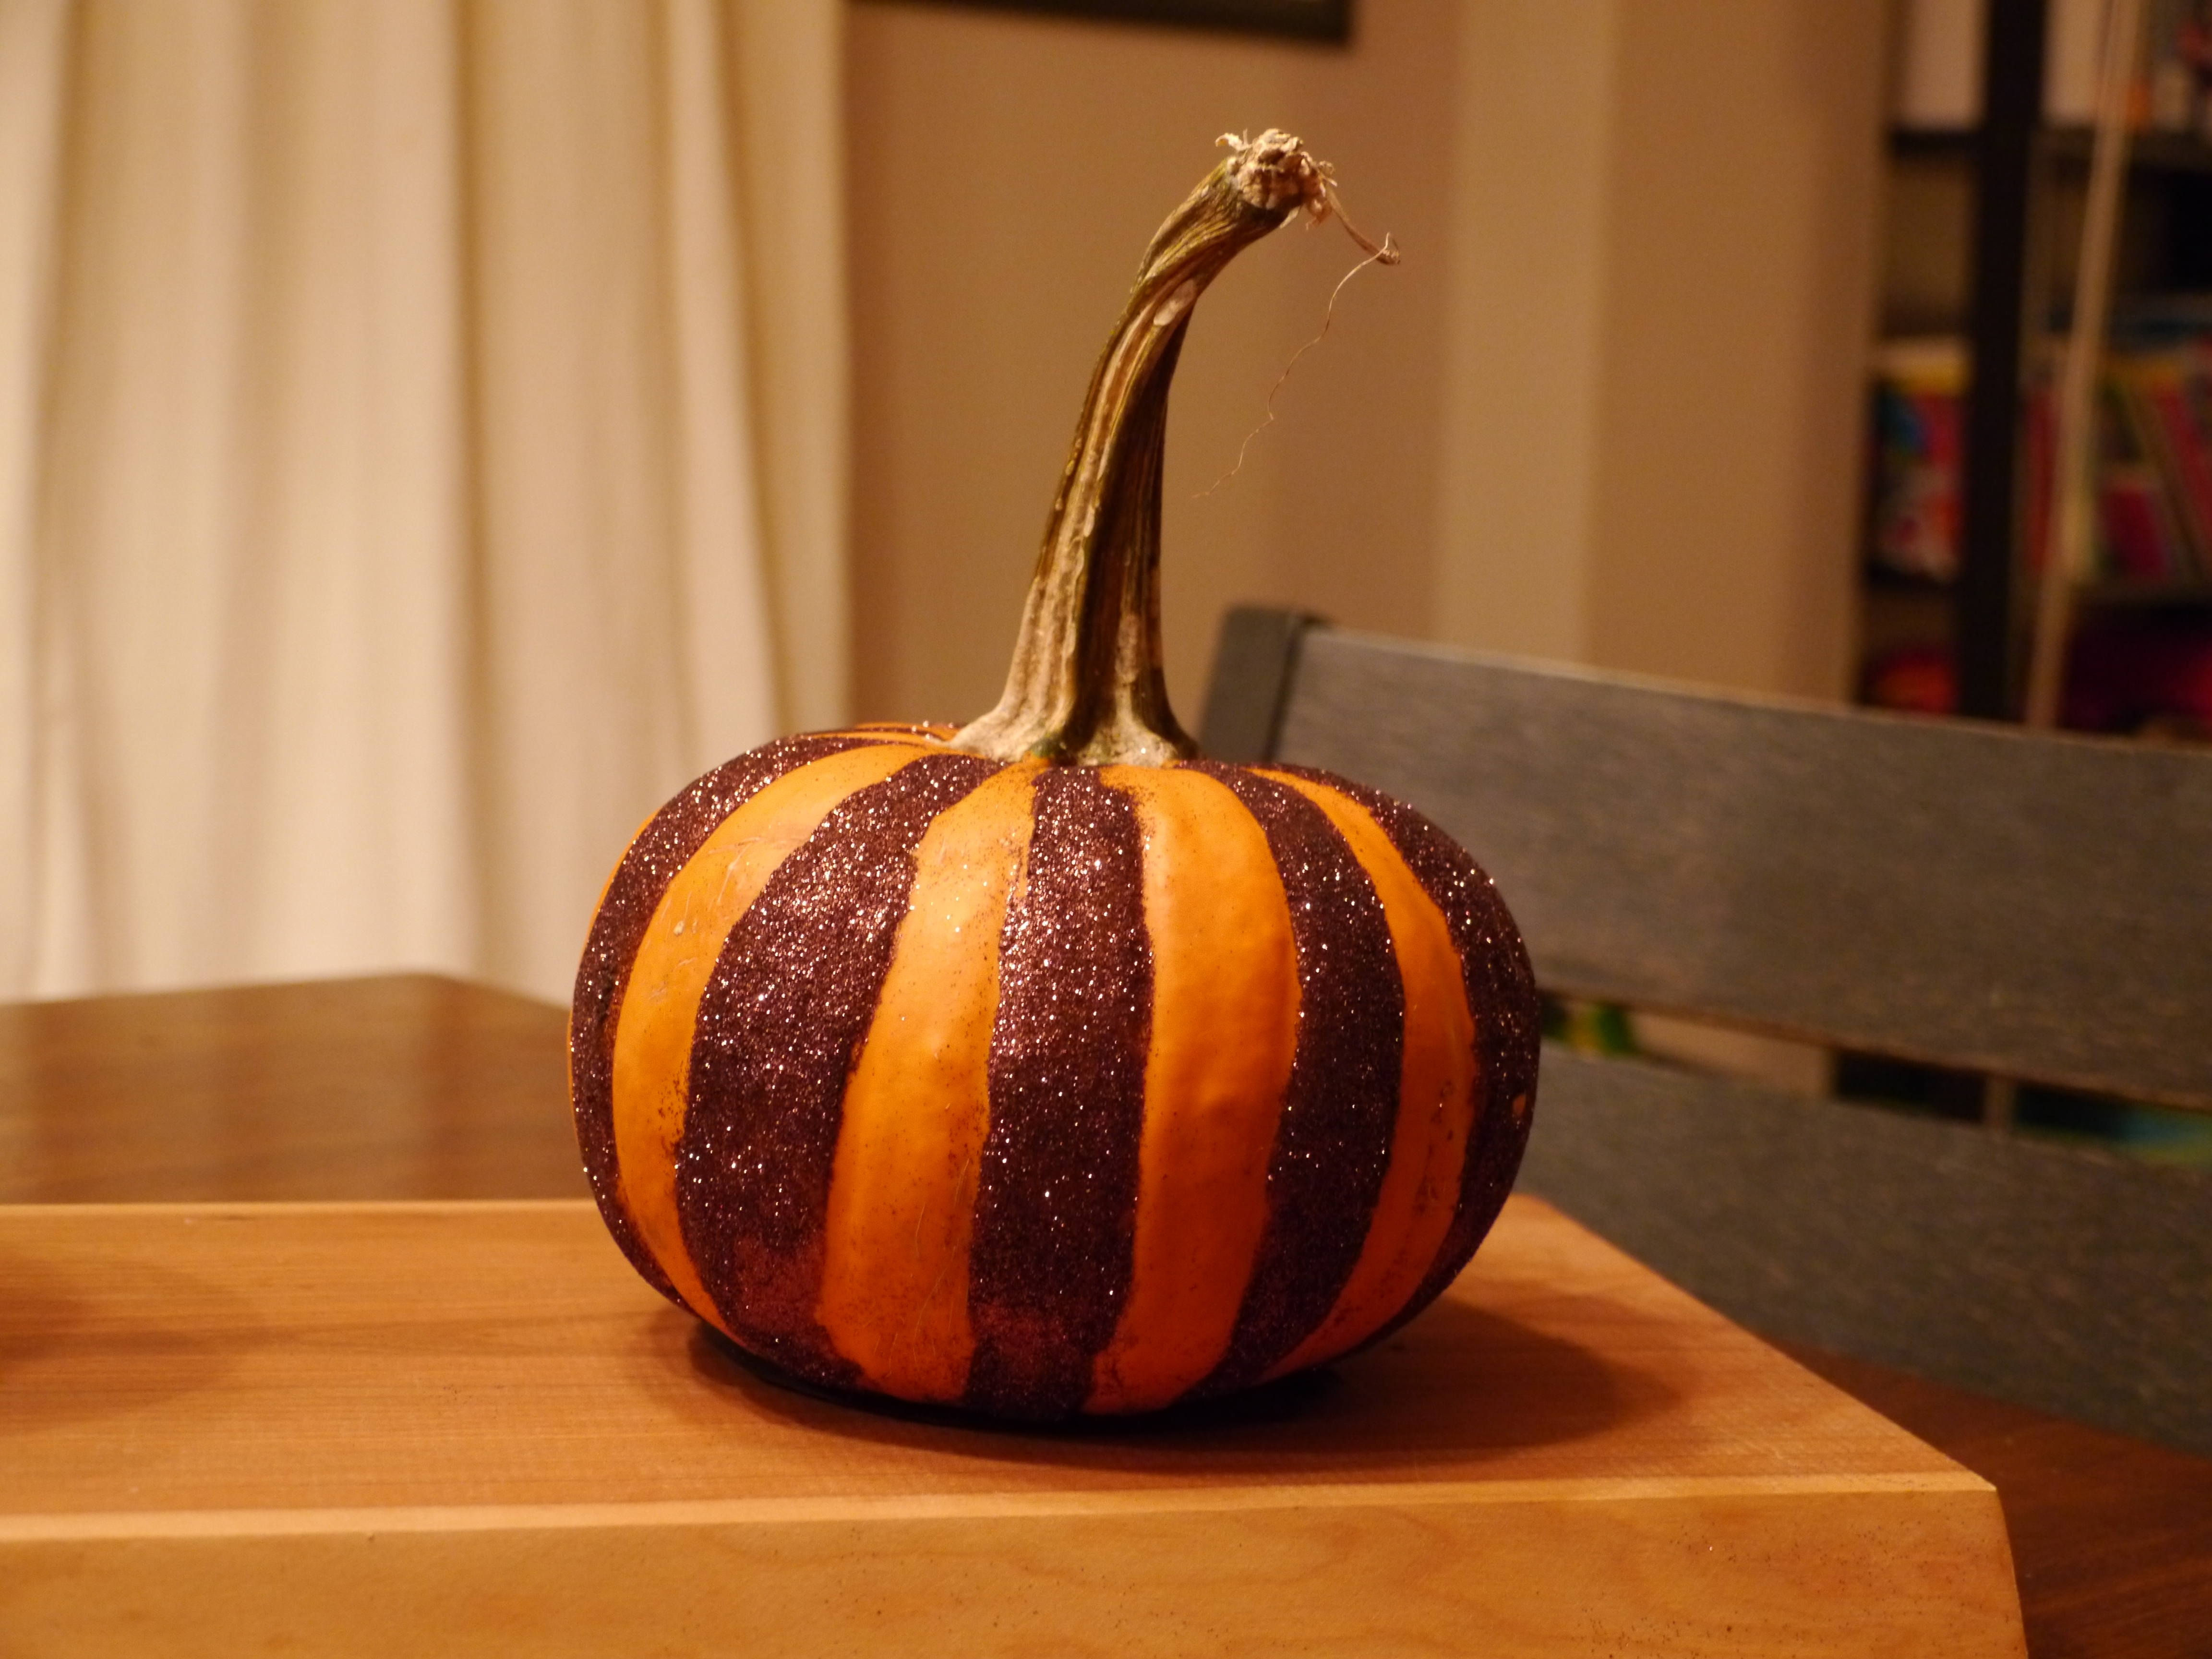
Finished striped pumpkin. If I had more time, I was going to attempt a second colour.
Step 6: Martha recommends painting the stems too but I really love how they look as-is. I did cut out a 3-inch black construction paper circle and glued it to the bottom of each pumpkin so the sparkles wouldn’t rub off onto the surface where they’re sitting.
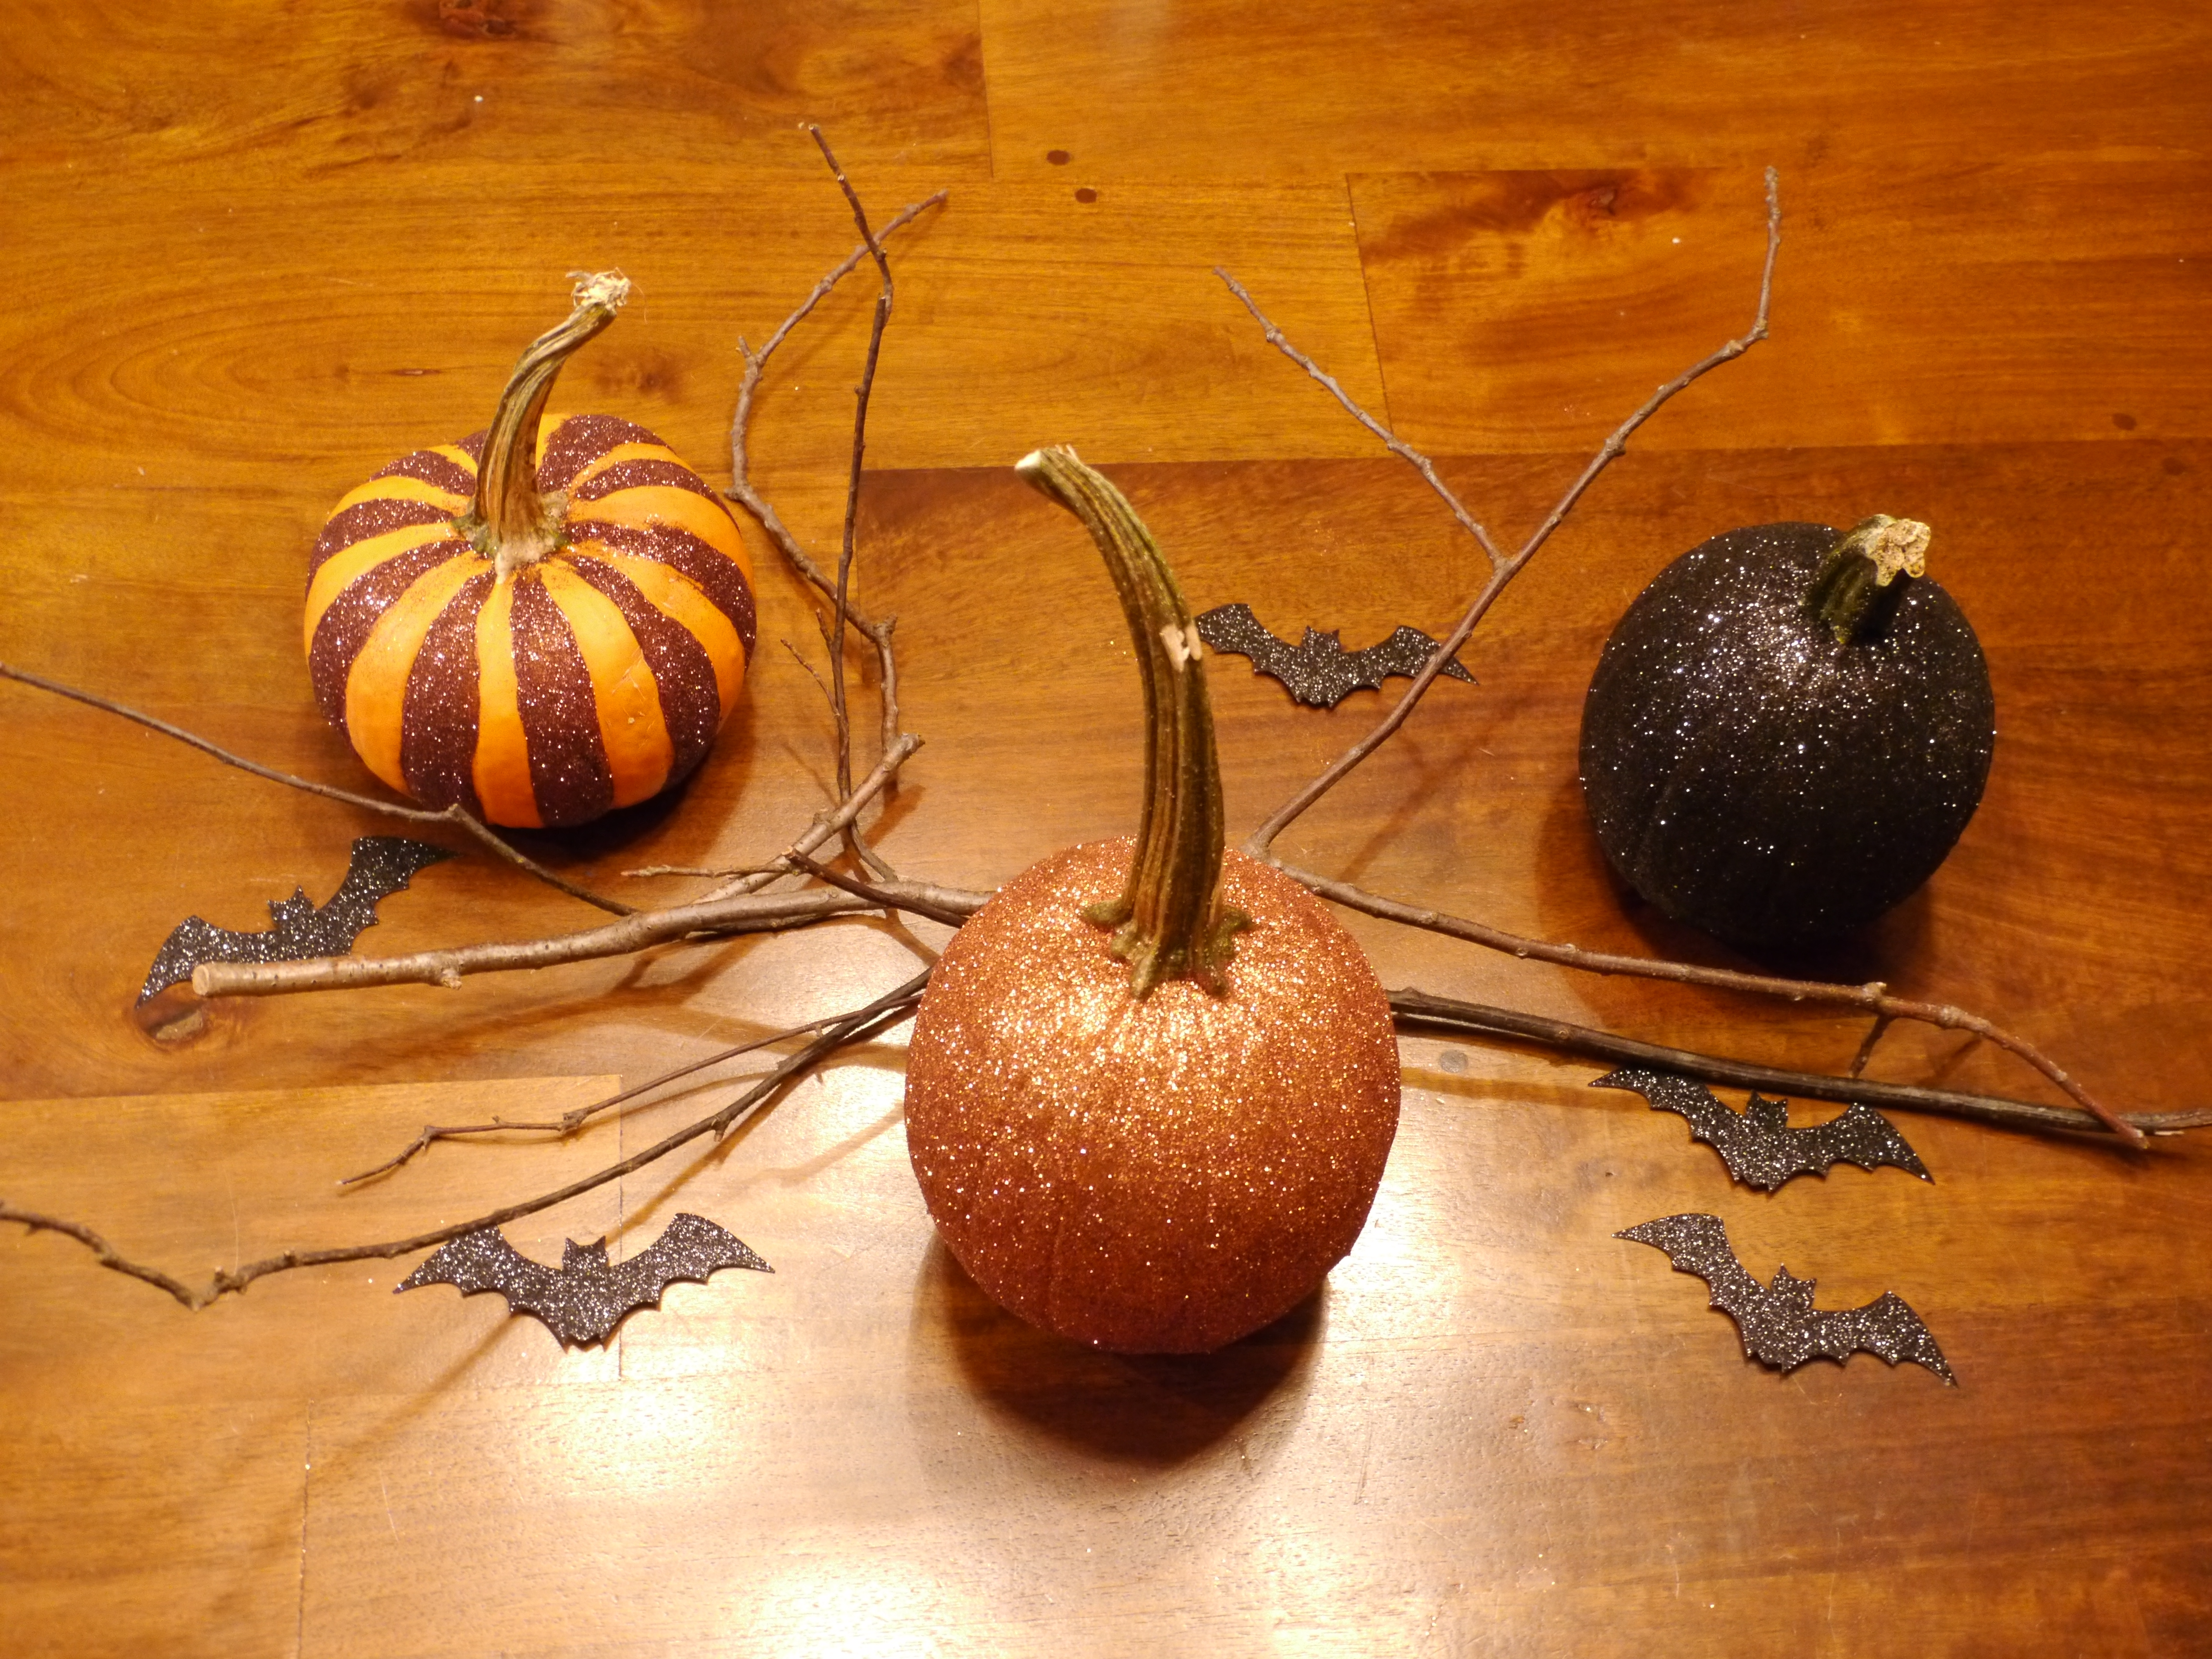
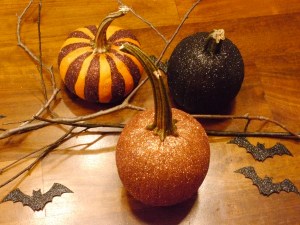
Finished pumpkins! I have them sitting on my counter but they would also make a beautiful centrepiece or look gorgeous on the mantle.
I’m curious…what are some of your favourite holiday craft sites? Happy Halloween!
Ryan


Ryan, those pumpkins look amazing! Great job 🙂 xo
Thanks Stace – they were a lot of fun to make. E said it was the highlight of his weekend. 🙂