
DIY Easter Egg Decor | Kid’s Craft
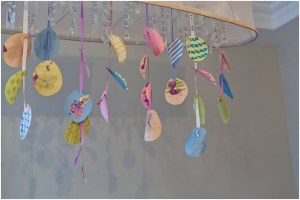
I was inspired by two things for this project. First, these adorable (but expensive!) ceramic egg decorations I saw hanging on a chandelier in a store window. Second, I was in need of an Easter craft for Robin (my two-year old), and I didn’t want to spend any money.
When I started out, I planned to use scrapbook paper and thread to create the hanging eggs. After realizing that my scrapbook paper was buried at the back of a closet with 4 heavy bins of clothes in front of it, I switched to the only other paper I had on hand — pastel coloured newsprint from the dollar store. And after realizing that I do not own thread, I switched to ribbon (left over from… you guessed it, scrapbooking!). And it all worked out perfectly in the end. The point being, you could use anything and everything for a project like this and adjust it based on your child’s age and skill level…so get creative!
It’s not the beautiful display window that first piqued my interest (oh Pottery Barn, how I do love your holiday displays…), however Robin is thrilled to have her painted eggs on display which gives it way more meaning than anything I could purchase. I will also be telling my husband to note that there is NO charge from Pottery Barn on the credit card this month. It’s a win-win solution for all 🙂
Total Time Required: 1-2 hours over a day or two
Working Time Required: As long as you would like for painting/decorating 🙂 | 15 min prep, 1 hour to hang
Project Costs: $0 (depending on what you have at home)
Materials & Tools Required
– Paper
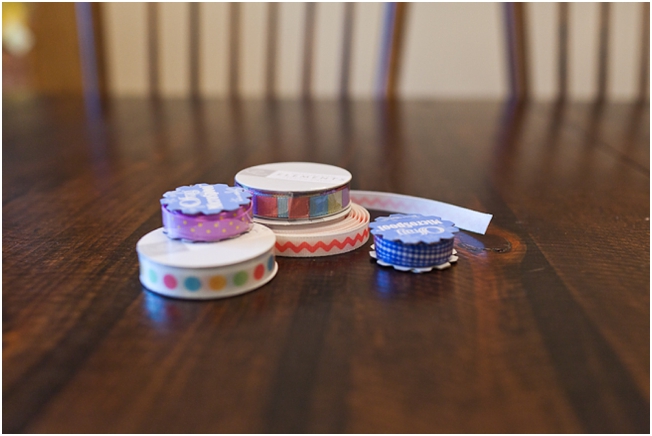
– Ribbon (or thread, string or yarn). All of my ribbon came from the dollar store or Michaels.
– Paint (or markers, sparkles, etc.) I used acrylic paint from the dollar store.
– Scissors
– Paint brushes
Project Tutorial
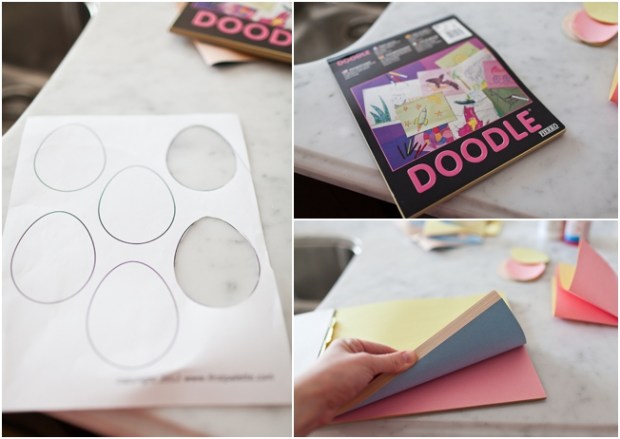
Step 1: Find the right size of egg to use as a template for your cut-outs. I used: http://www.firstpalette.com/tool_box/printables/eastereggs-plain.pdf
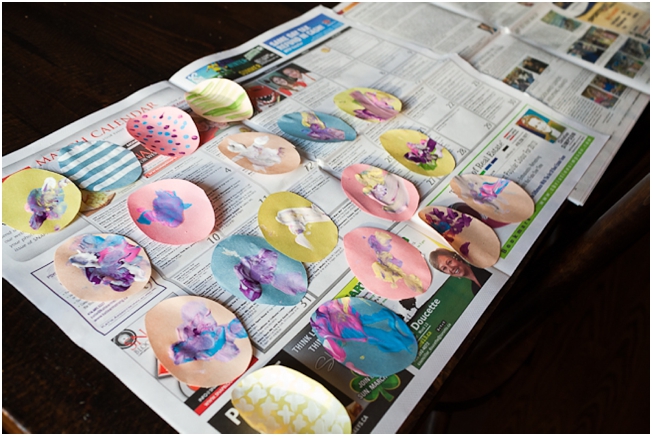
Step 2: Use egg template to cut out all of your eggs. The paper I used was thin enough that I could stack 4 sheets together, fold them into 4 squares and cut, thus producing 16 eggs at time.
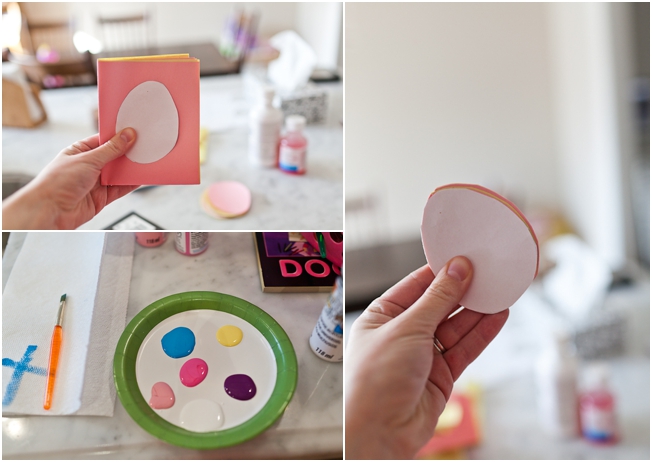
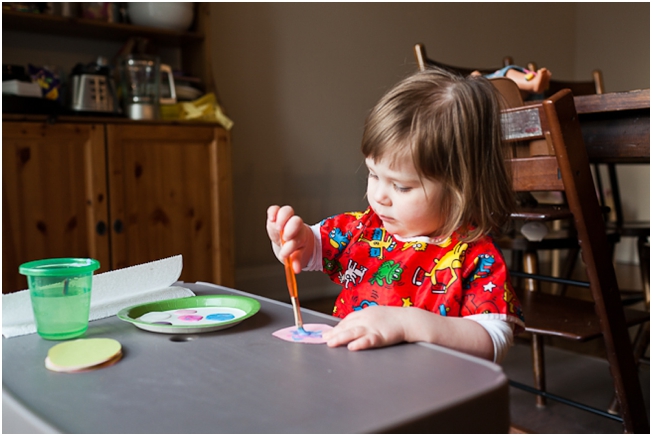
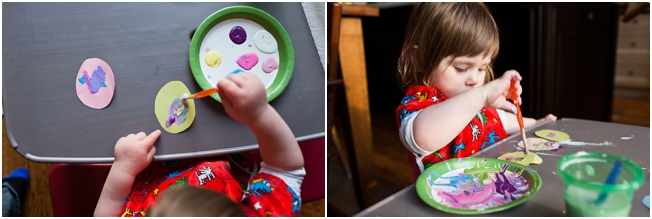
Step 3: Paint or decorate eggs! Let dry.
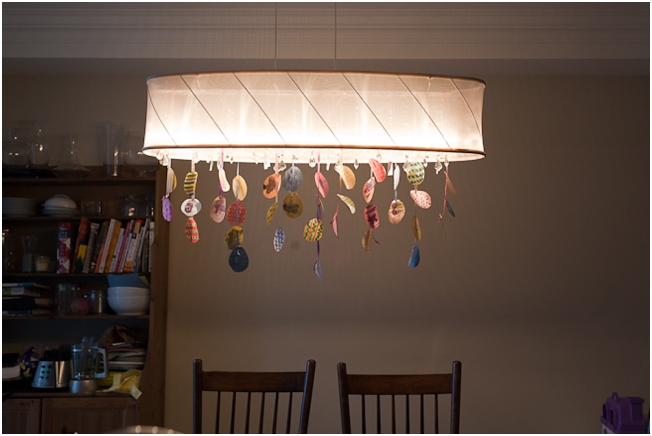
Step 4: Using scissors, cut tiny slit at the top of each egg. Thread eggs onto ribbon in groups (I did groups of 2, 3 and 4). Tie at knot at the bottom of ribbon to hold bottom egg on. Hang from light fixture using a knot.

Step 5: Prepare yourself for oohs and ahhs from family and friends.


p.s. PLEASE ignore that terribly messy Ikea hutch in the background. This dining room wall is a project in and of itself. More to come on that later…


Trackbacks & Pingbacks