Papercrafts for All

If you are a crazy sentimentalist like me, who cannot throw away a card, you will have amassed a great number of cards over the years. Here are a couple of ideas for using those cards in a decorative manner.
By: Colleen
For the adults: Christmas Balls.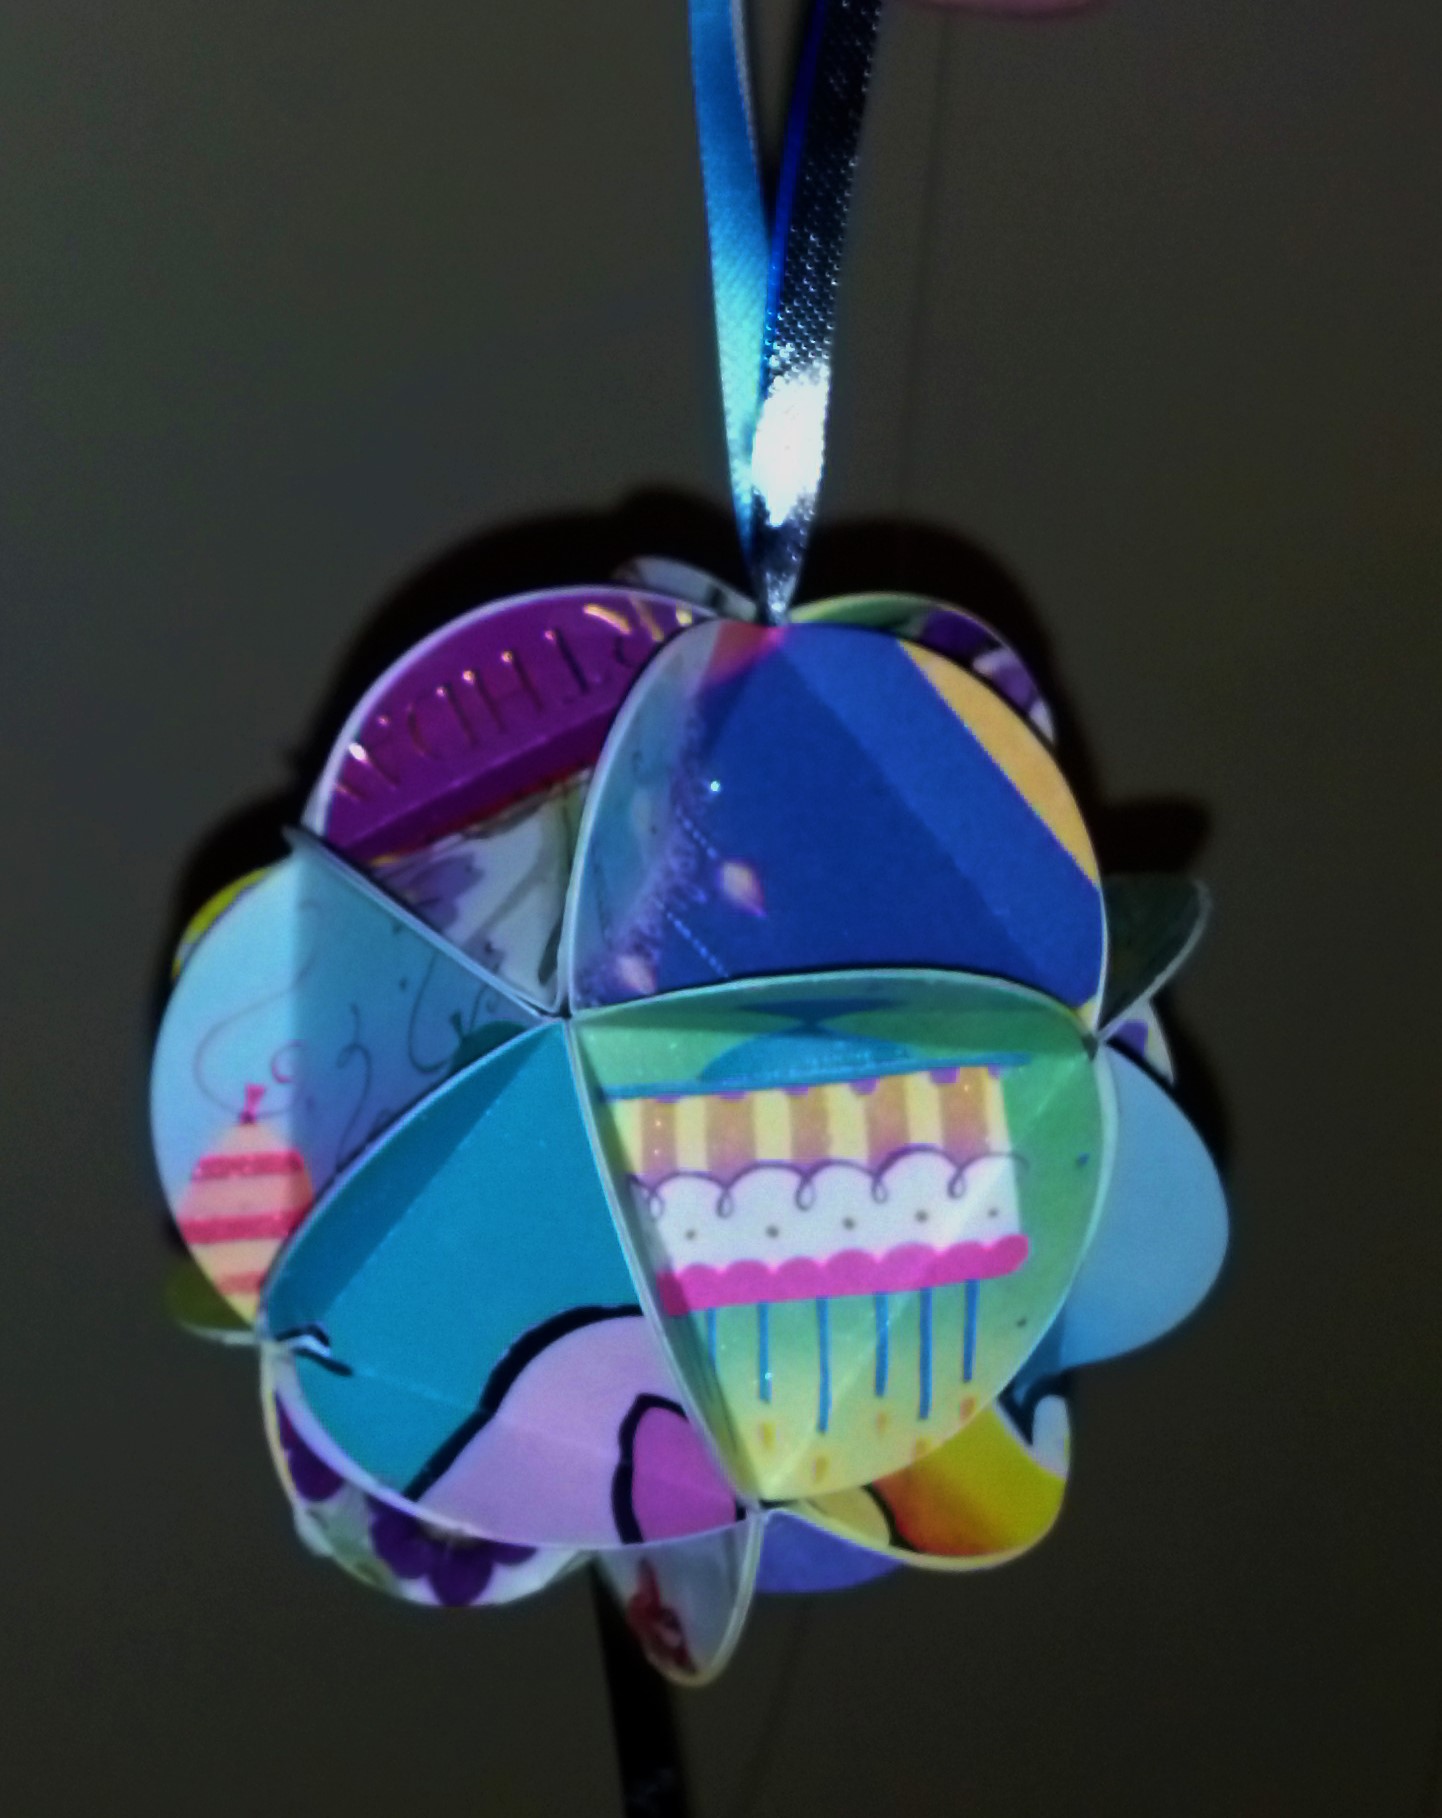
These balls require patience and cutting, so they are probably not the best craft for kids.
Required Materials:
- old cards
- glue
- scissors
- puffy paint
- ribbon or yarn
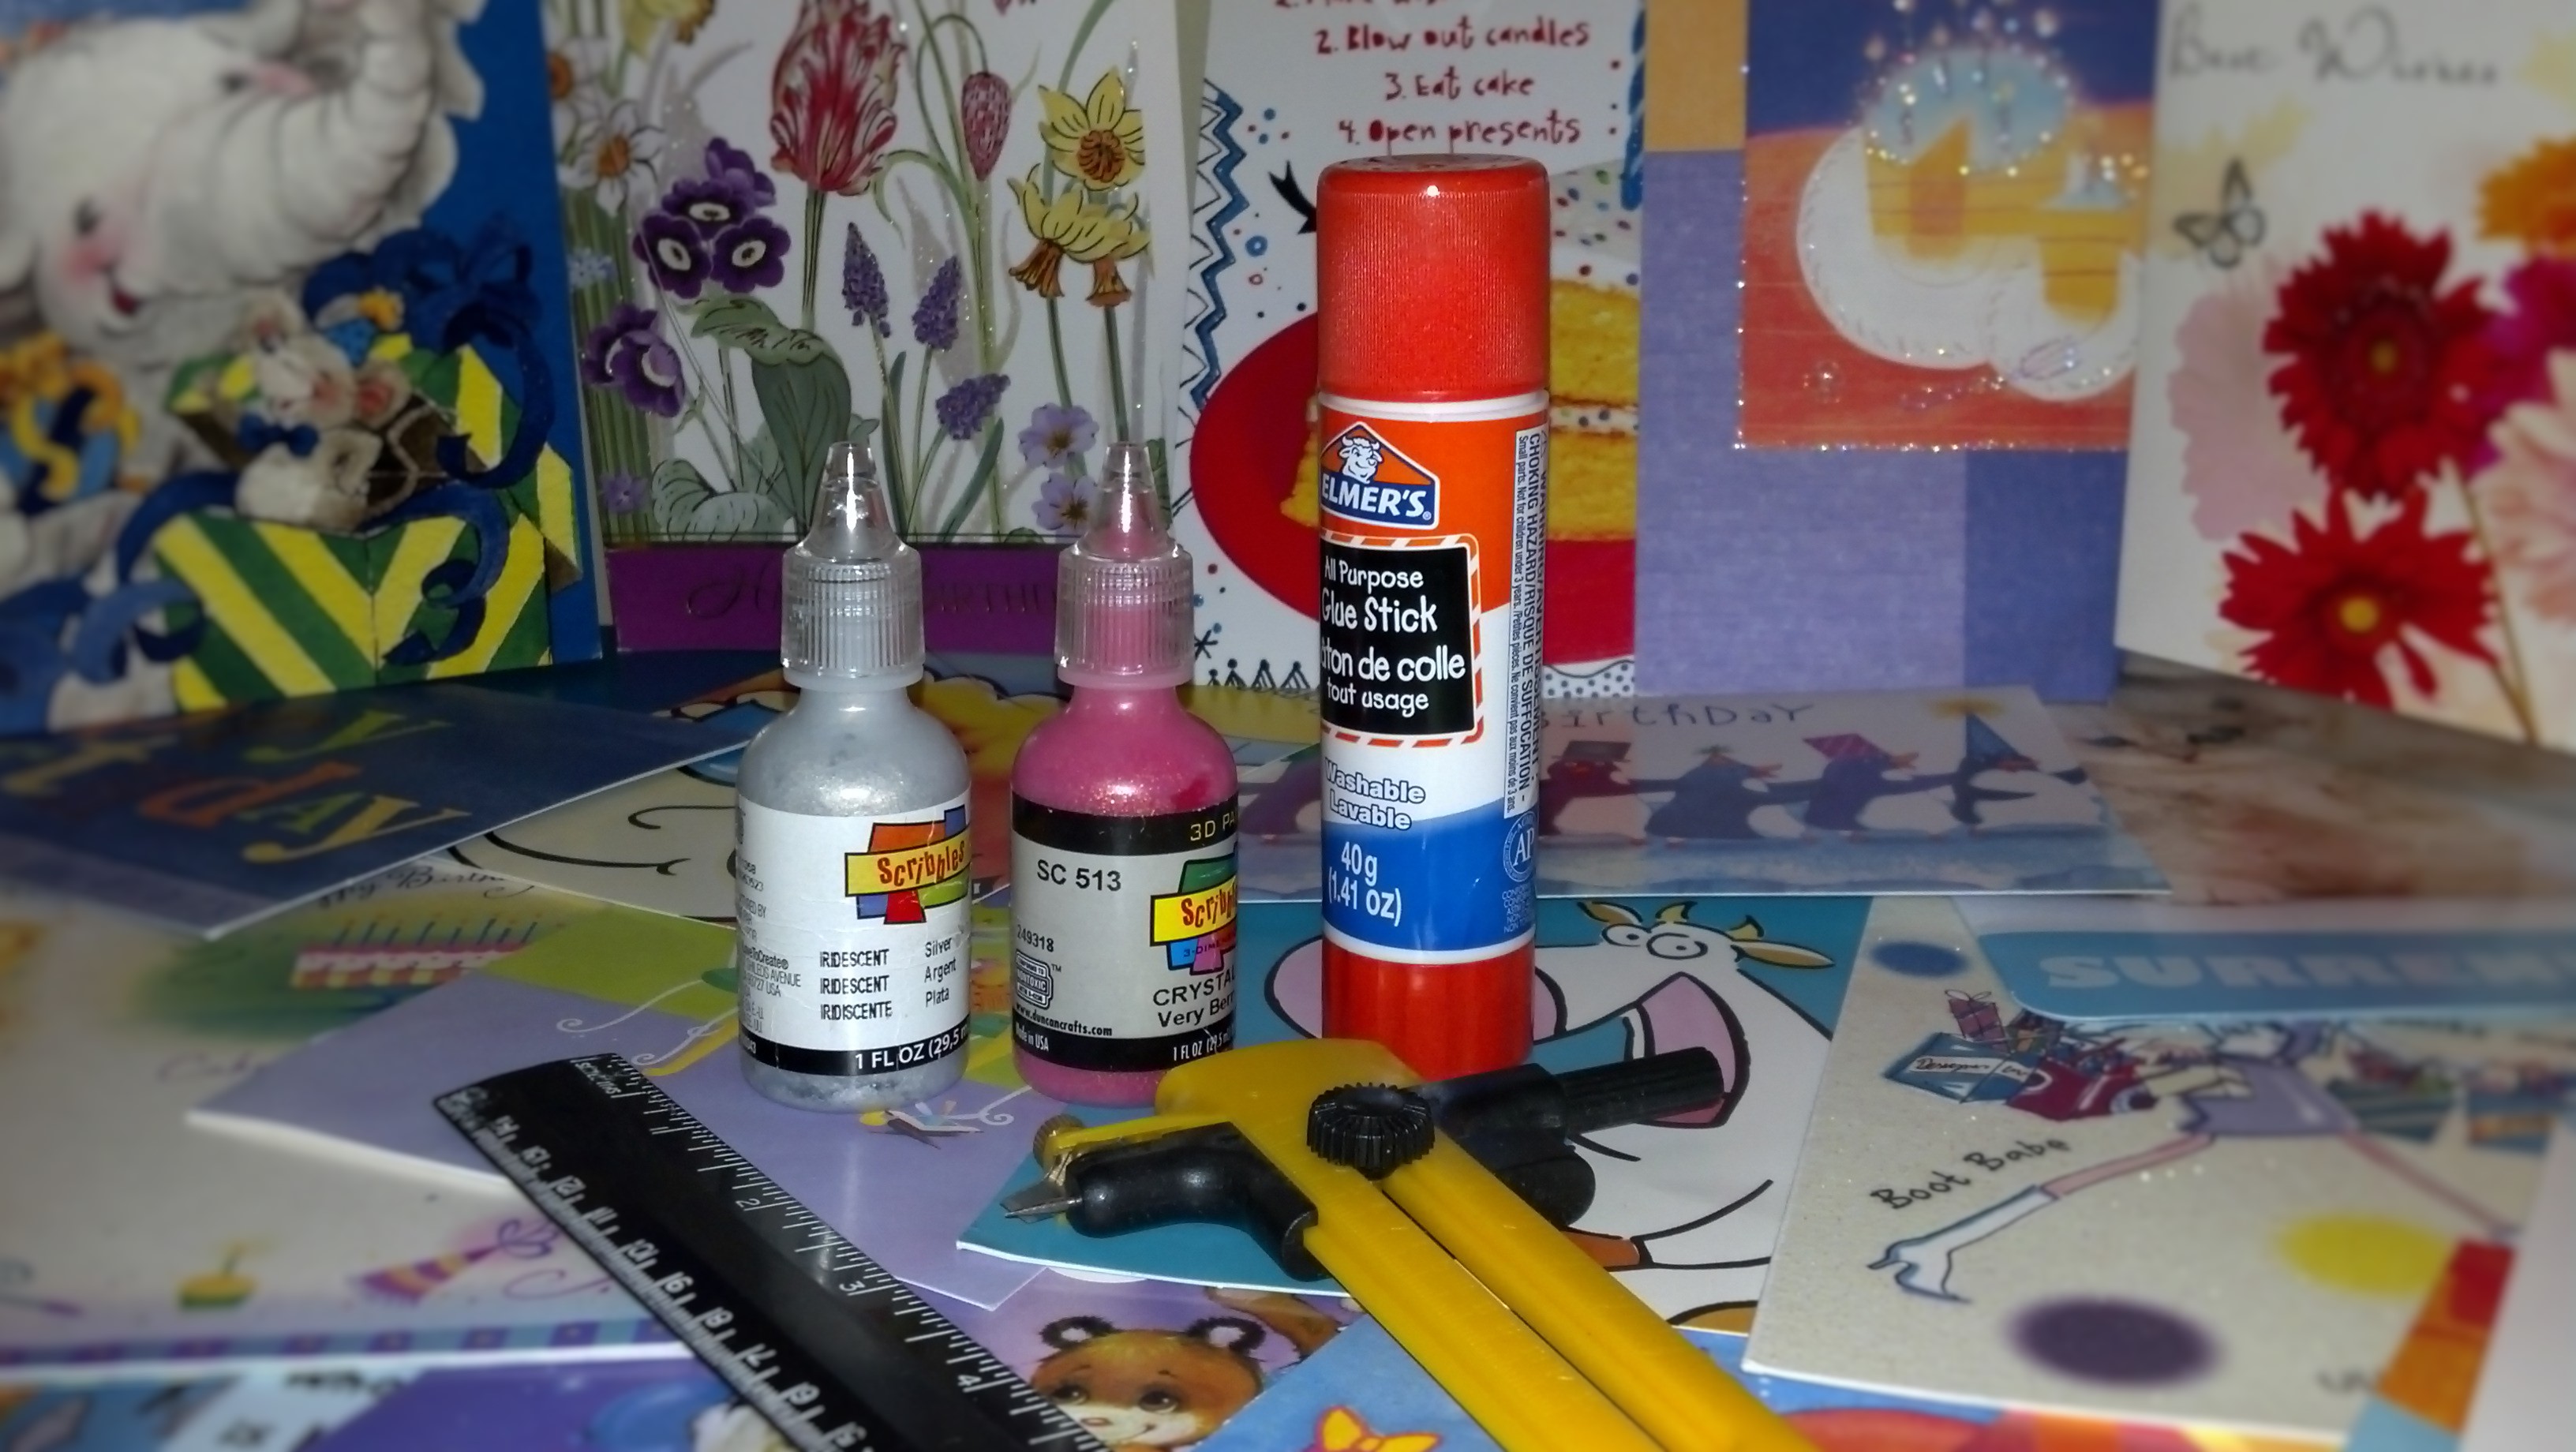
get your glue, puffy paint, scissors, ribbon and cards
Step One: you will require twenty circles of the same size. The size is up to you. I prefer the smaller balls (which require smaller circles), so a shot glass might be a good tracer. Also, if you have a circle cutter (like the one pictured above), that is a good way to go.
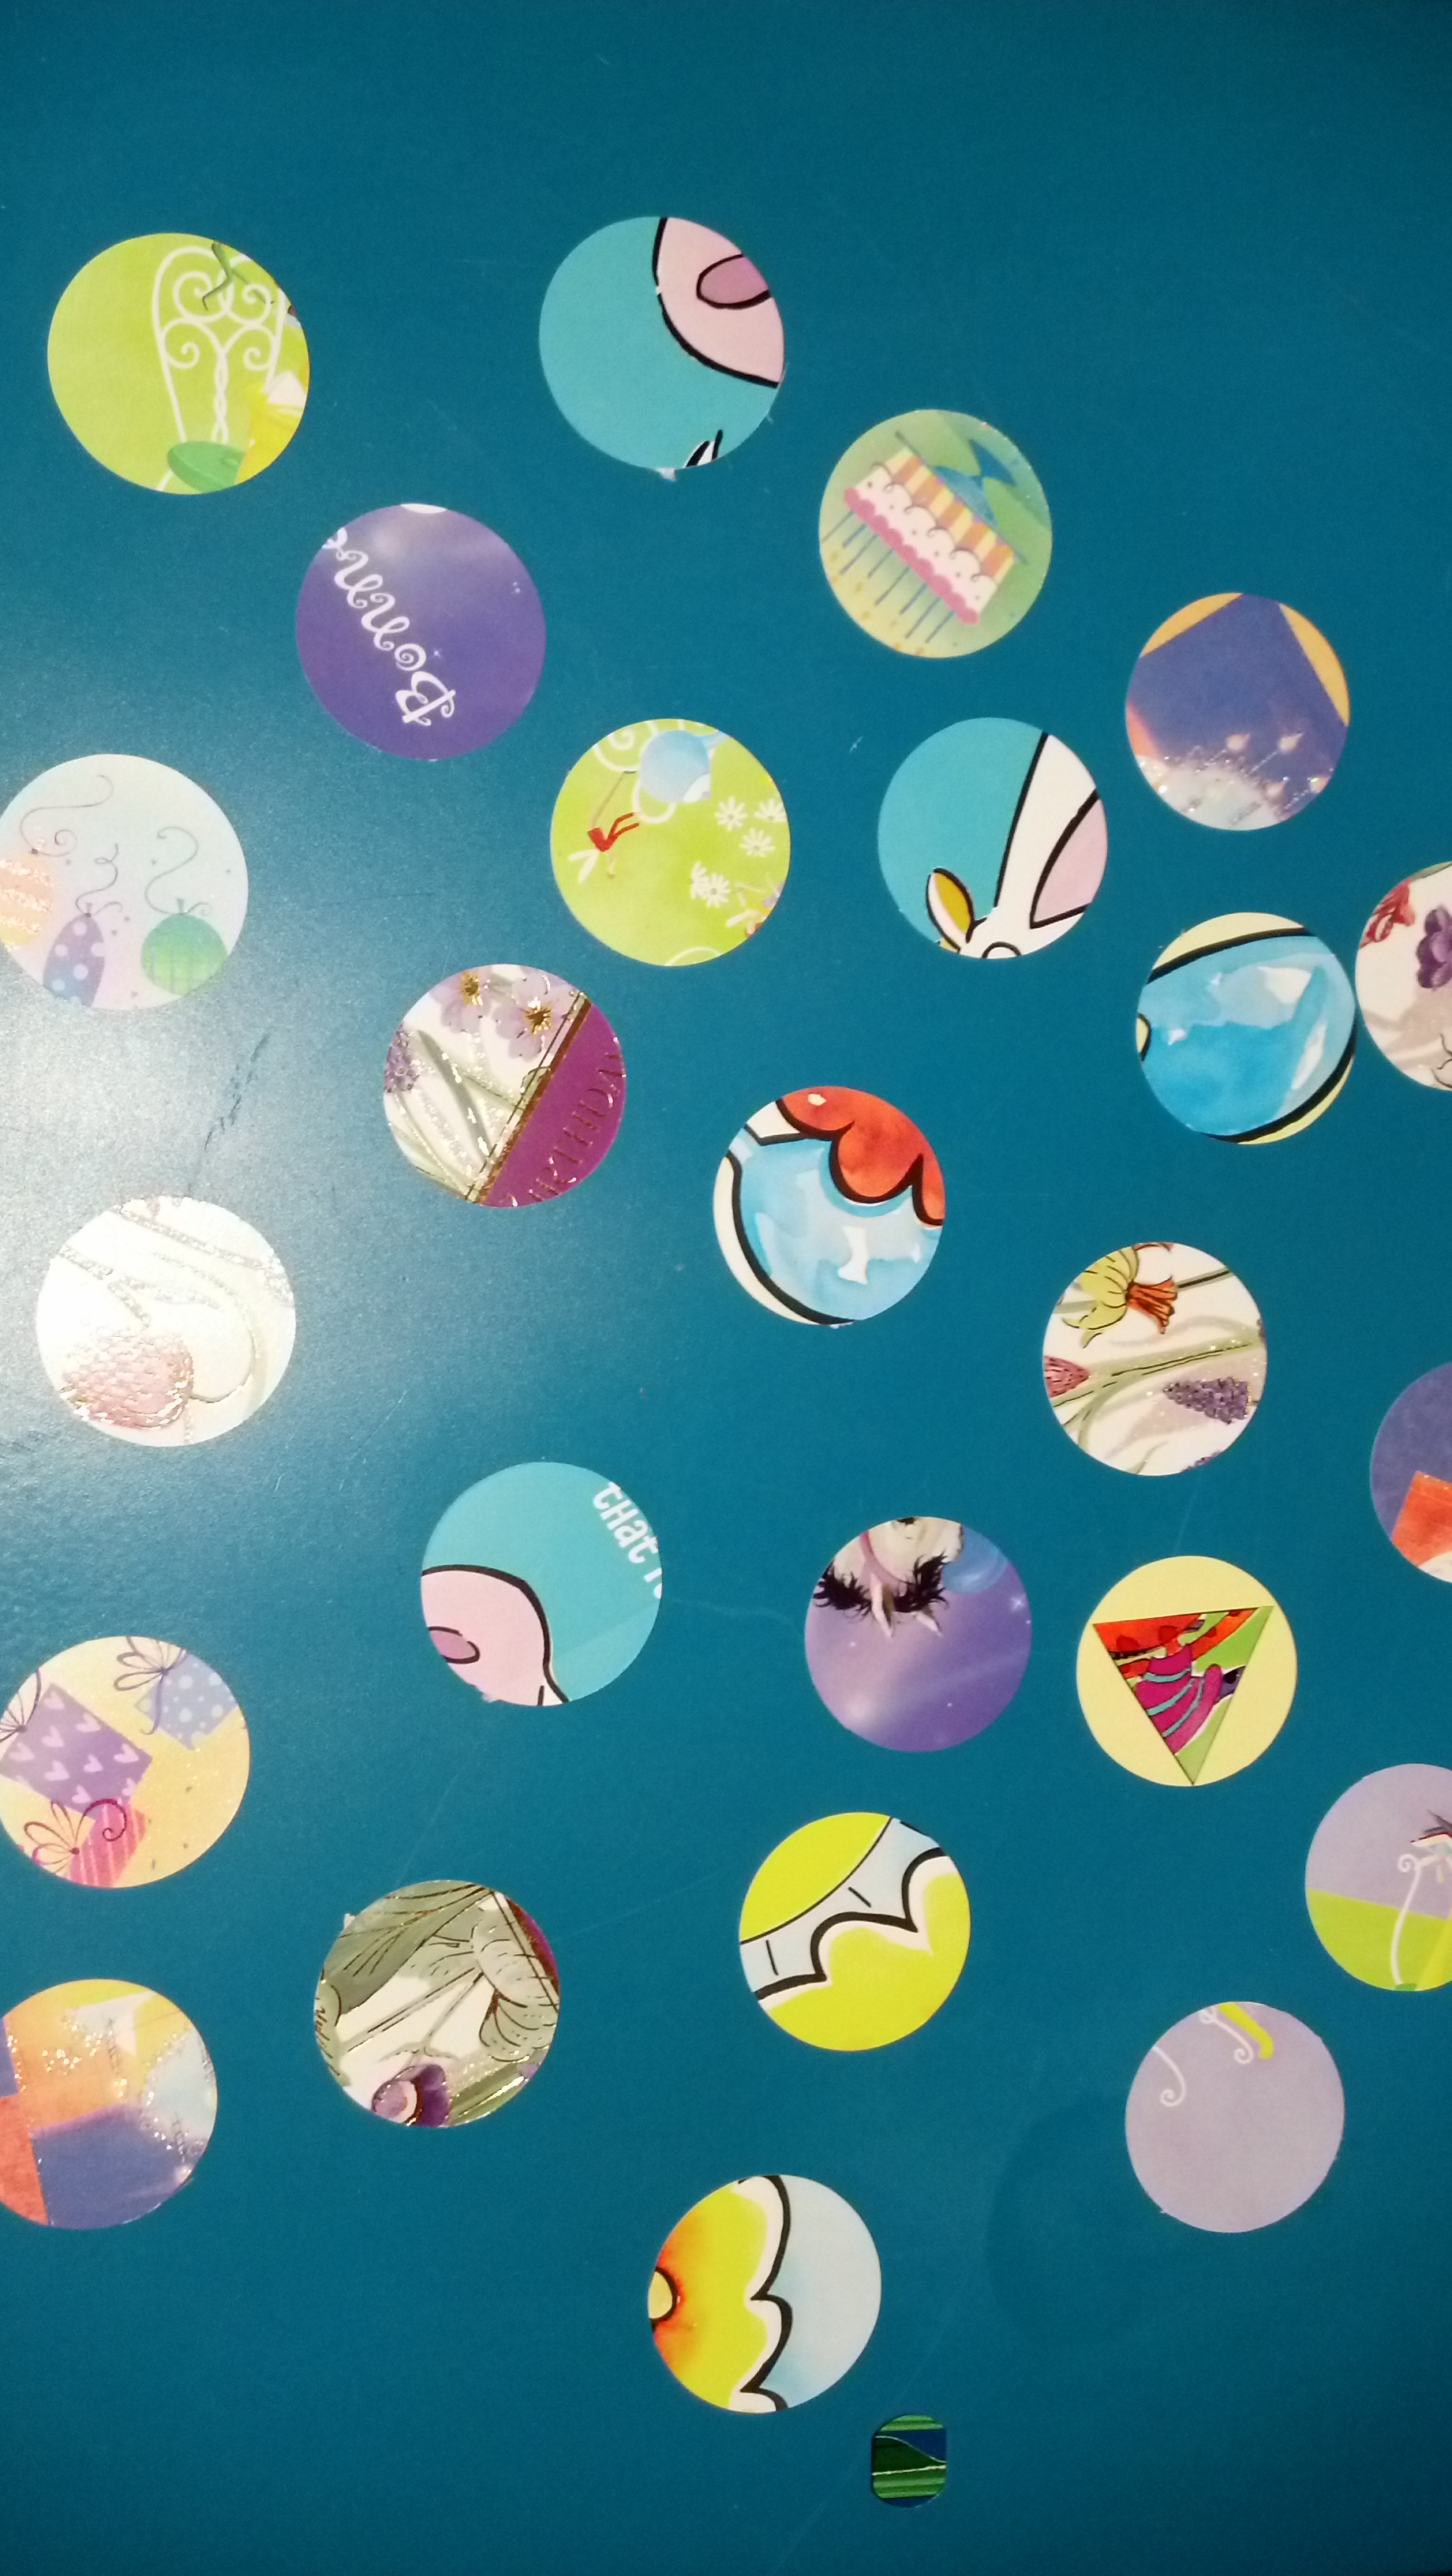
cut 20 circles of the same size
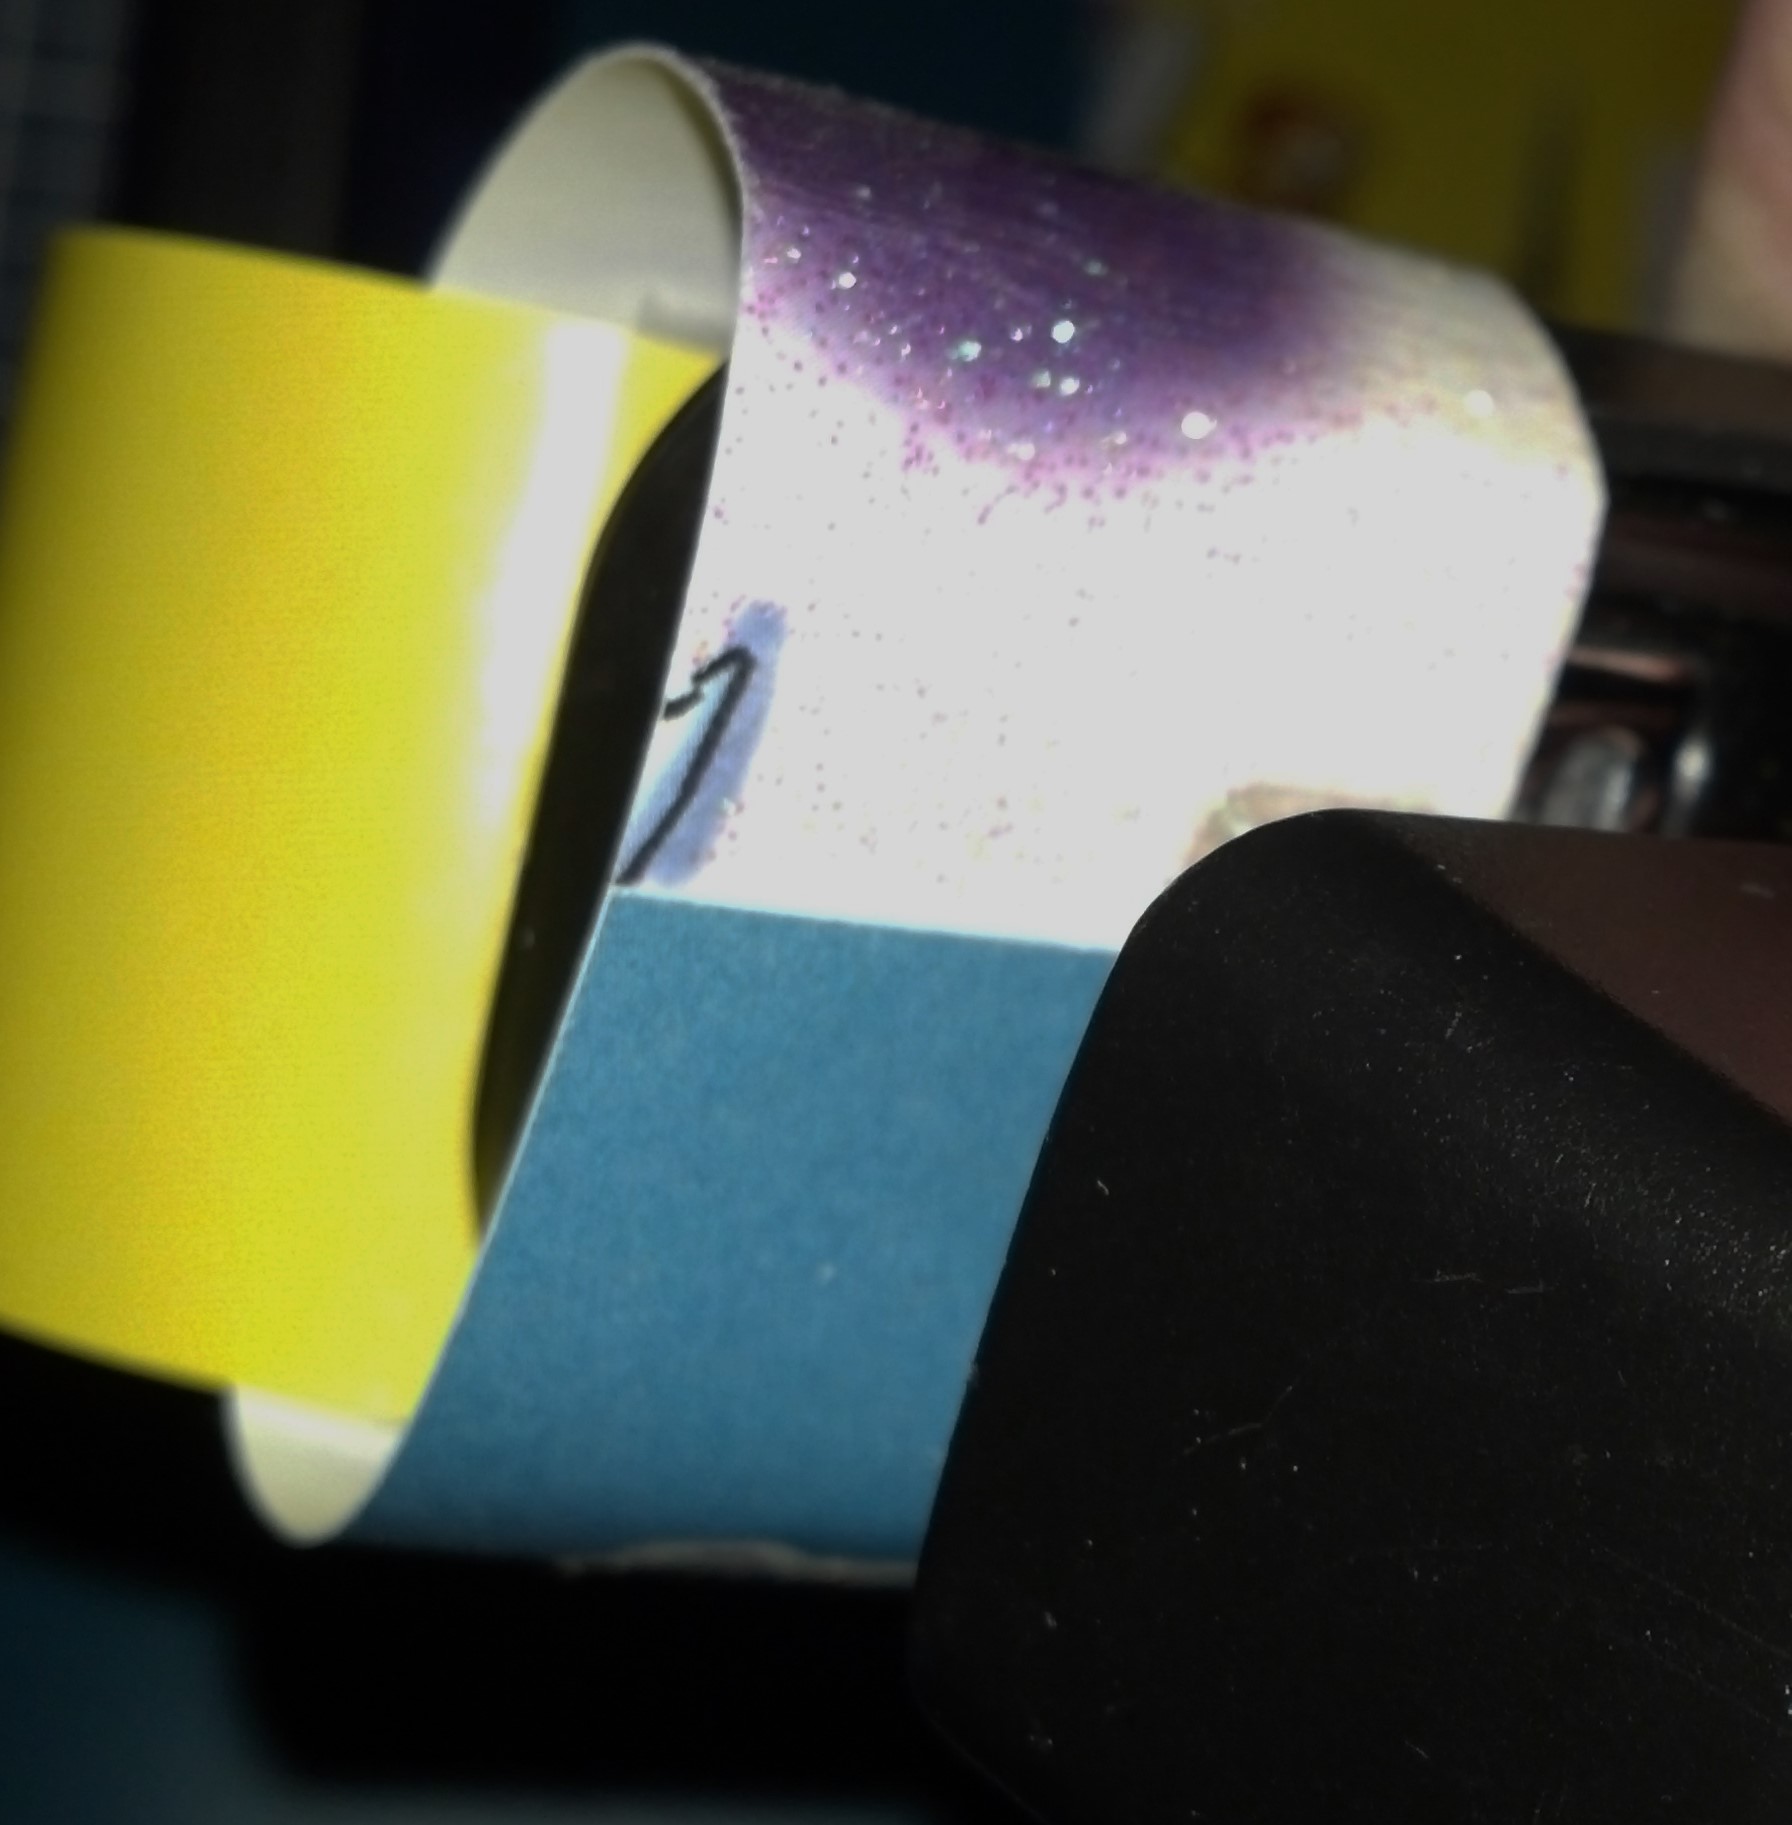
Step Two: cut an equilateral triangle that fits within the circles. I do not know the mathematical equation to figure this out, but each angle of the triangle is 60 degrees, so get out your protractor and play around with it until you get the perfect triangle! I then use this triangle (which I generally cut out of a scrap from the cards) as a pattern , centred perfectly in the middle of the circle, and score along the side of the triangle onto the back of the circle. Now fold the three scored lines so that they are folded toward the right side of the card.
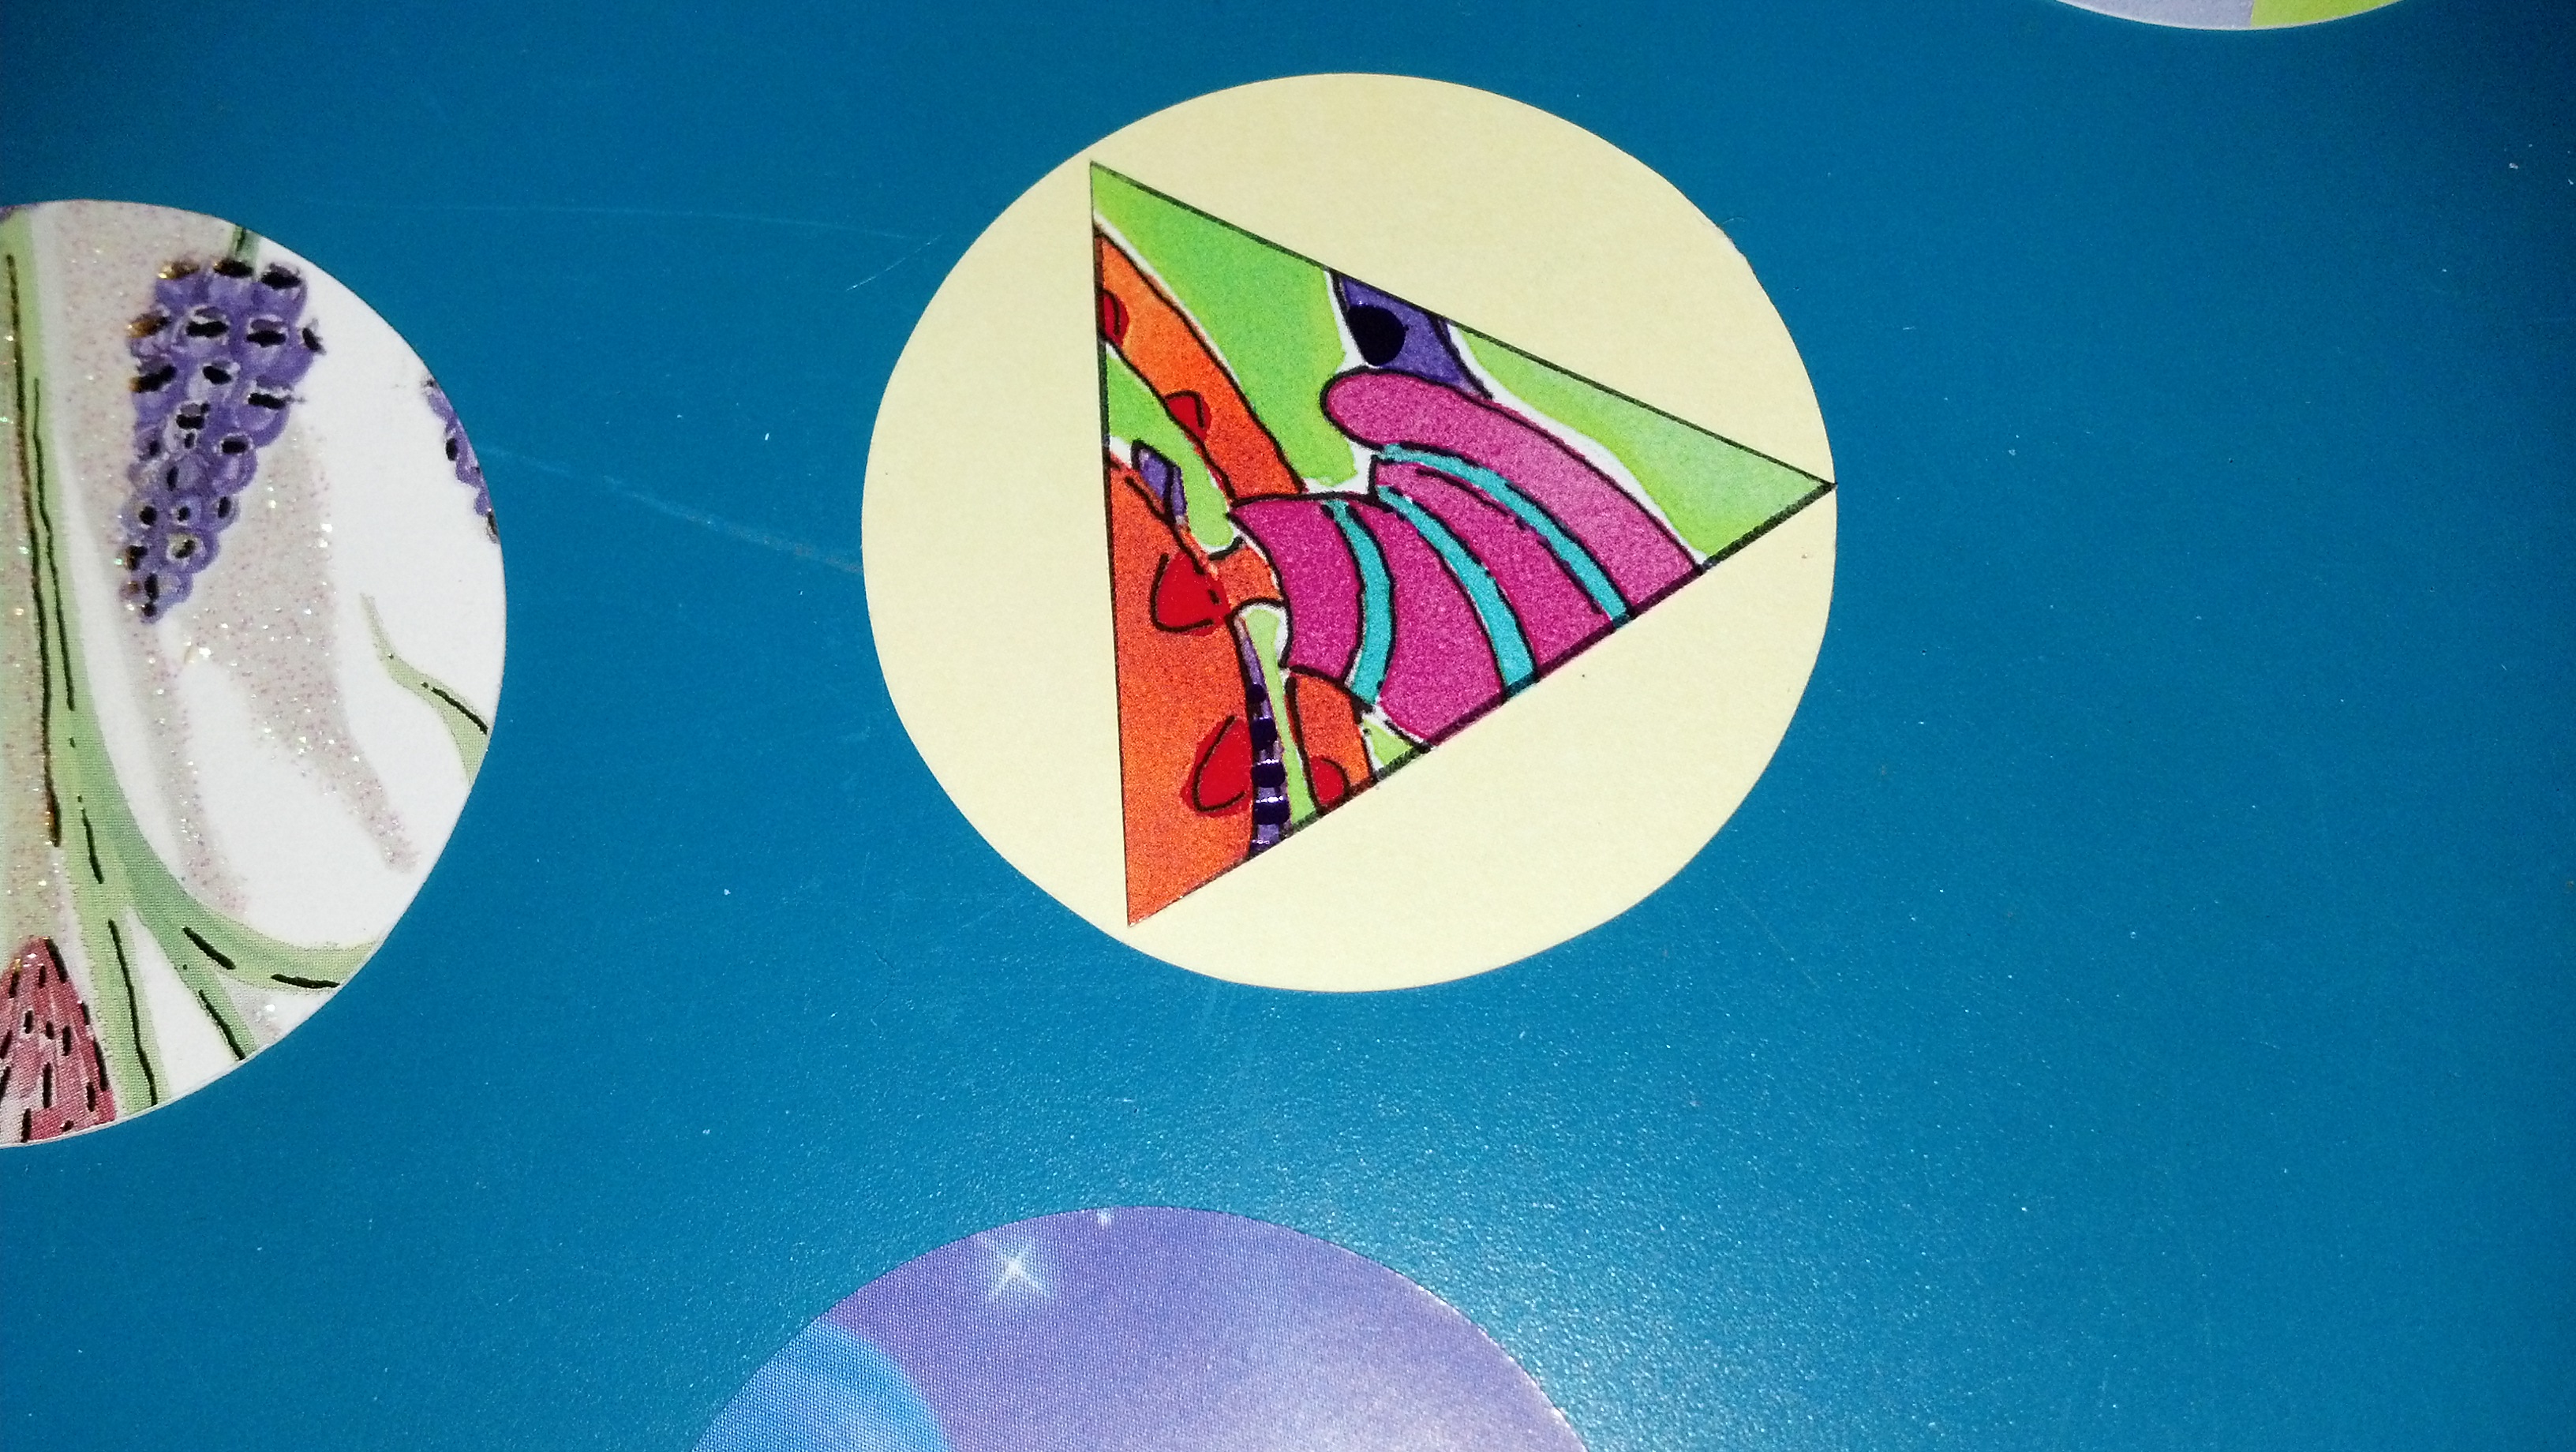
cut a triangle that fits into the circle
Step Three: once you have folded all three sides of all twenty circles, you should decide on a layout. Each ball will have five circles on the top, five on the bottom, and twenty circles around the middle.
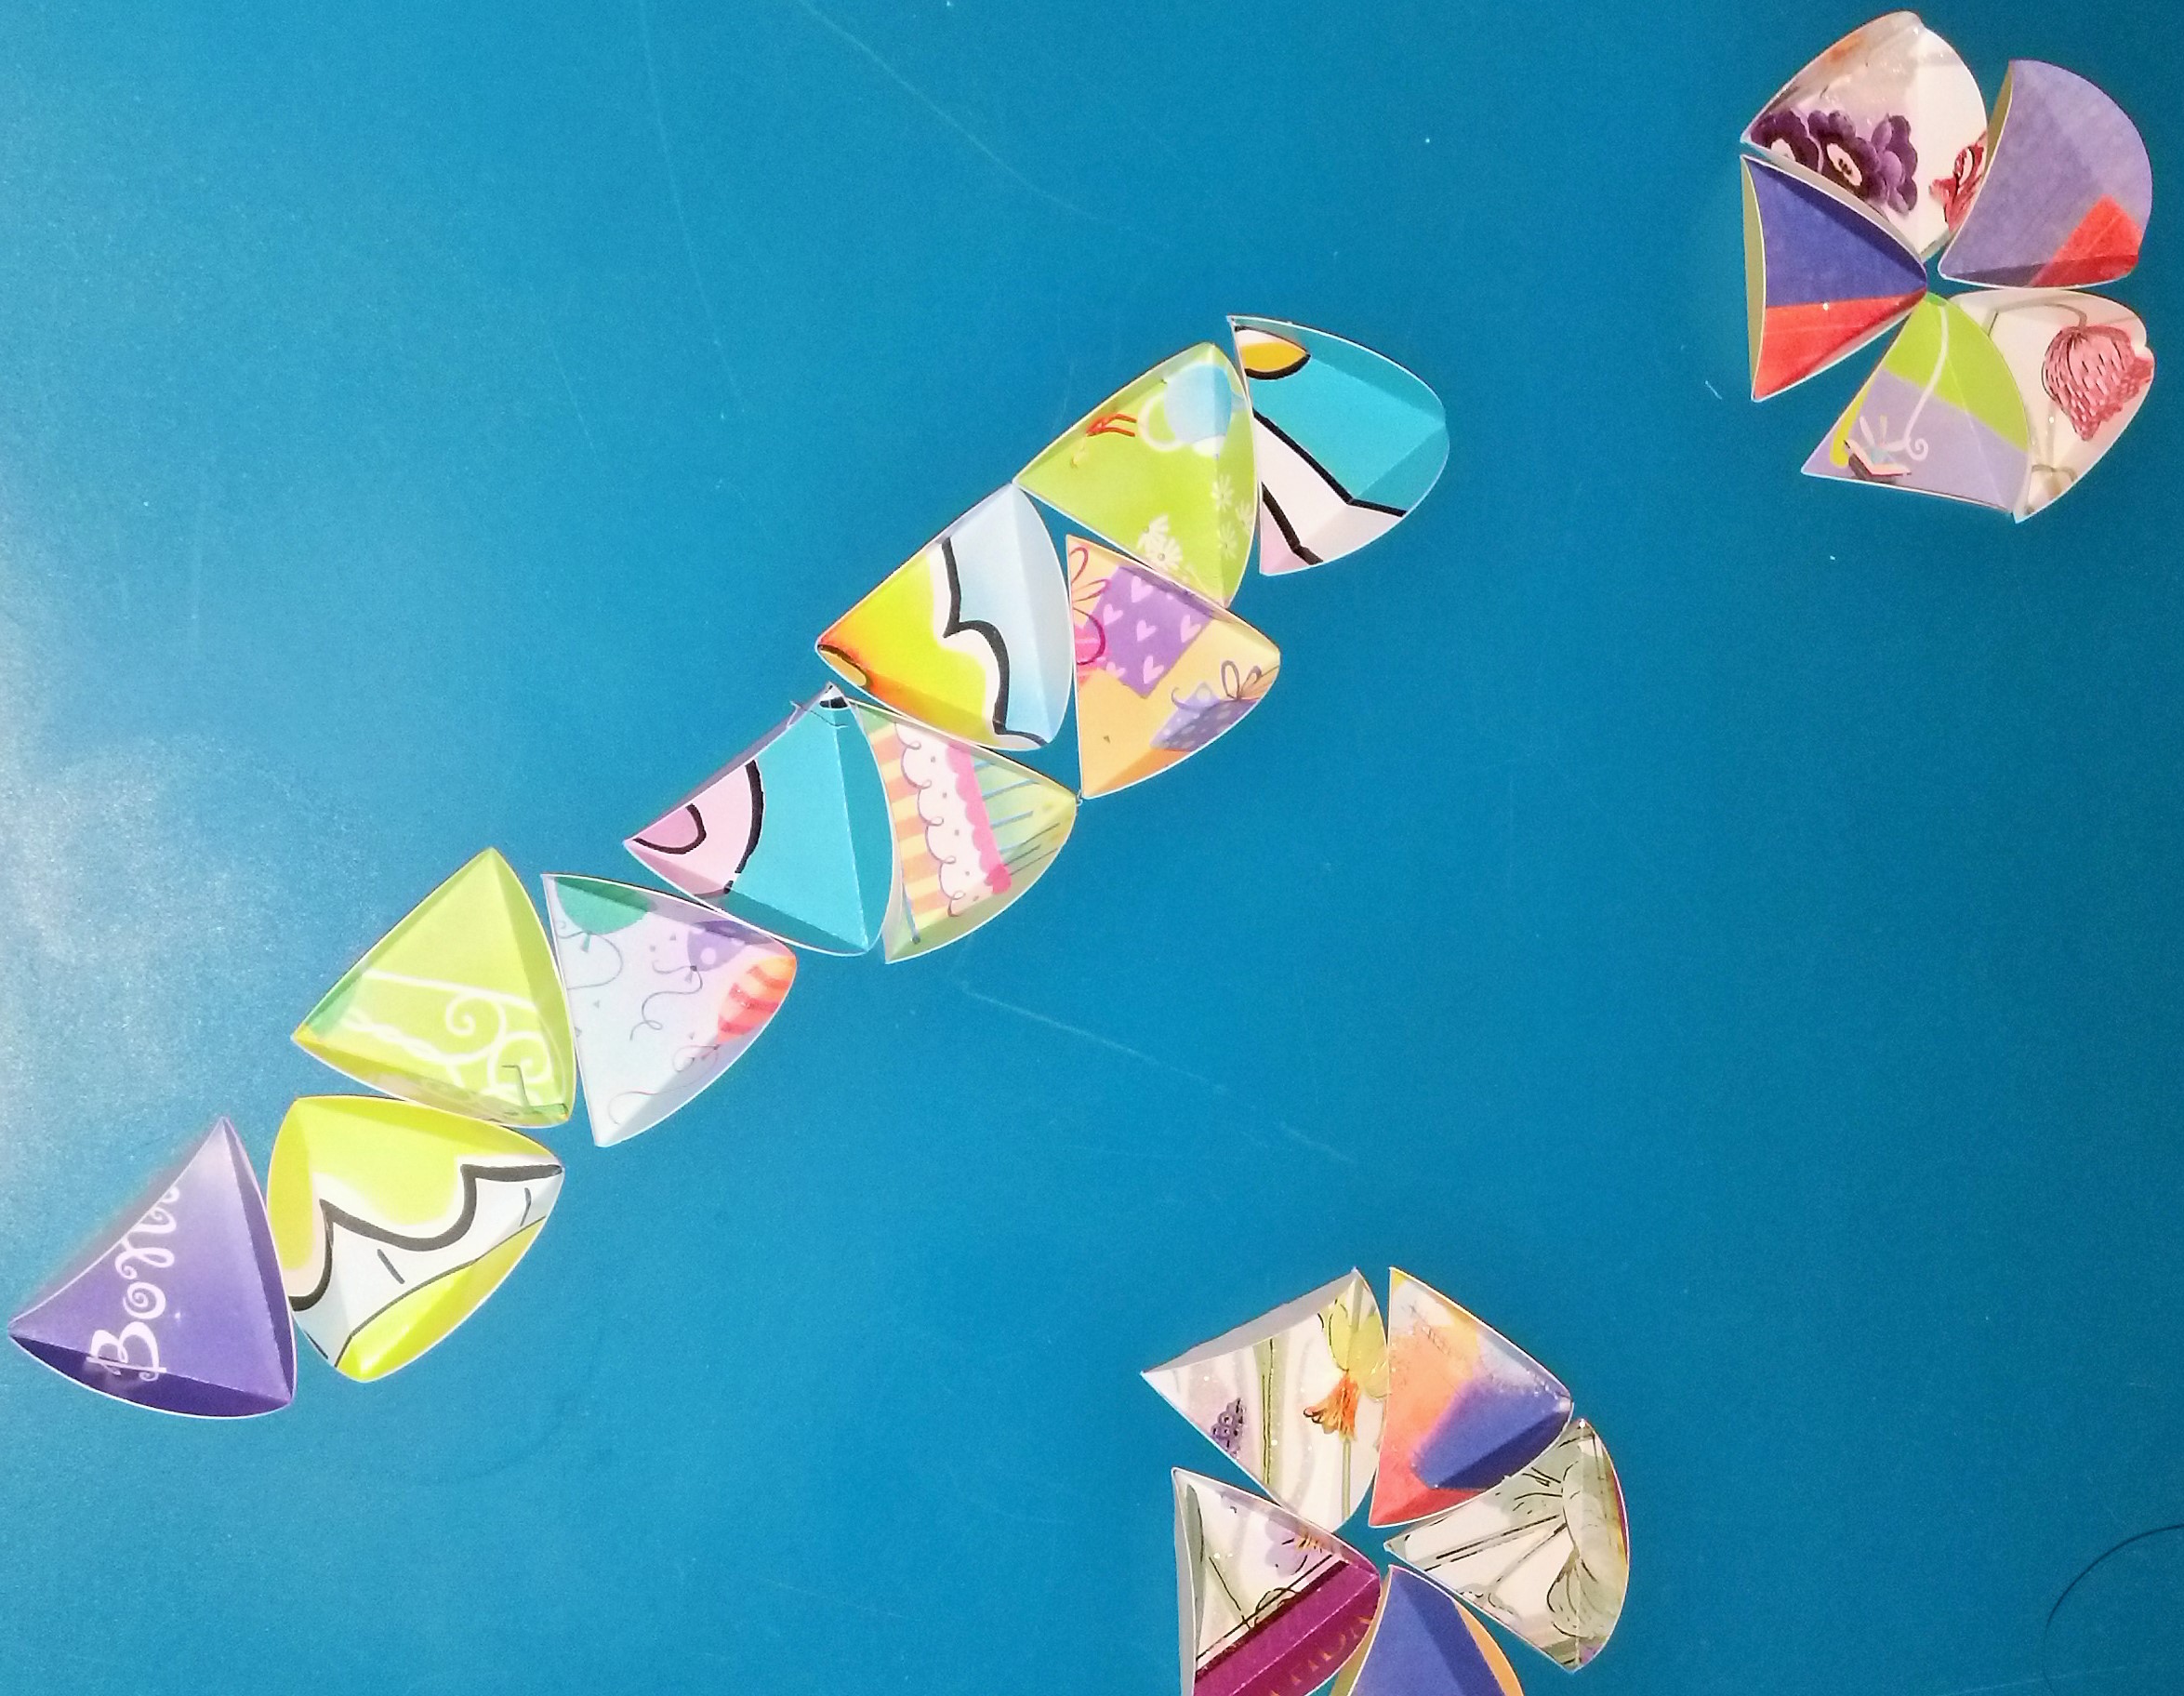
choose a layout for your Christmas ball.
Step Four: now you will glue the triangles together. I have tried glue sticks, but the adhesive does not seem to be strong enough to hold these together. White school glue works well, though. Run a bead of glue along the wrong side of the folded portion, and stick to the wrong side of another triangle.

glue the wrong sides of the wee folded bits together.
Glue five pieces together for the top, without connecting the first and last piece. Do the same for the middle ten circles, and the same for the bottom five. This space will allow you to put a ribbon through the middle before assembling.
Step five: place the ribbon through the top space, then glue the pieces to complete the circle.

put the ribbon through the space before gluing.
Now glue the middle section to the top, putting ribbon through opening in the same way as above. You will glue five wrong sides of the triangle to the five that are exposed on the top.
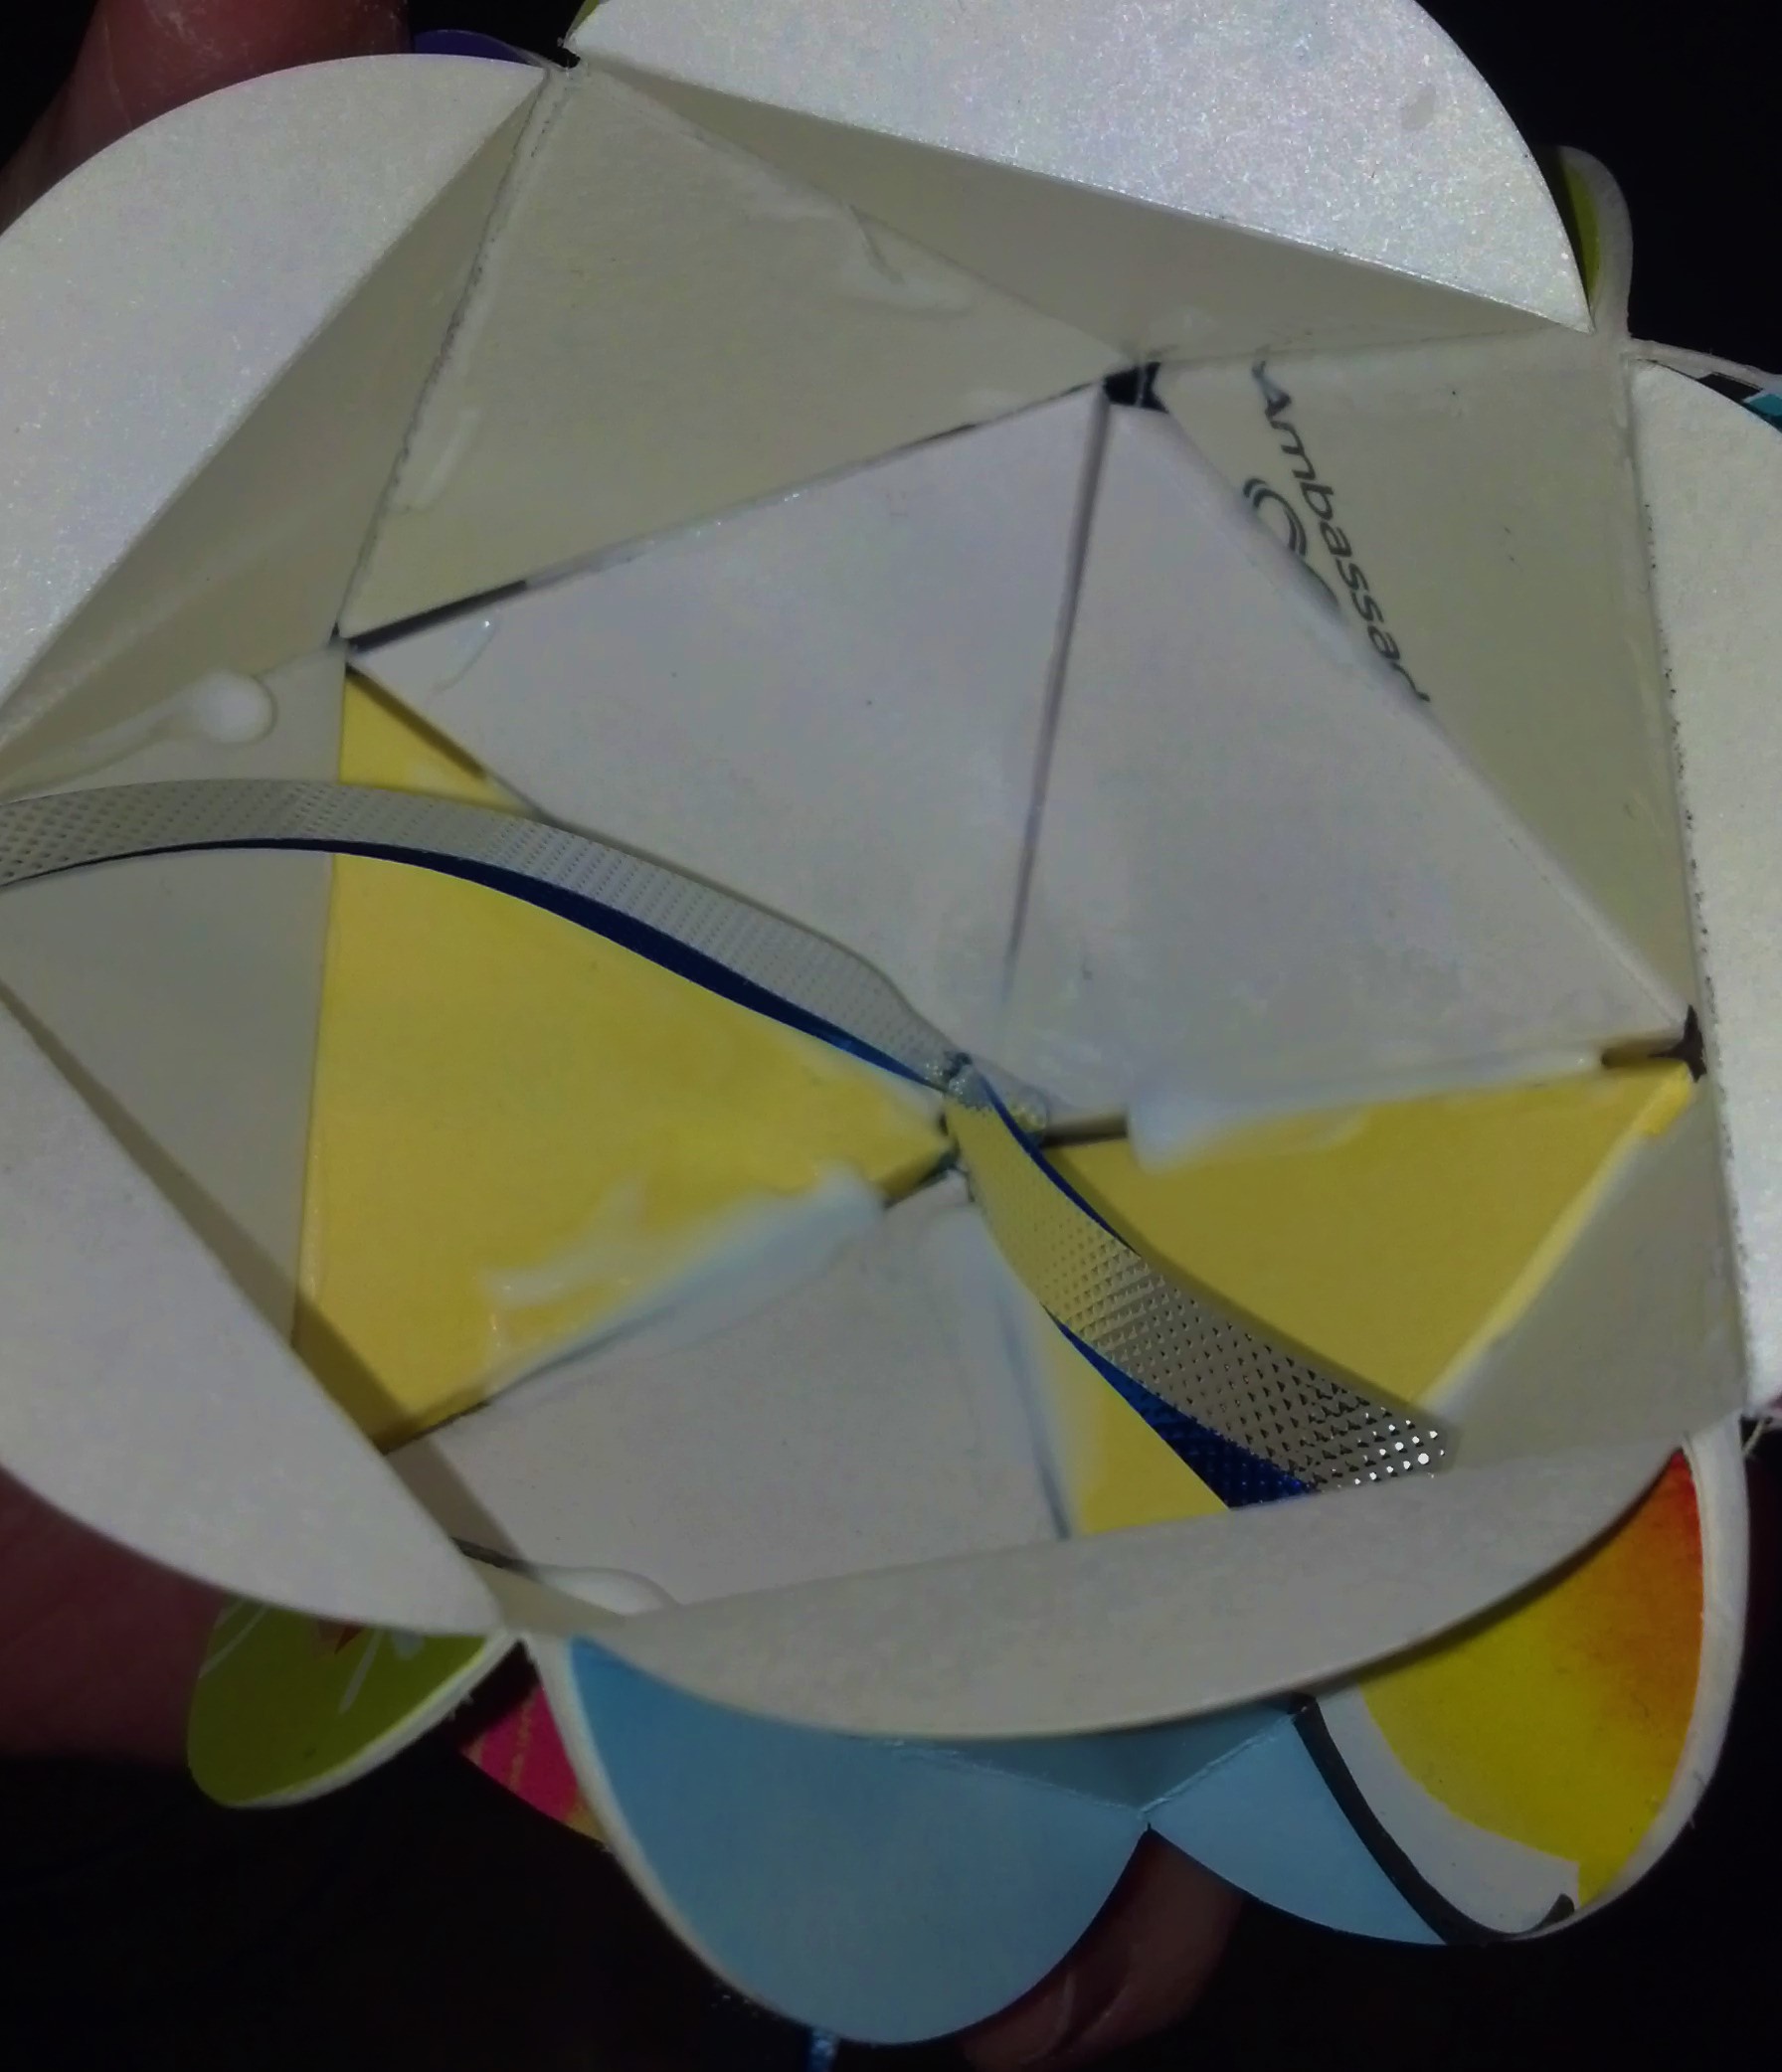
the inside of the ball will look like this while you are attaching the top, bottom and middle
The bottom will then be attached, after threading the ribbon through the middle.
Step six: once the glue has dried, we usually add a bit more embellishment. I find that I am never able to match the edges perfectly when gluing, and this is where the puffy paint comes in! Also, if you want to make the balls more Christmassy, adding a red or green paint line at this point really Christmases it up. We generally do this in two parts, as the paint can get really messy, and the ball difficult to handle. Run a bead of paint along the edges of half of the ball, let it dry, then finish the ball.

paint those edges!
Final Step: Curl the ribbon
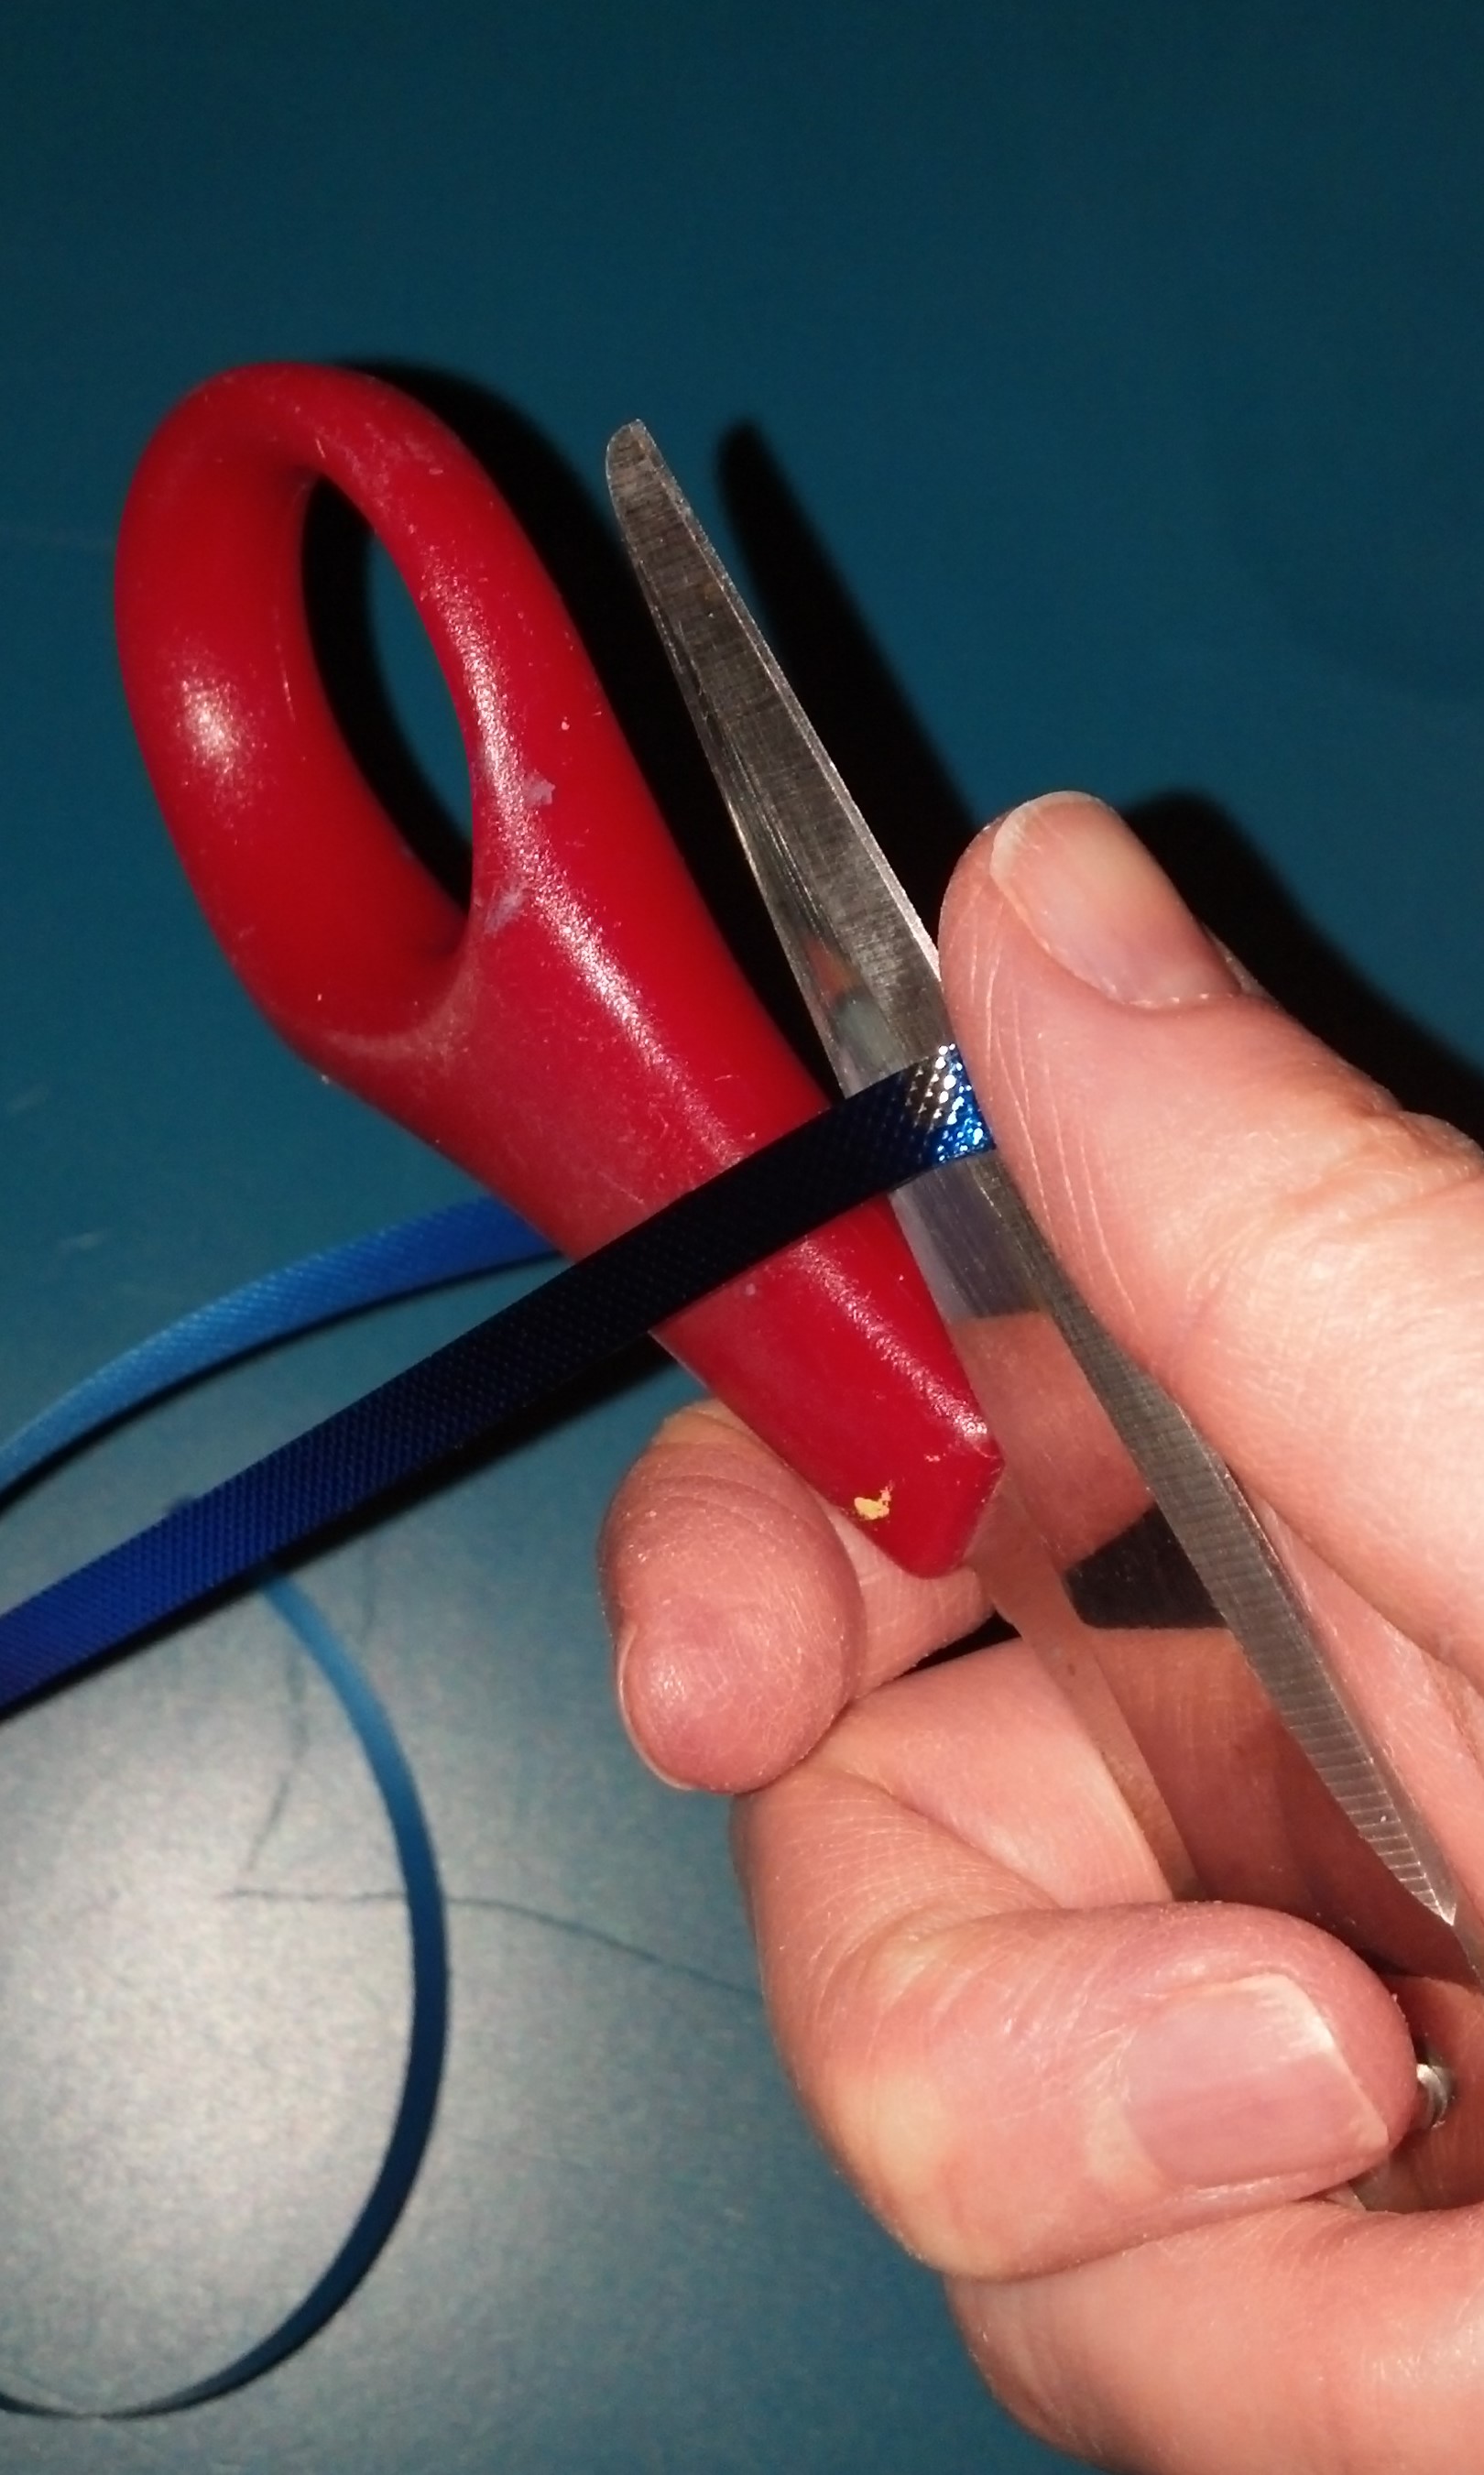
pull the ribbon between thumb and scissor blade for super curl
What to do with Christmas balls? Use them to decorate the top of a Christmas gift, hang them with mistletoe, fill a bowl or vase with them to decorate.
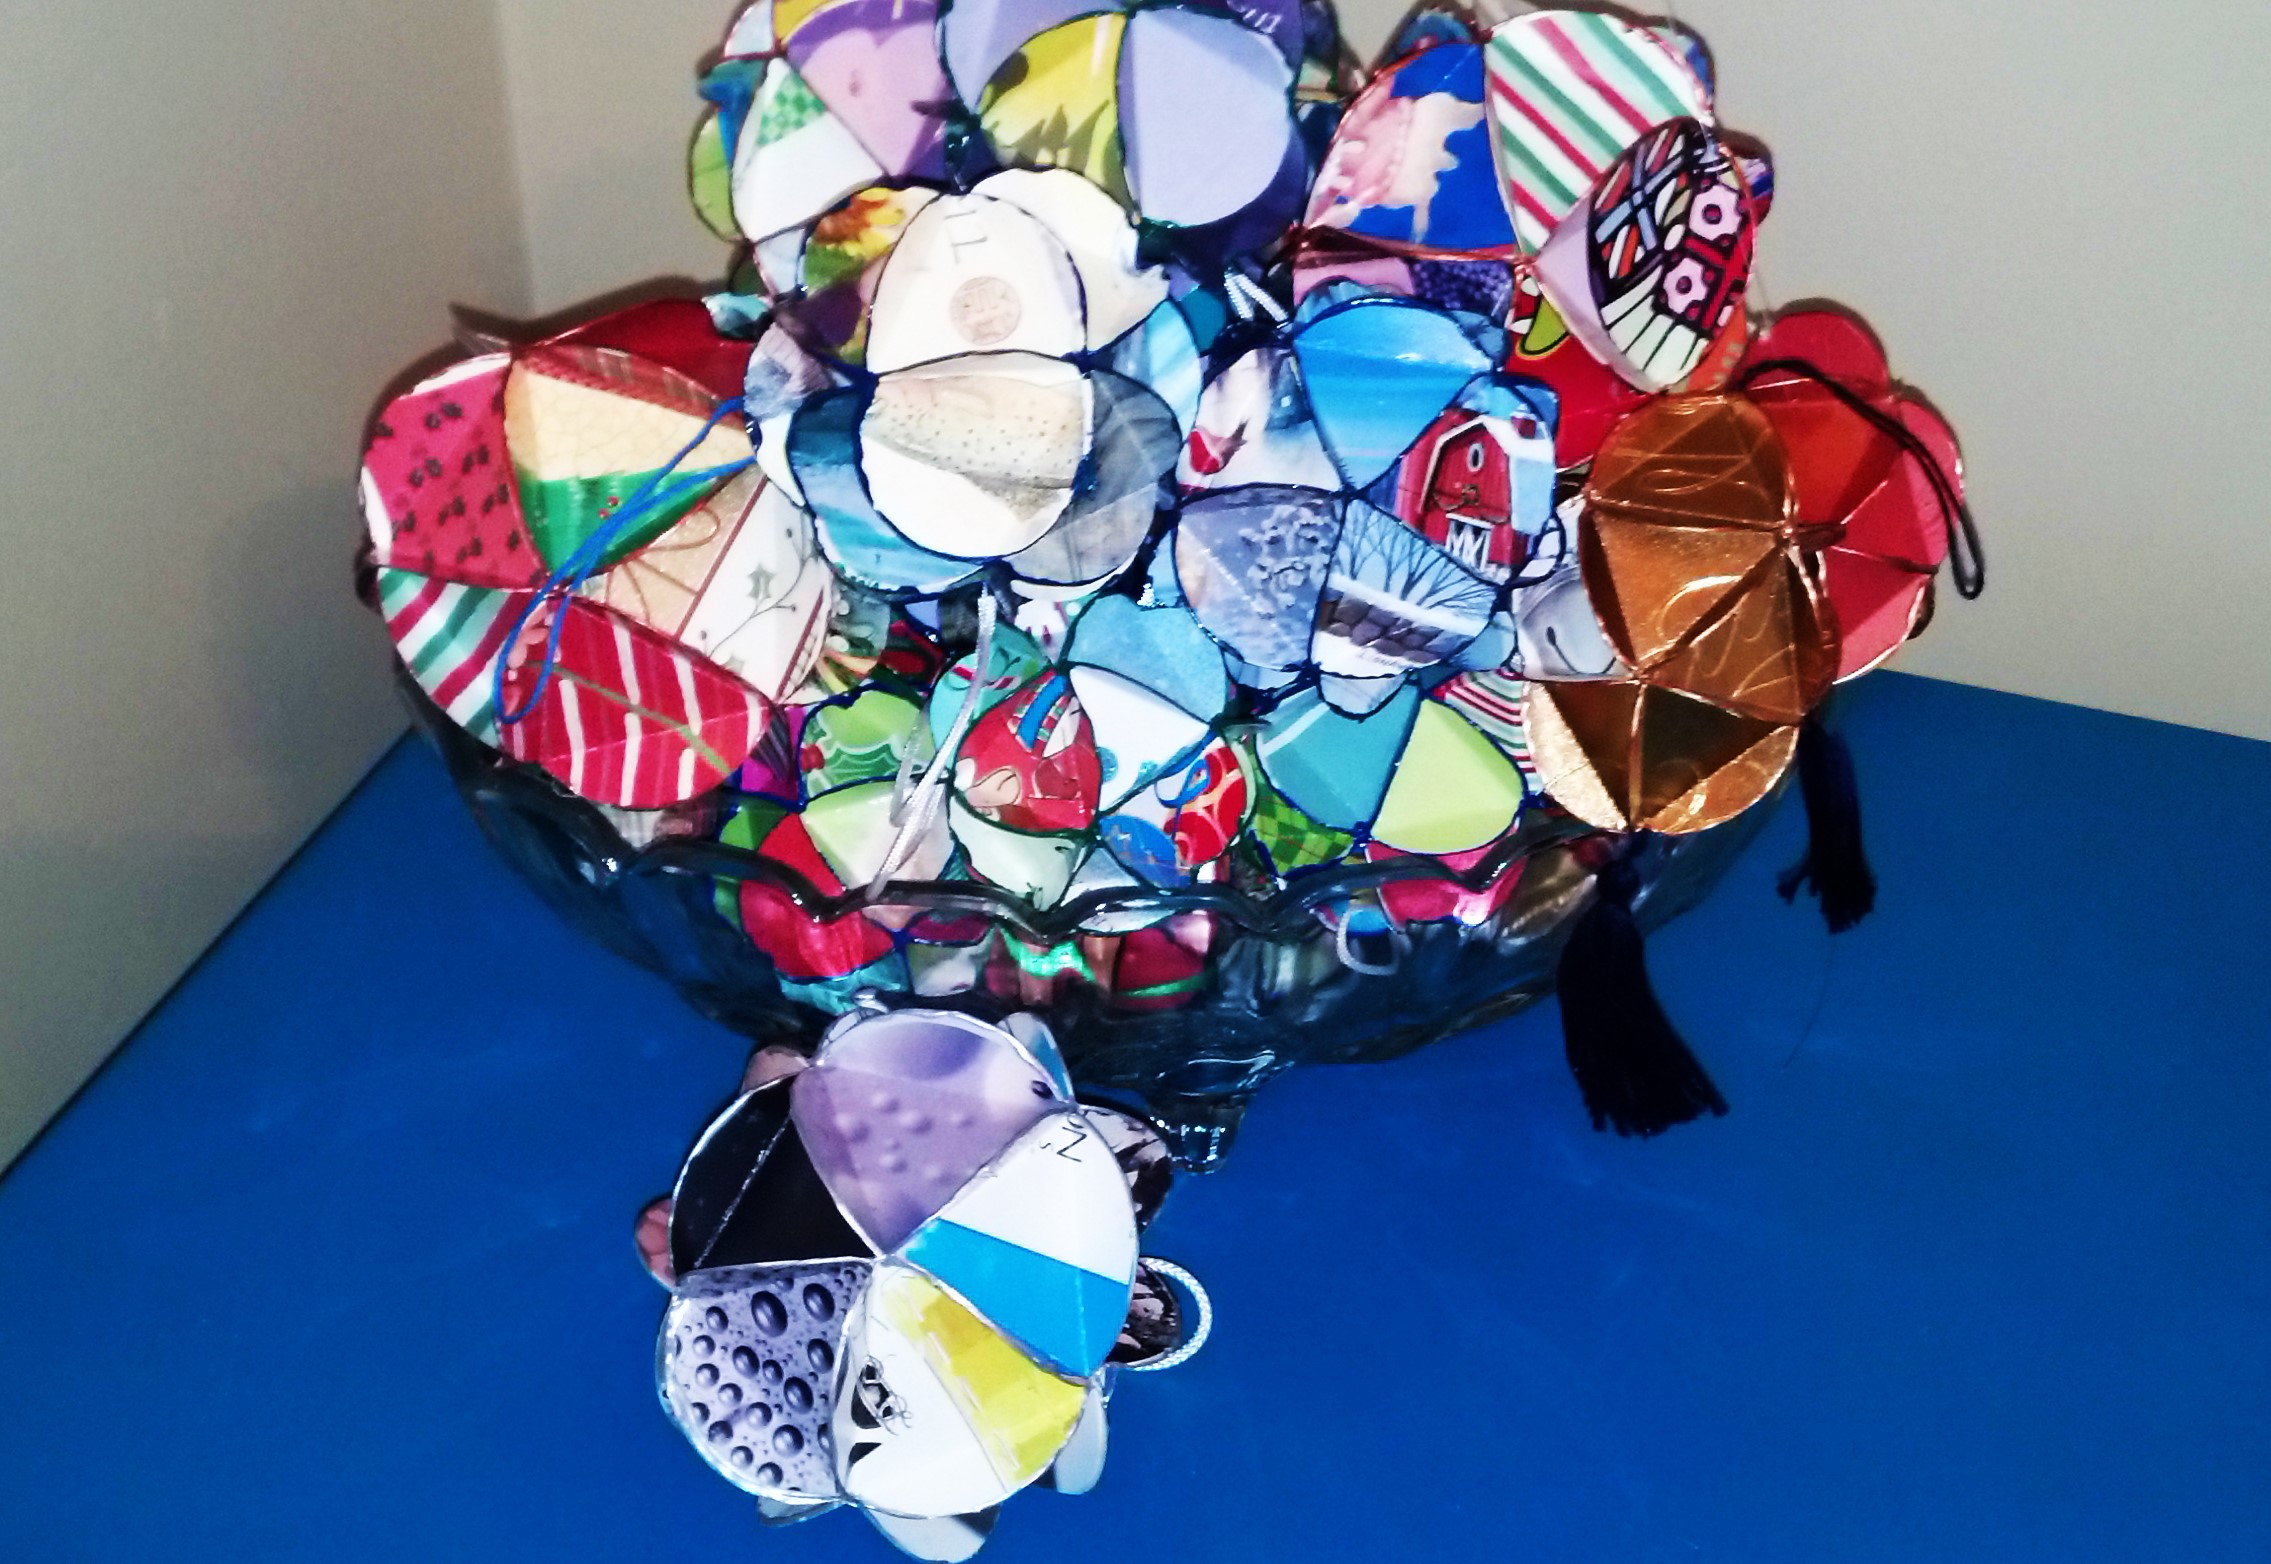
Ta-dah!
For the kids: Good Old Fashioned Paper Chains

Required Materials:
- old cards
- scissors or paper cutter
- tape or stapler
Step One: cut the cards into strips. I chose to make mine about 1″ wide, and just used the length of the card. I like my links to be different sizes, but if you prefer, you can cut them all to the same length.

cut cards into strips
Step Two: close one strip into a circle. Either tape it closed on both sides, or simply staple it. I prefer stapling, because it is faster, and it is stronger.
tape the circle…
or staple
Step Three: thread the next strip through the closed link, and tape or staple. Continue until you have a chain the length of your dreams.
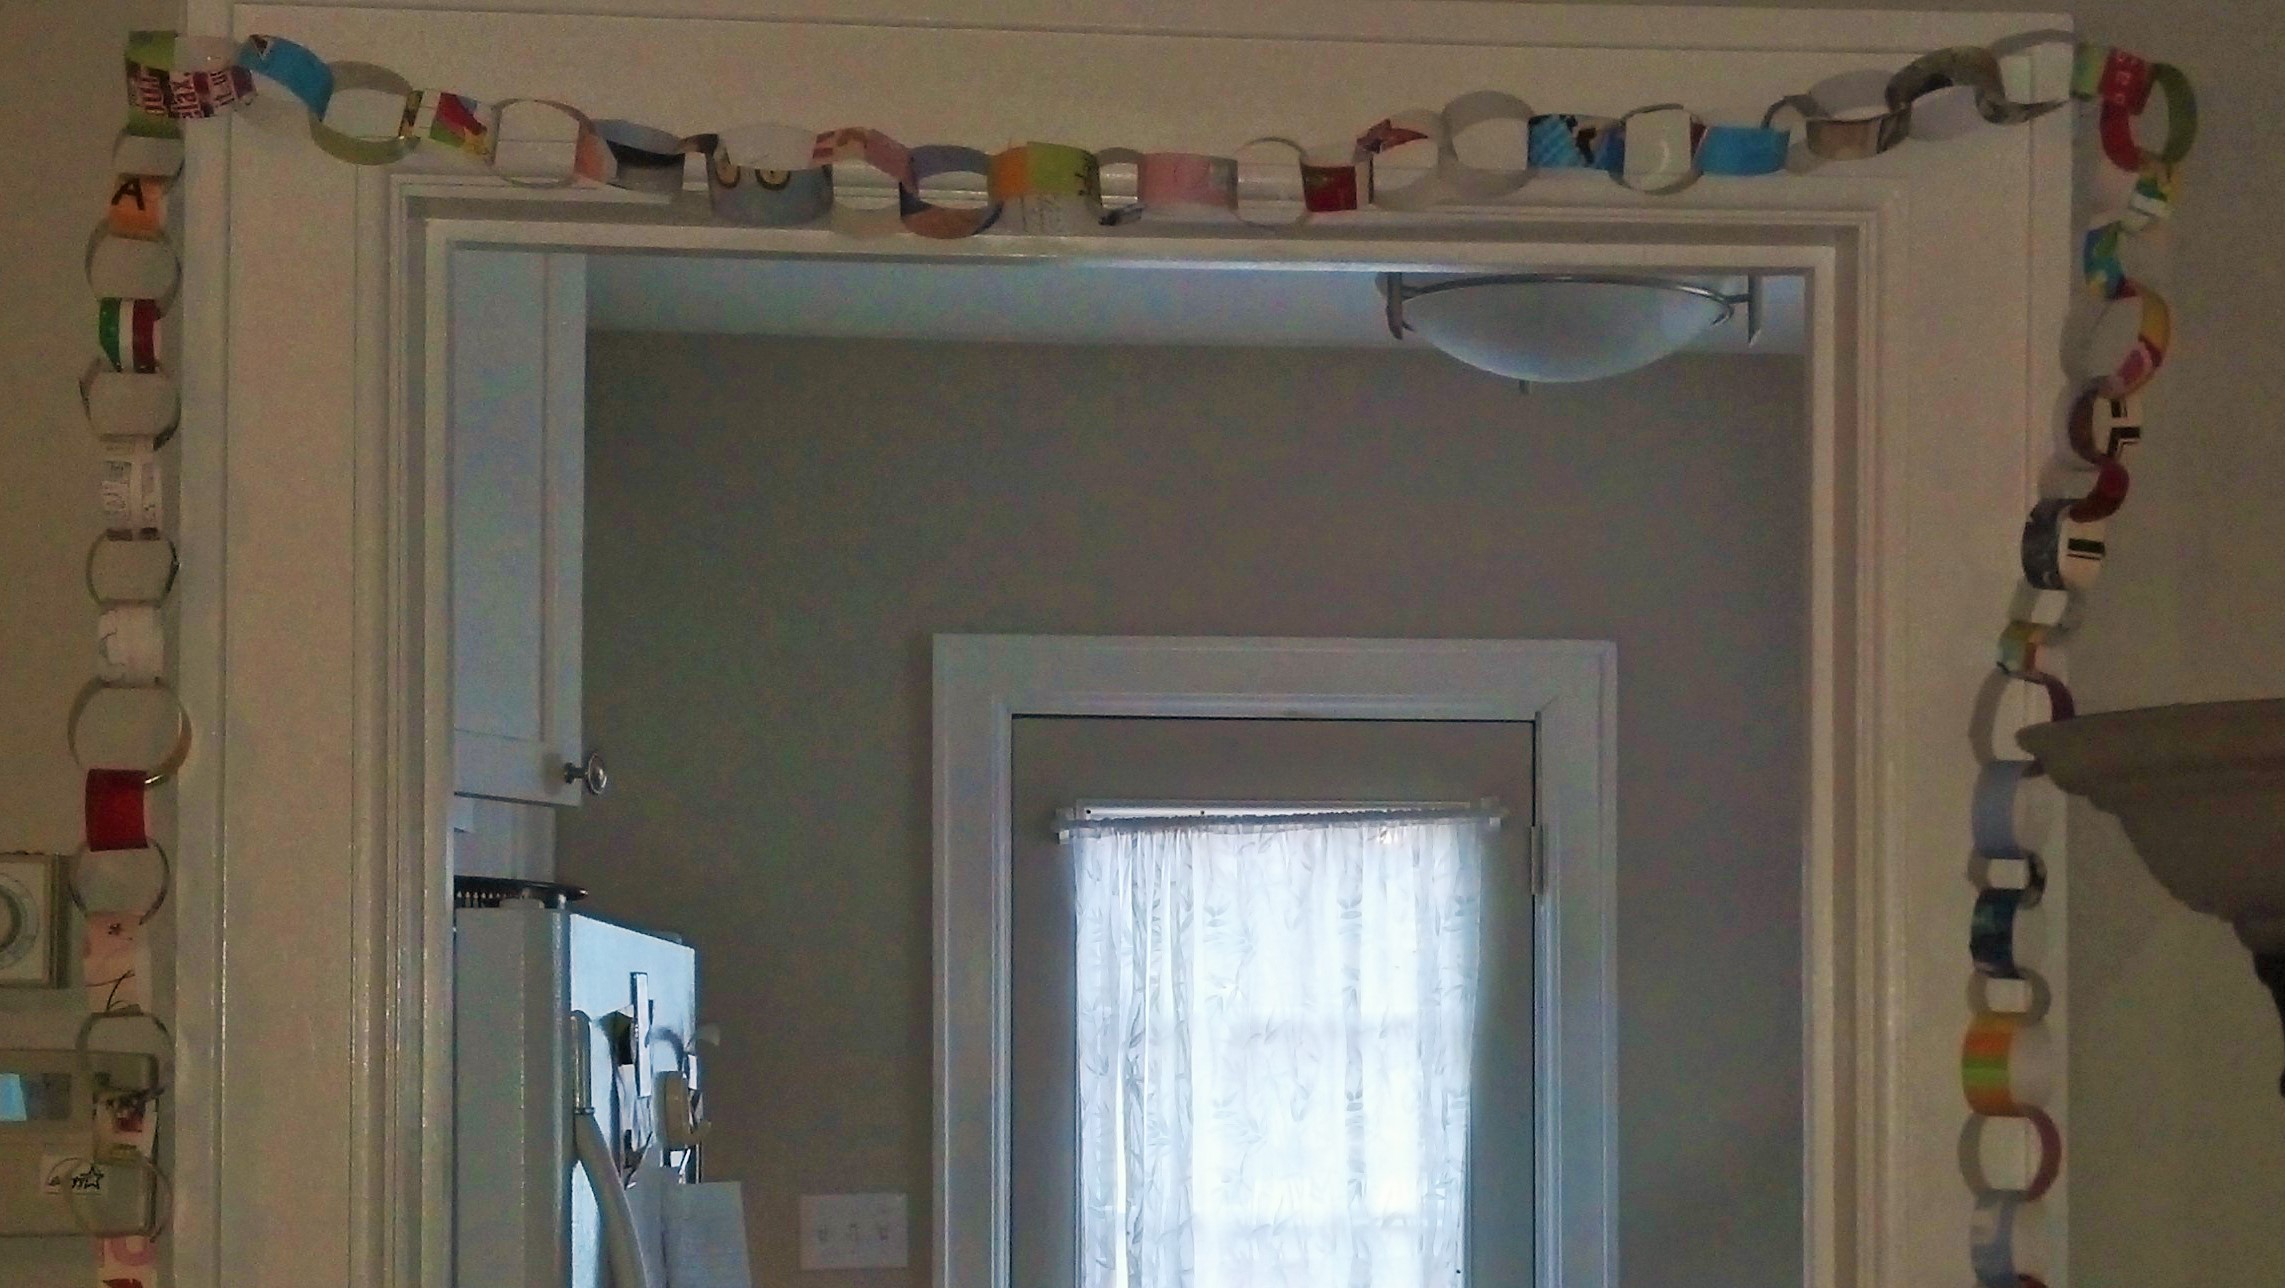
we hang them around our doorways