
Easter Egg Paper Art ∣ Wall Decor

I have piles of empty picture frames sitting around my house. I’m not talking one or two…more like 12-15 split over several rooms. My intentions were good when I first purchased them but then “stuff” got in the way. So, to appease my husband and perhaps my cleaning lady too, I decided to try an Easter craft that would help get a few of these frames off the floor (albeit temporarily) and onto the walls.
By: Ryan Lockhart
Materials:
- Picture frames (Ikea, Indigo and Blacks have good selections)
- Selection of colourful paper with different patterns (Michael’s has a great selection at about $1/sheet)
- Thick white paper (mine has a formal texture and cost about $2/sheet)
- Construction paper (any colour, it will be used to create a stencil, and for the base you will glue on)
- Pencil and eraser
- Craft knife (the sharper the better) and something to cut on
- Ruler
- Glue stick
- Picture frame hooks
Time & Cost:
I made three different pictures using two different shapes. My cost was for the paper only, which was about $10 in total. To make my three images, it took about 2 hours.
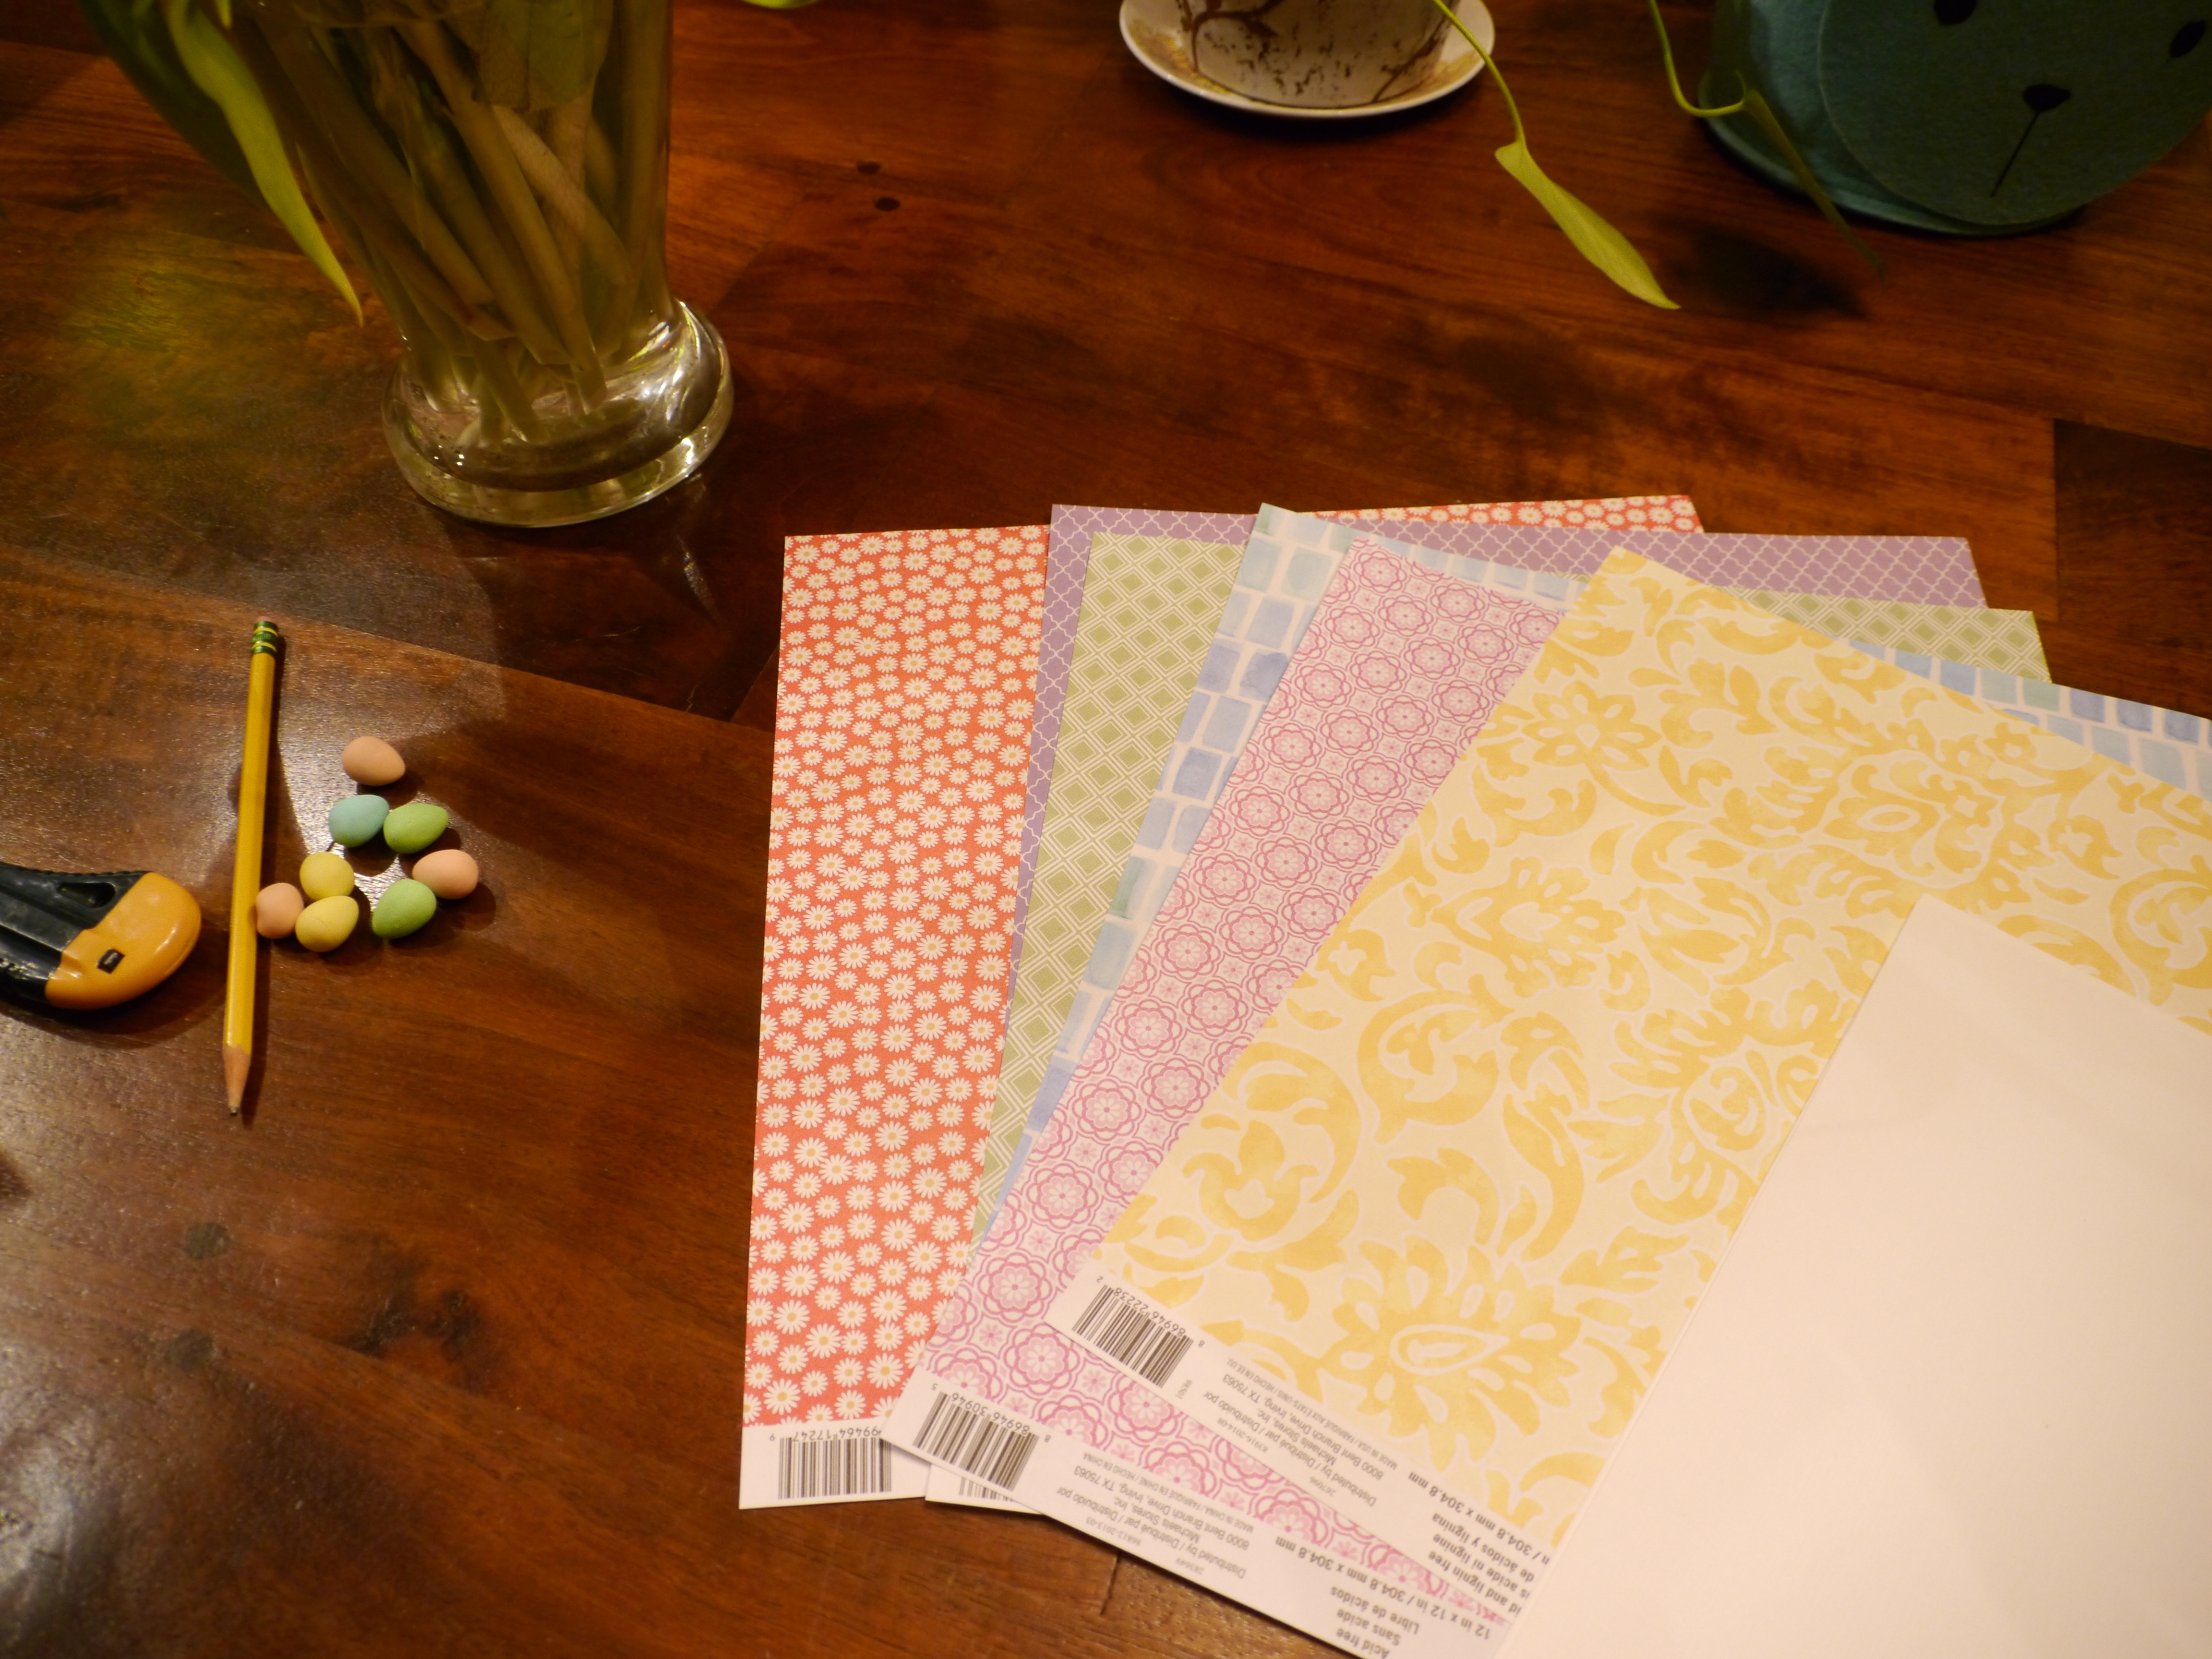
I chose a selection of paper with different patterns and colours so I could mix and match.
Step 1
Choose a variety of paper that has complementary or themed colours and a variety of patterns. Be sure to choose a few that stand out so you can create interesting contrast.

I drew guidelines on my template to help me draw symmetrical eggs that were centred on the page.
Step 2
This can be done in a number of ways but if you’re like me and want things lined up perfectly in your frame, I suggest creating a stencil of your shape first. It will allow your image to sit properly in the frame without slipping and will also allow you to replicate your shape in more than one frame.
Remove the mat from inside your frame and trace the outline of both the outside and inside of the mat onto construction paper. The inside of the square represents your working space, or the space that will be visible on your finished design.
Draw a centre guideline through the middle of this rectangular space, and a second one about one-third of the way from the bottom (the widest part of the egg). Using your pencil, draw an egg shape using these guidelines to ensure it is symmetrical and centered.
Using your knife, cut out your egg shape and the outside square. You now have a template that will fit inside your frame, with a centered egg shape.
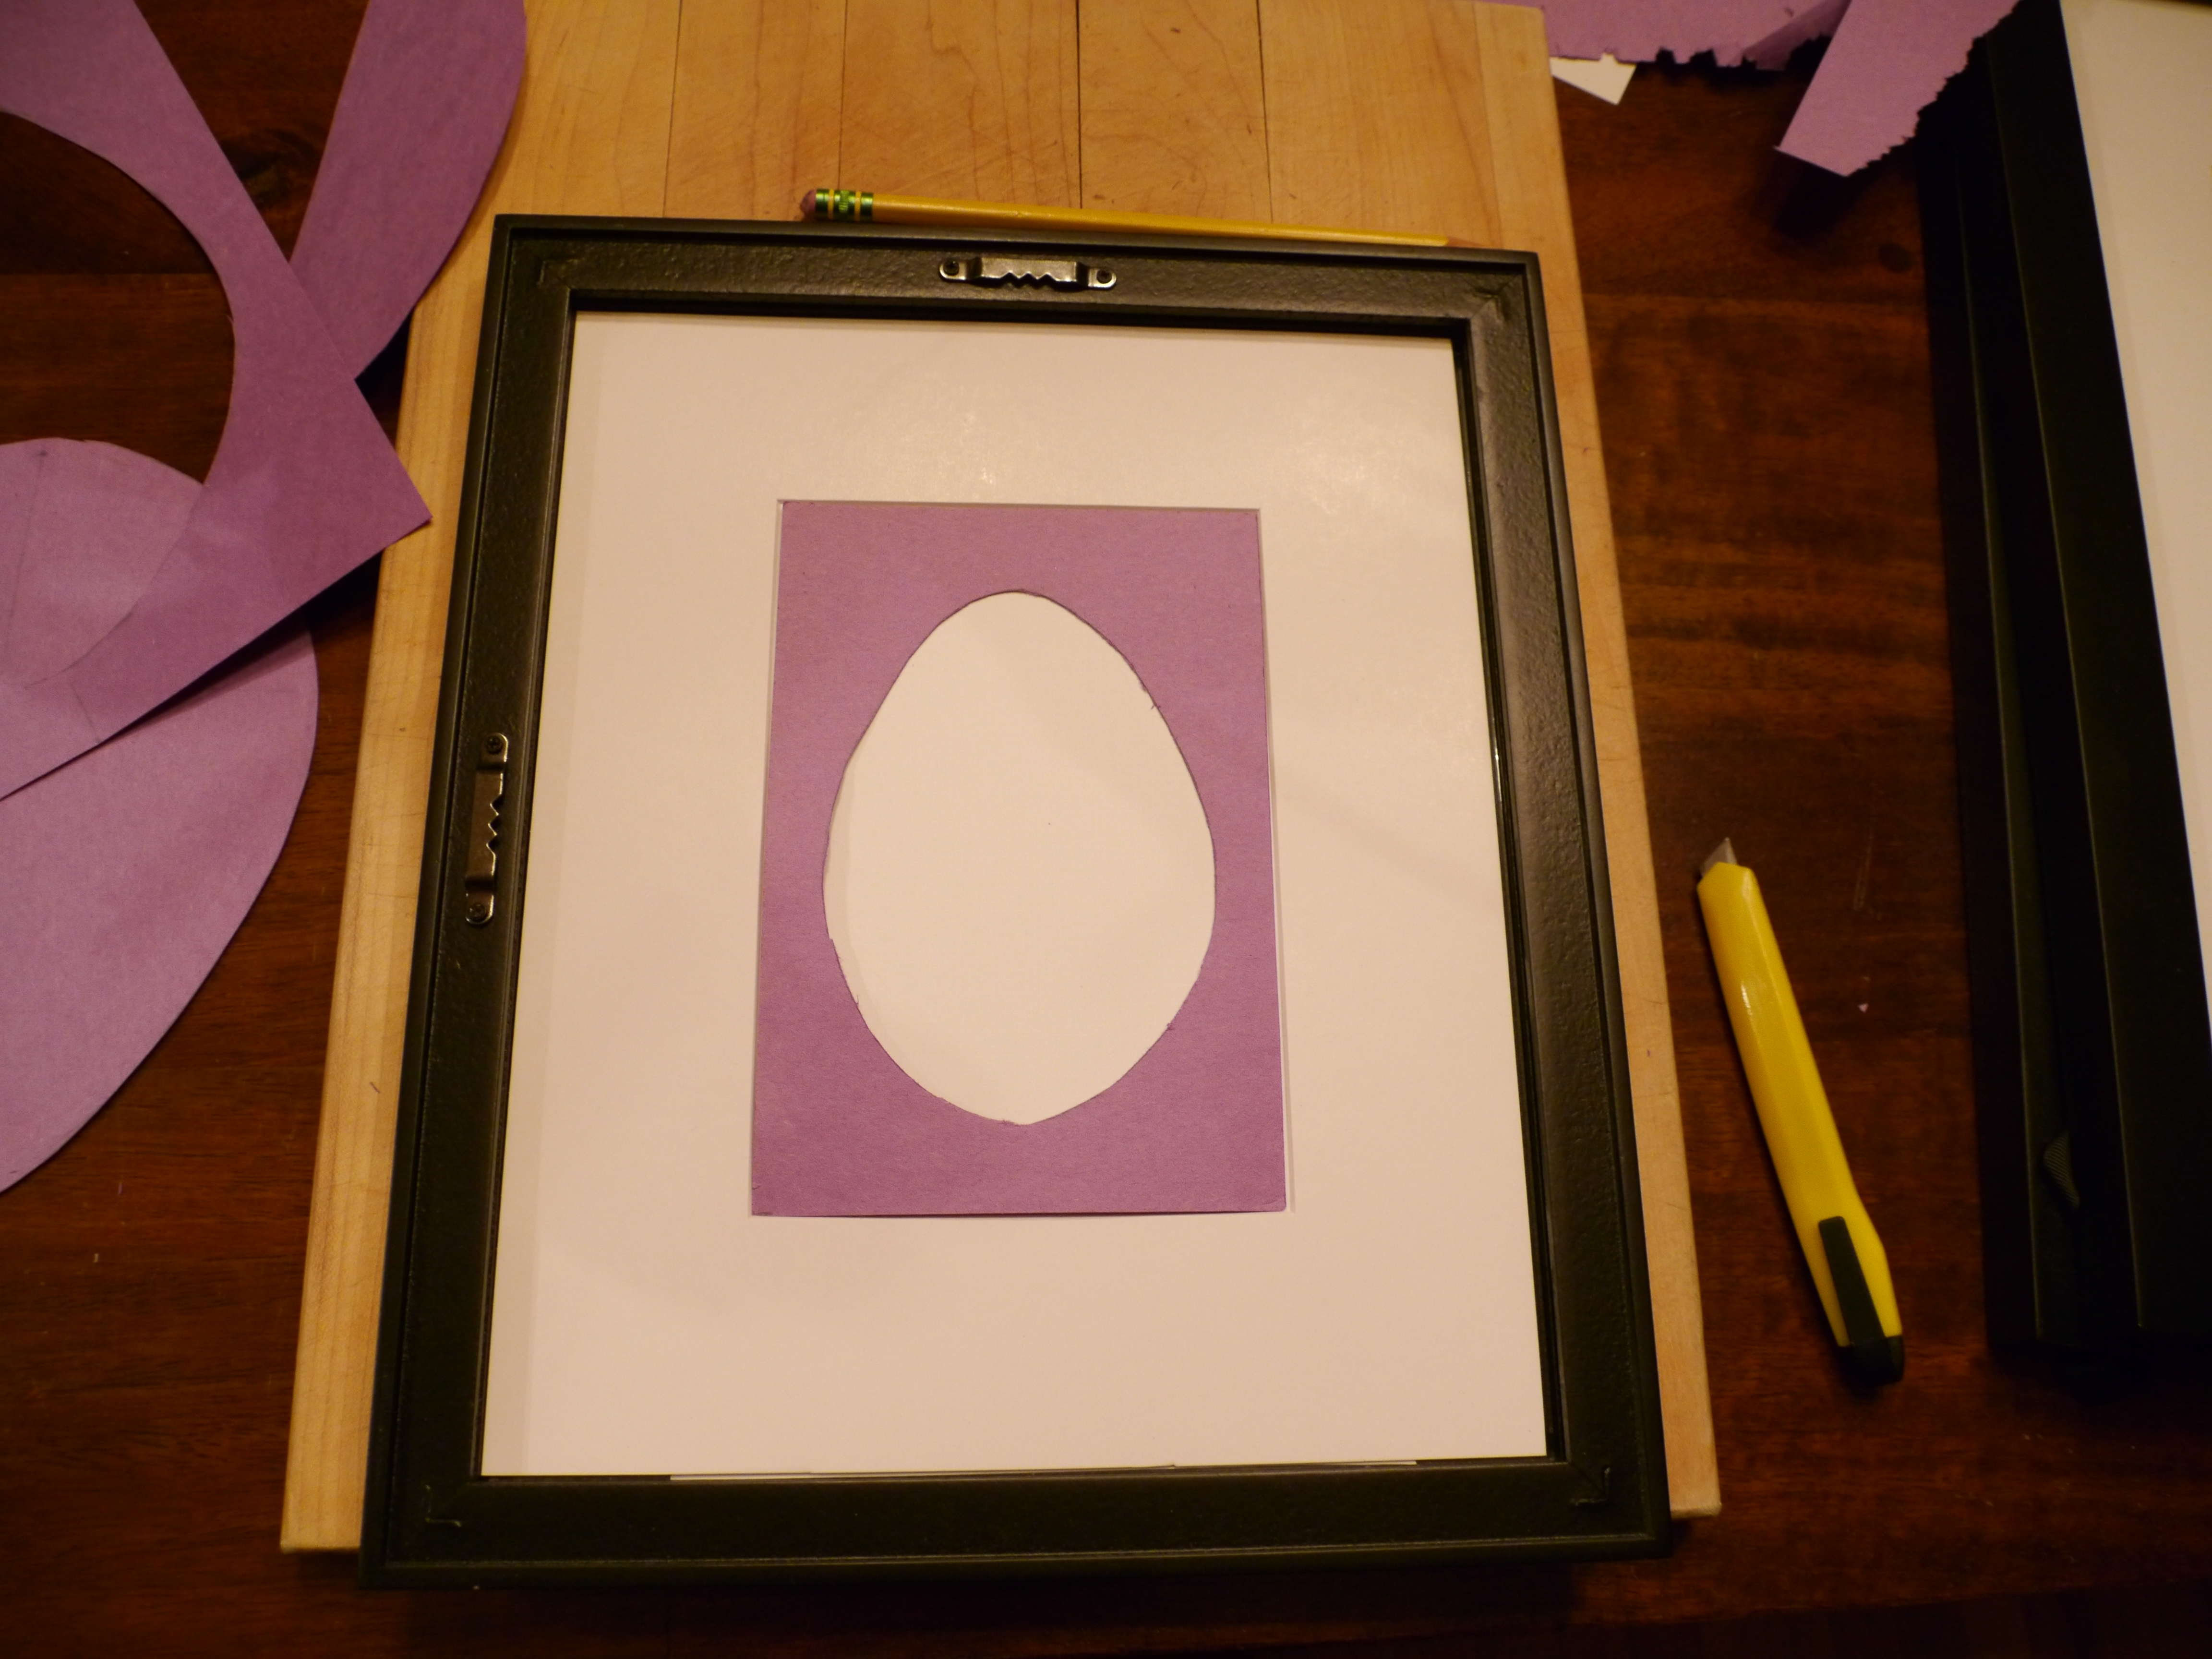
To be extra certain my egg shape was centered, I placed the white paper under the mat in the frame and then placed my stencil on top before drawing the egg on the white paper.
Before making any cuts, I ensured everything lined up nicely.
Step 3
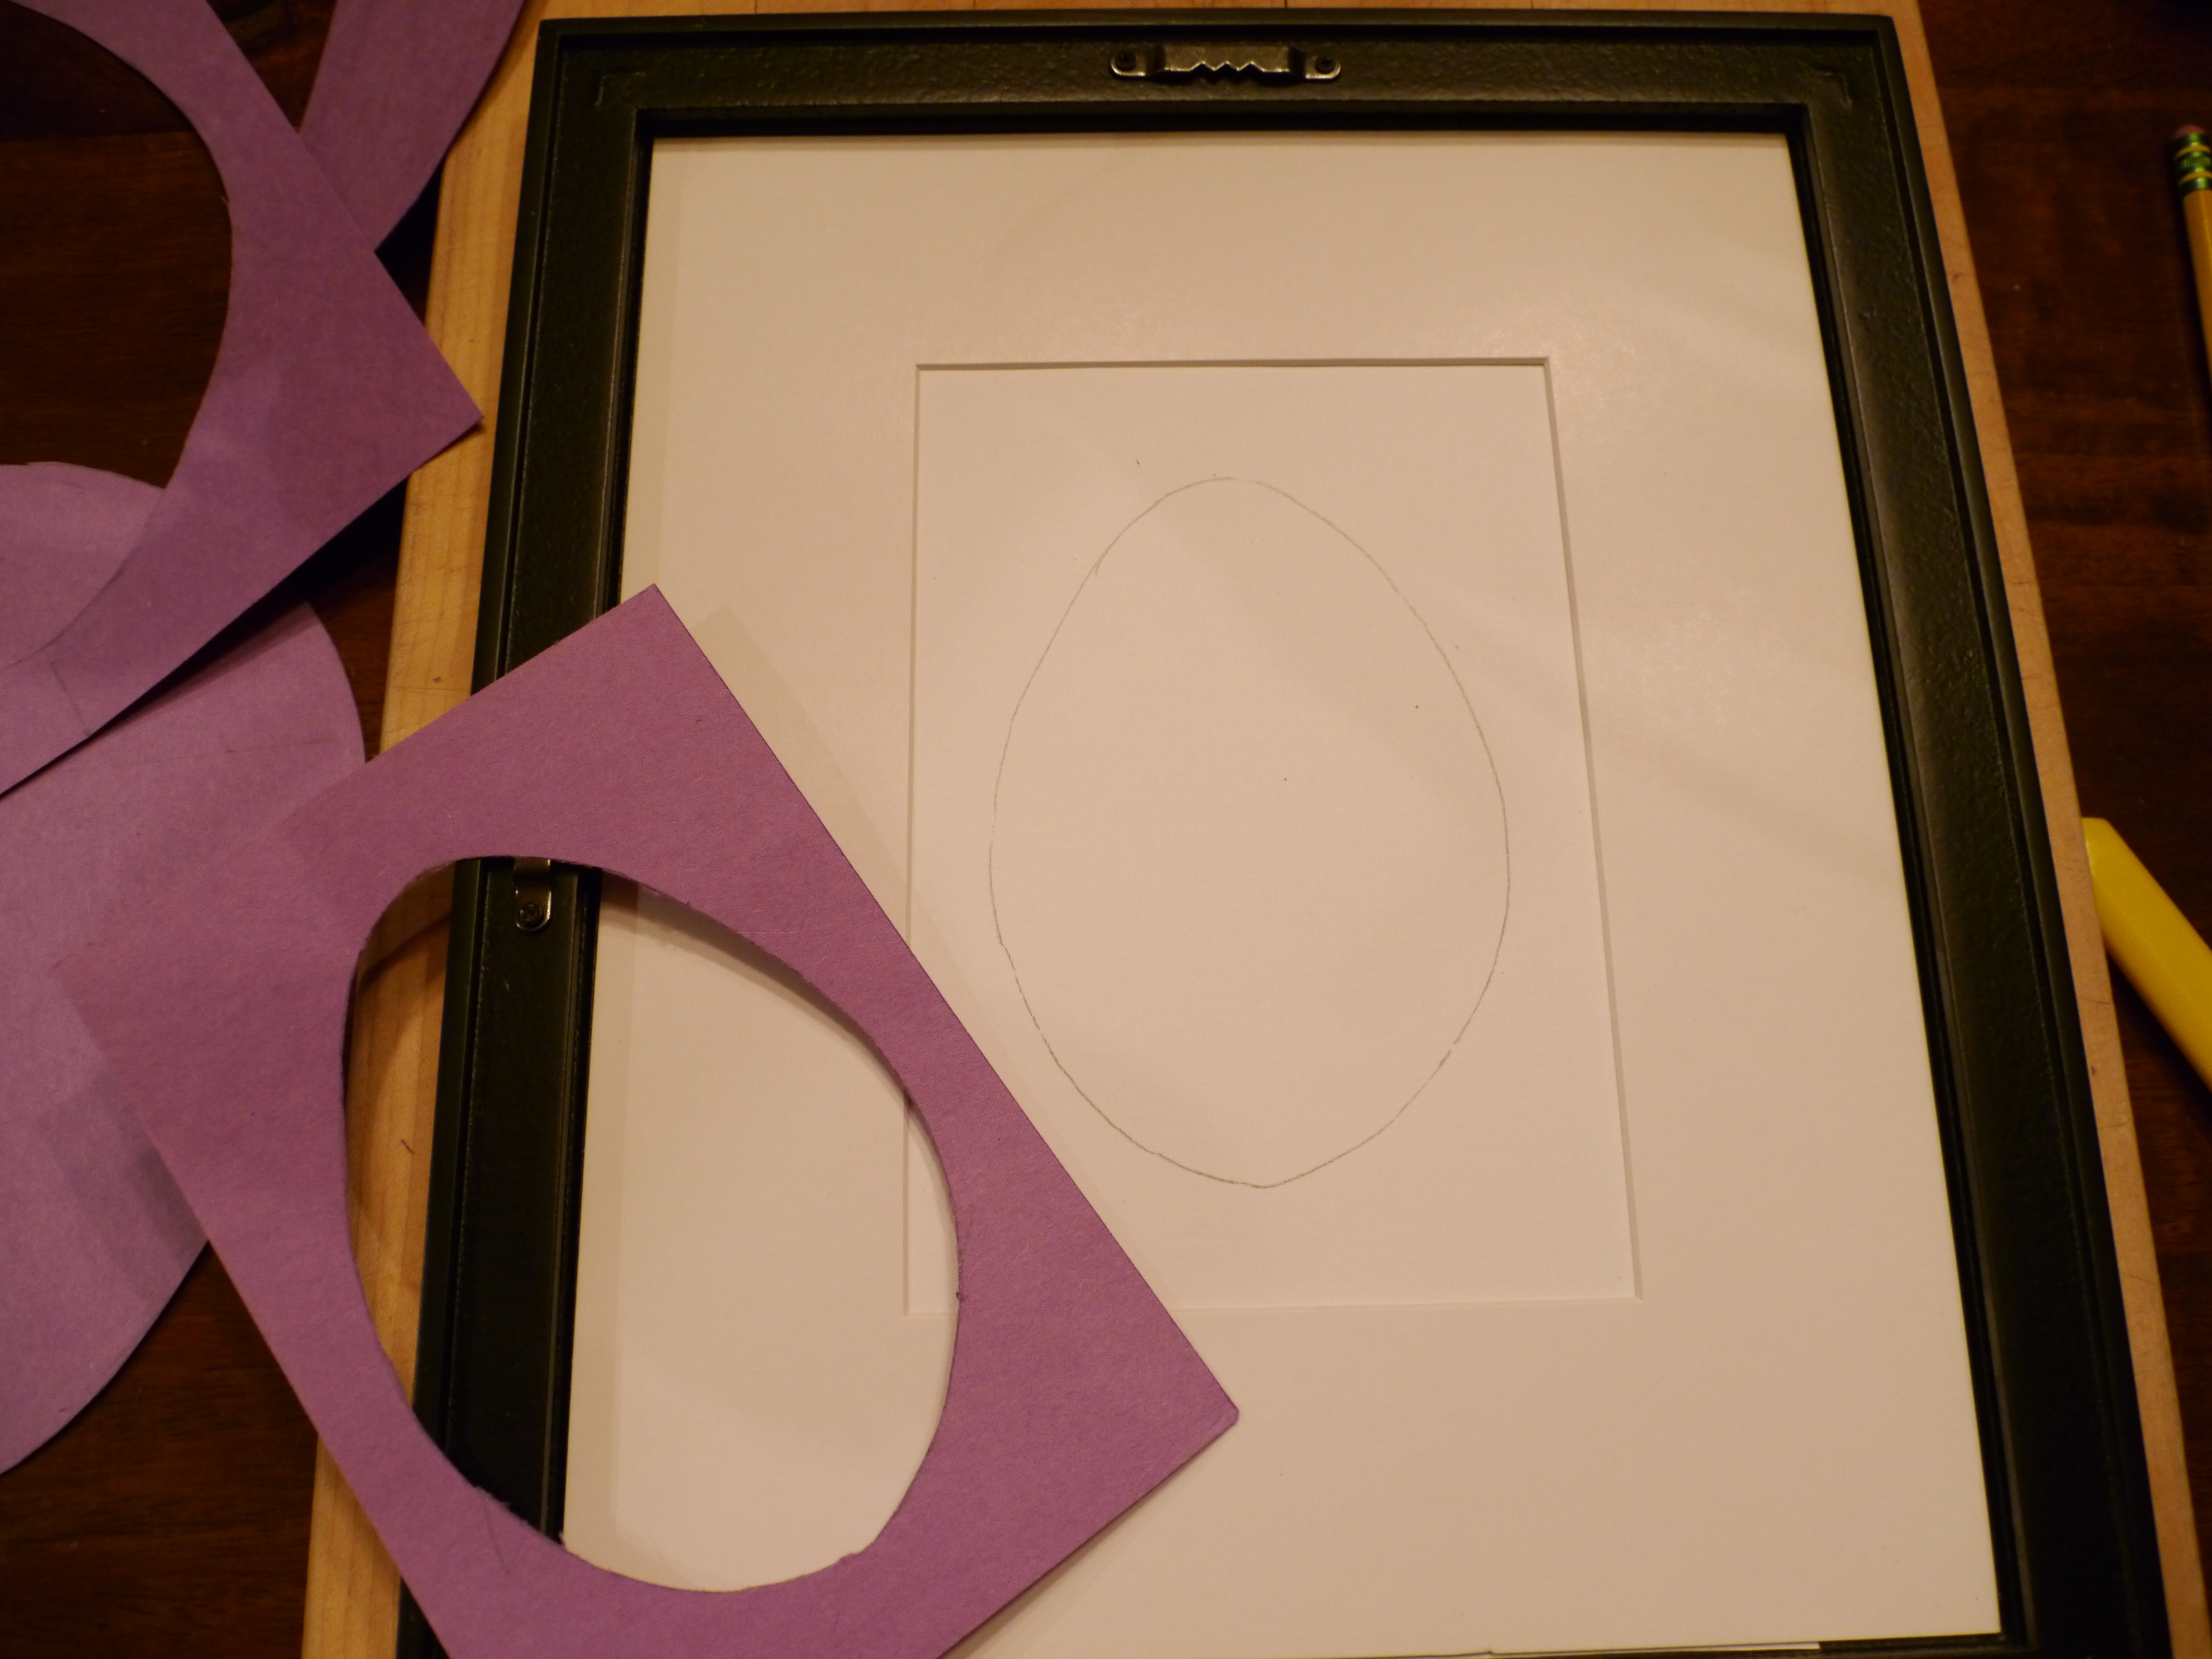
Place your template on the back of your fancy white paper and trace your egg shape and the outside border. Cut out your large rectangle first, and then very carefully, your egg. A sharp knife is best as this cut will be visible on your finished design and dull blades will tear the paper.
Flip your white paper over and place it over a sheet of construction paper. I used a darker colour and examined my egg shape. You can make final adjustments to your shape if you like. When you’re satisfied, use your pencil to carefully trace the egg onto the construction paper and remove your white paper. Clean up any pencil smudges on your white paper with an eraser.
Glue your paper strips down one at a time and ensure you cover the entire surface of your shape.
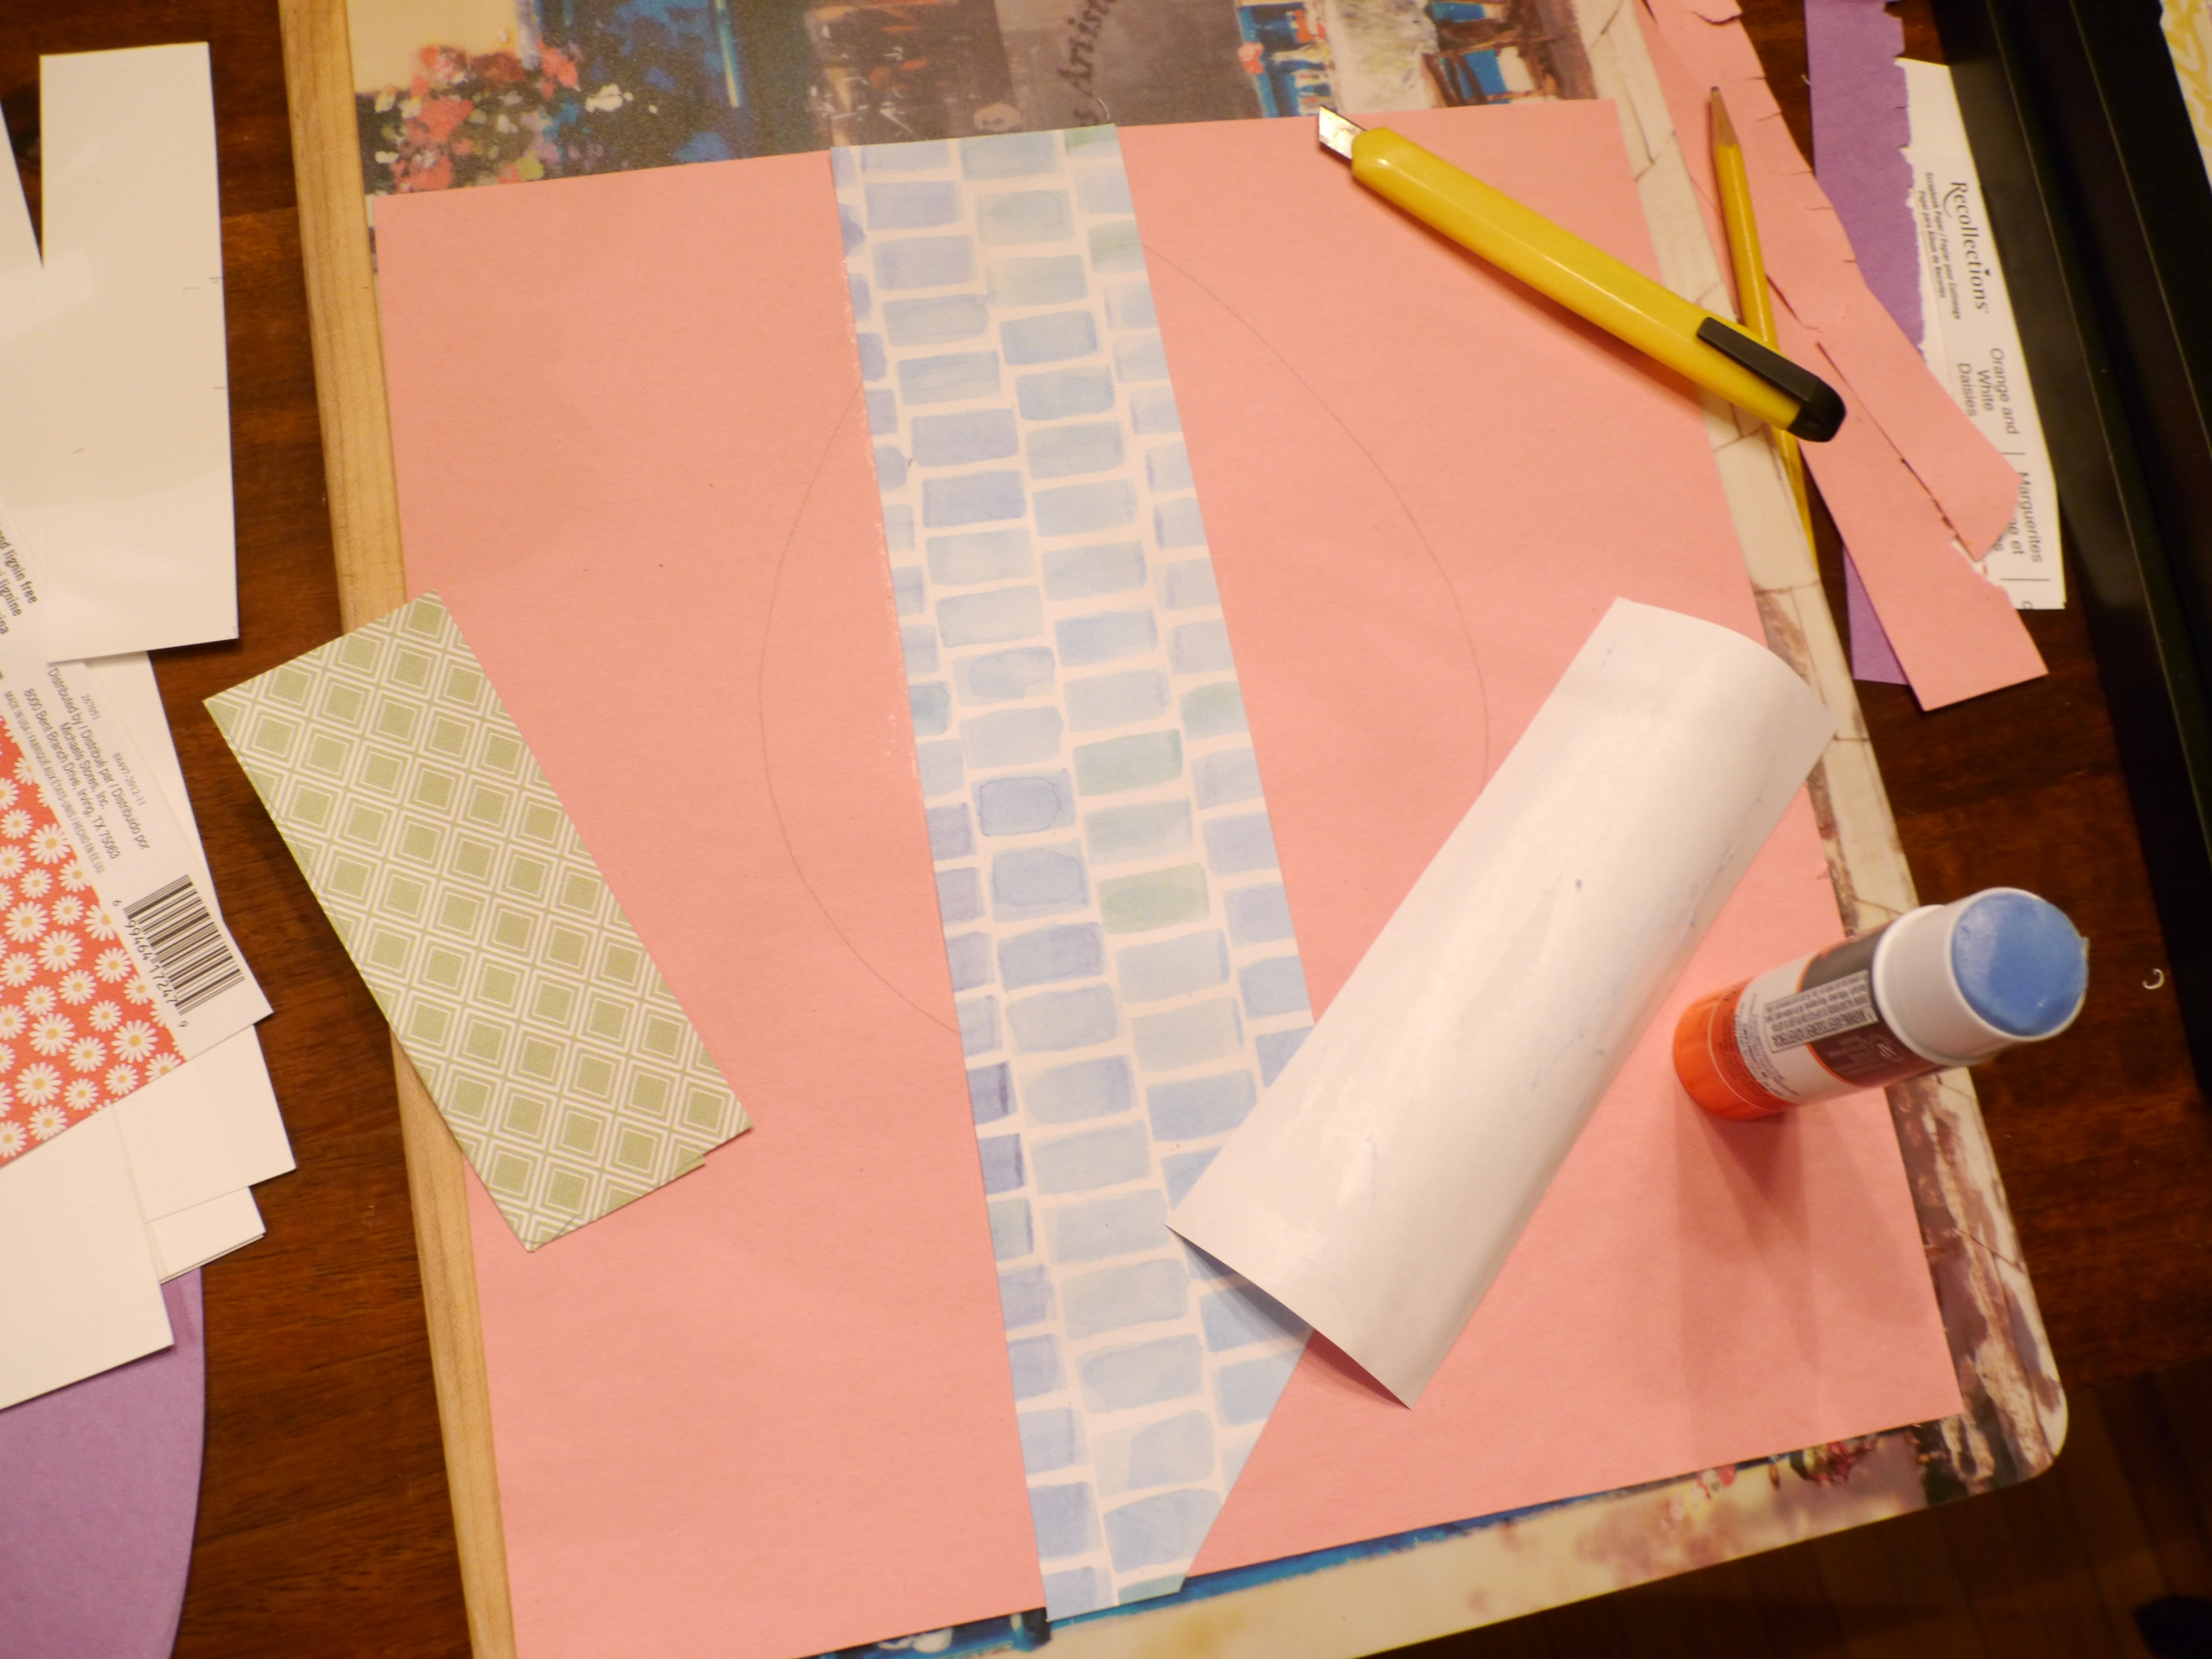
Step 4
Now is the fun part! Determine which paper colours and patterns you want to use and lay them out over the egg shape you traced on the construction paper. You can place your white paper with the egg cutout on top to see how it will look. Cut off pieces of the coloured paper and glue it over the egg drawn on your paper. Be sure to spread the glue close to all the edges so the paper glues down smoothly. Layer your paper into your pattern until the shape is covered entirely.
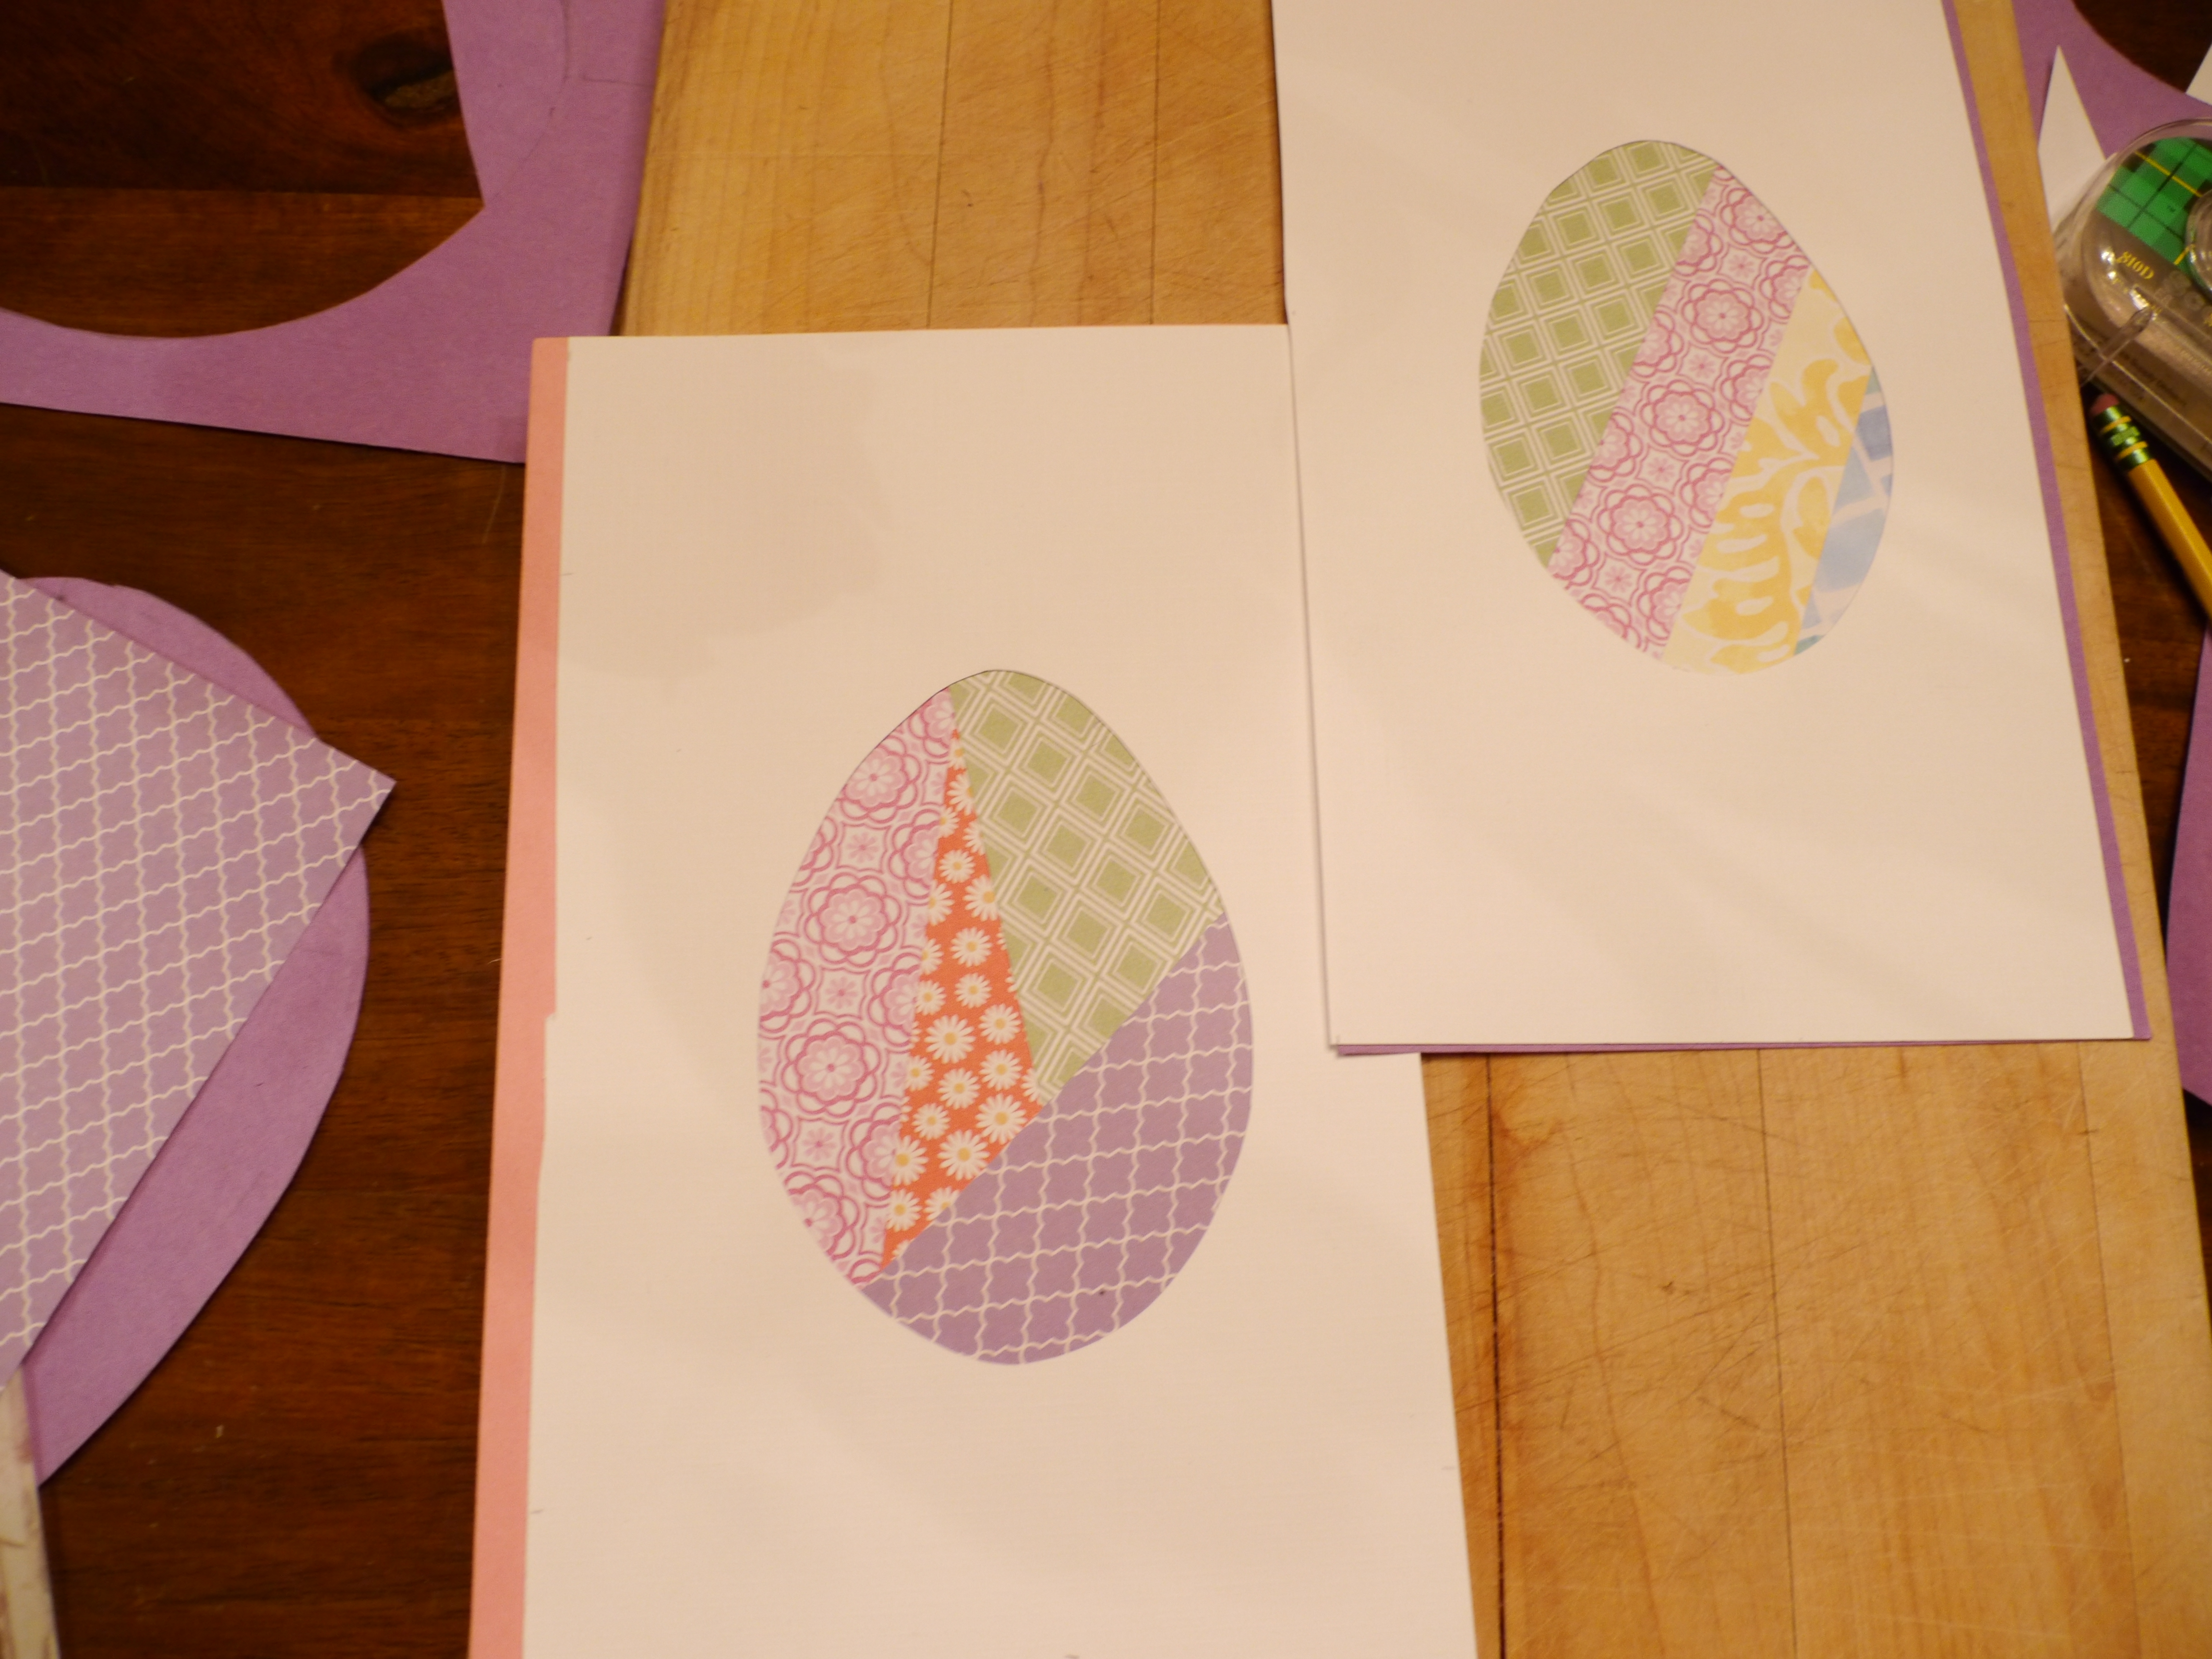
Glue your white paper down and take the time to smooth it out to ensure you do not have any creases.
Step 5
Put glue on the back of your white paper, line it up with your construction paper and glue it down, pushing hard to smooth out any kinks and creases. Pop your finished art into your frame and your egg should be front and centre! Hang your frame or display it on a table or your mantel.

I created two small eggs and one larger one. You can also try making fun shapes like bunnies – any shape will work!
As always, I ended up working on this at night once the kids were asleep but they could easily help. You just need to get everything ready and they can choose their coloured paper, cut it out, and glue it down on the construction paper. I would love to do this using dino or solar system paper (yep, what my oldest is currently into) and making a giant letter “E” for his wall. Perhaps another picture frame project? Hmmm…


Great idea! I am also the one having some empty photo frames at home 😉
Now the question is…what do I do with the rest of them!