Under-the-sink Shelf

In a previous post, I told you about my big bathroom cabinet redo. I was quite proud but, looking under the sink, I realized something was missing. A jumbled mess of junk had collected in the cabinet and I knew, while foraging through the mess, that my life would be so much easier with the addition of a shelf. Time for my next project! Now I just have to tackle my kitchen cabinet.
By: Jodi
Time Required: About an hour, including paint drying time.
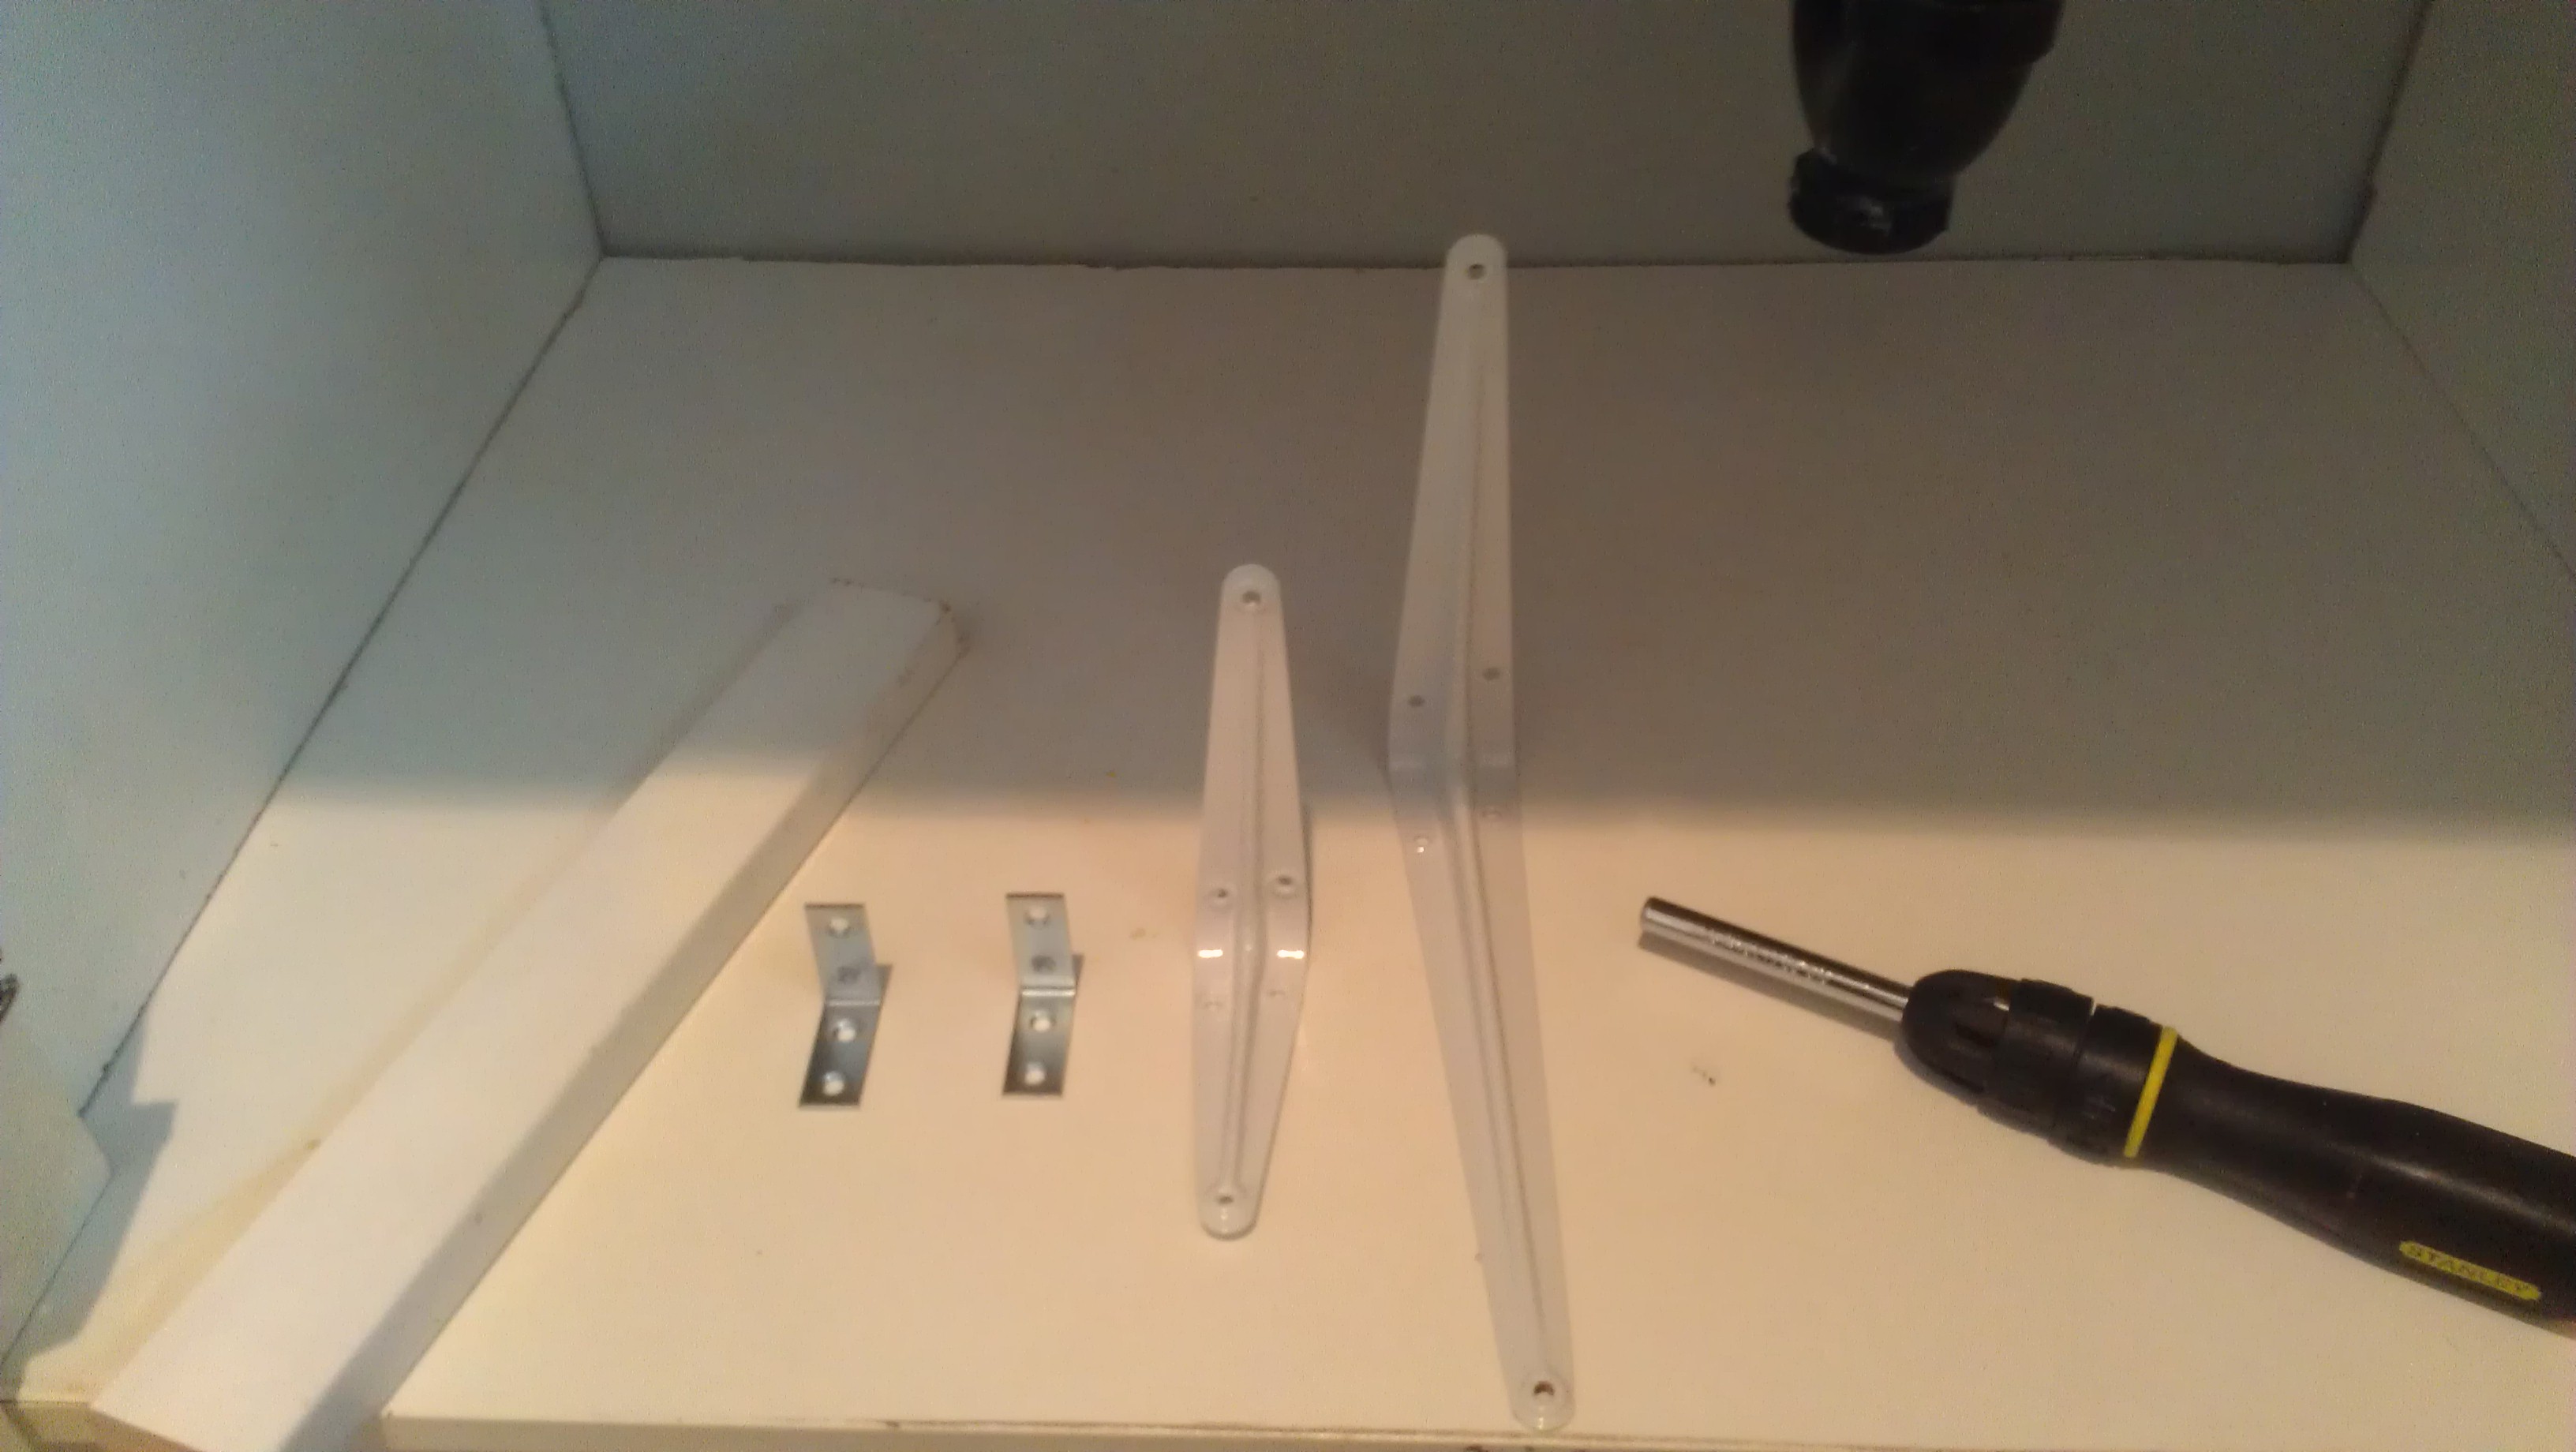
Materials and Tools Required:
– screwdriver
– hammer
– nail
– screws
– brackets (2 for shelf, 2 to attach leg to floor)
– piece of wood for shelf
– piece of wood for leg (I used part of an old change table leg that was destined for the garbage)
– paint
– paint brush
Cost: Under $15! I got a piece of pre-cut wood that happened to fit my space for $8, and that and the brackets came to $14-something. I had everything else at home.
Tutorial:
1. Measure the space under your bathroom or kitchen cabinet, from side to the first interfering pipe. That’s the width of your shelf! And I would make the depth a few inches less than the depth of the cabinet, so there’s some room for maneuvering.
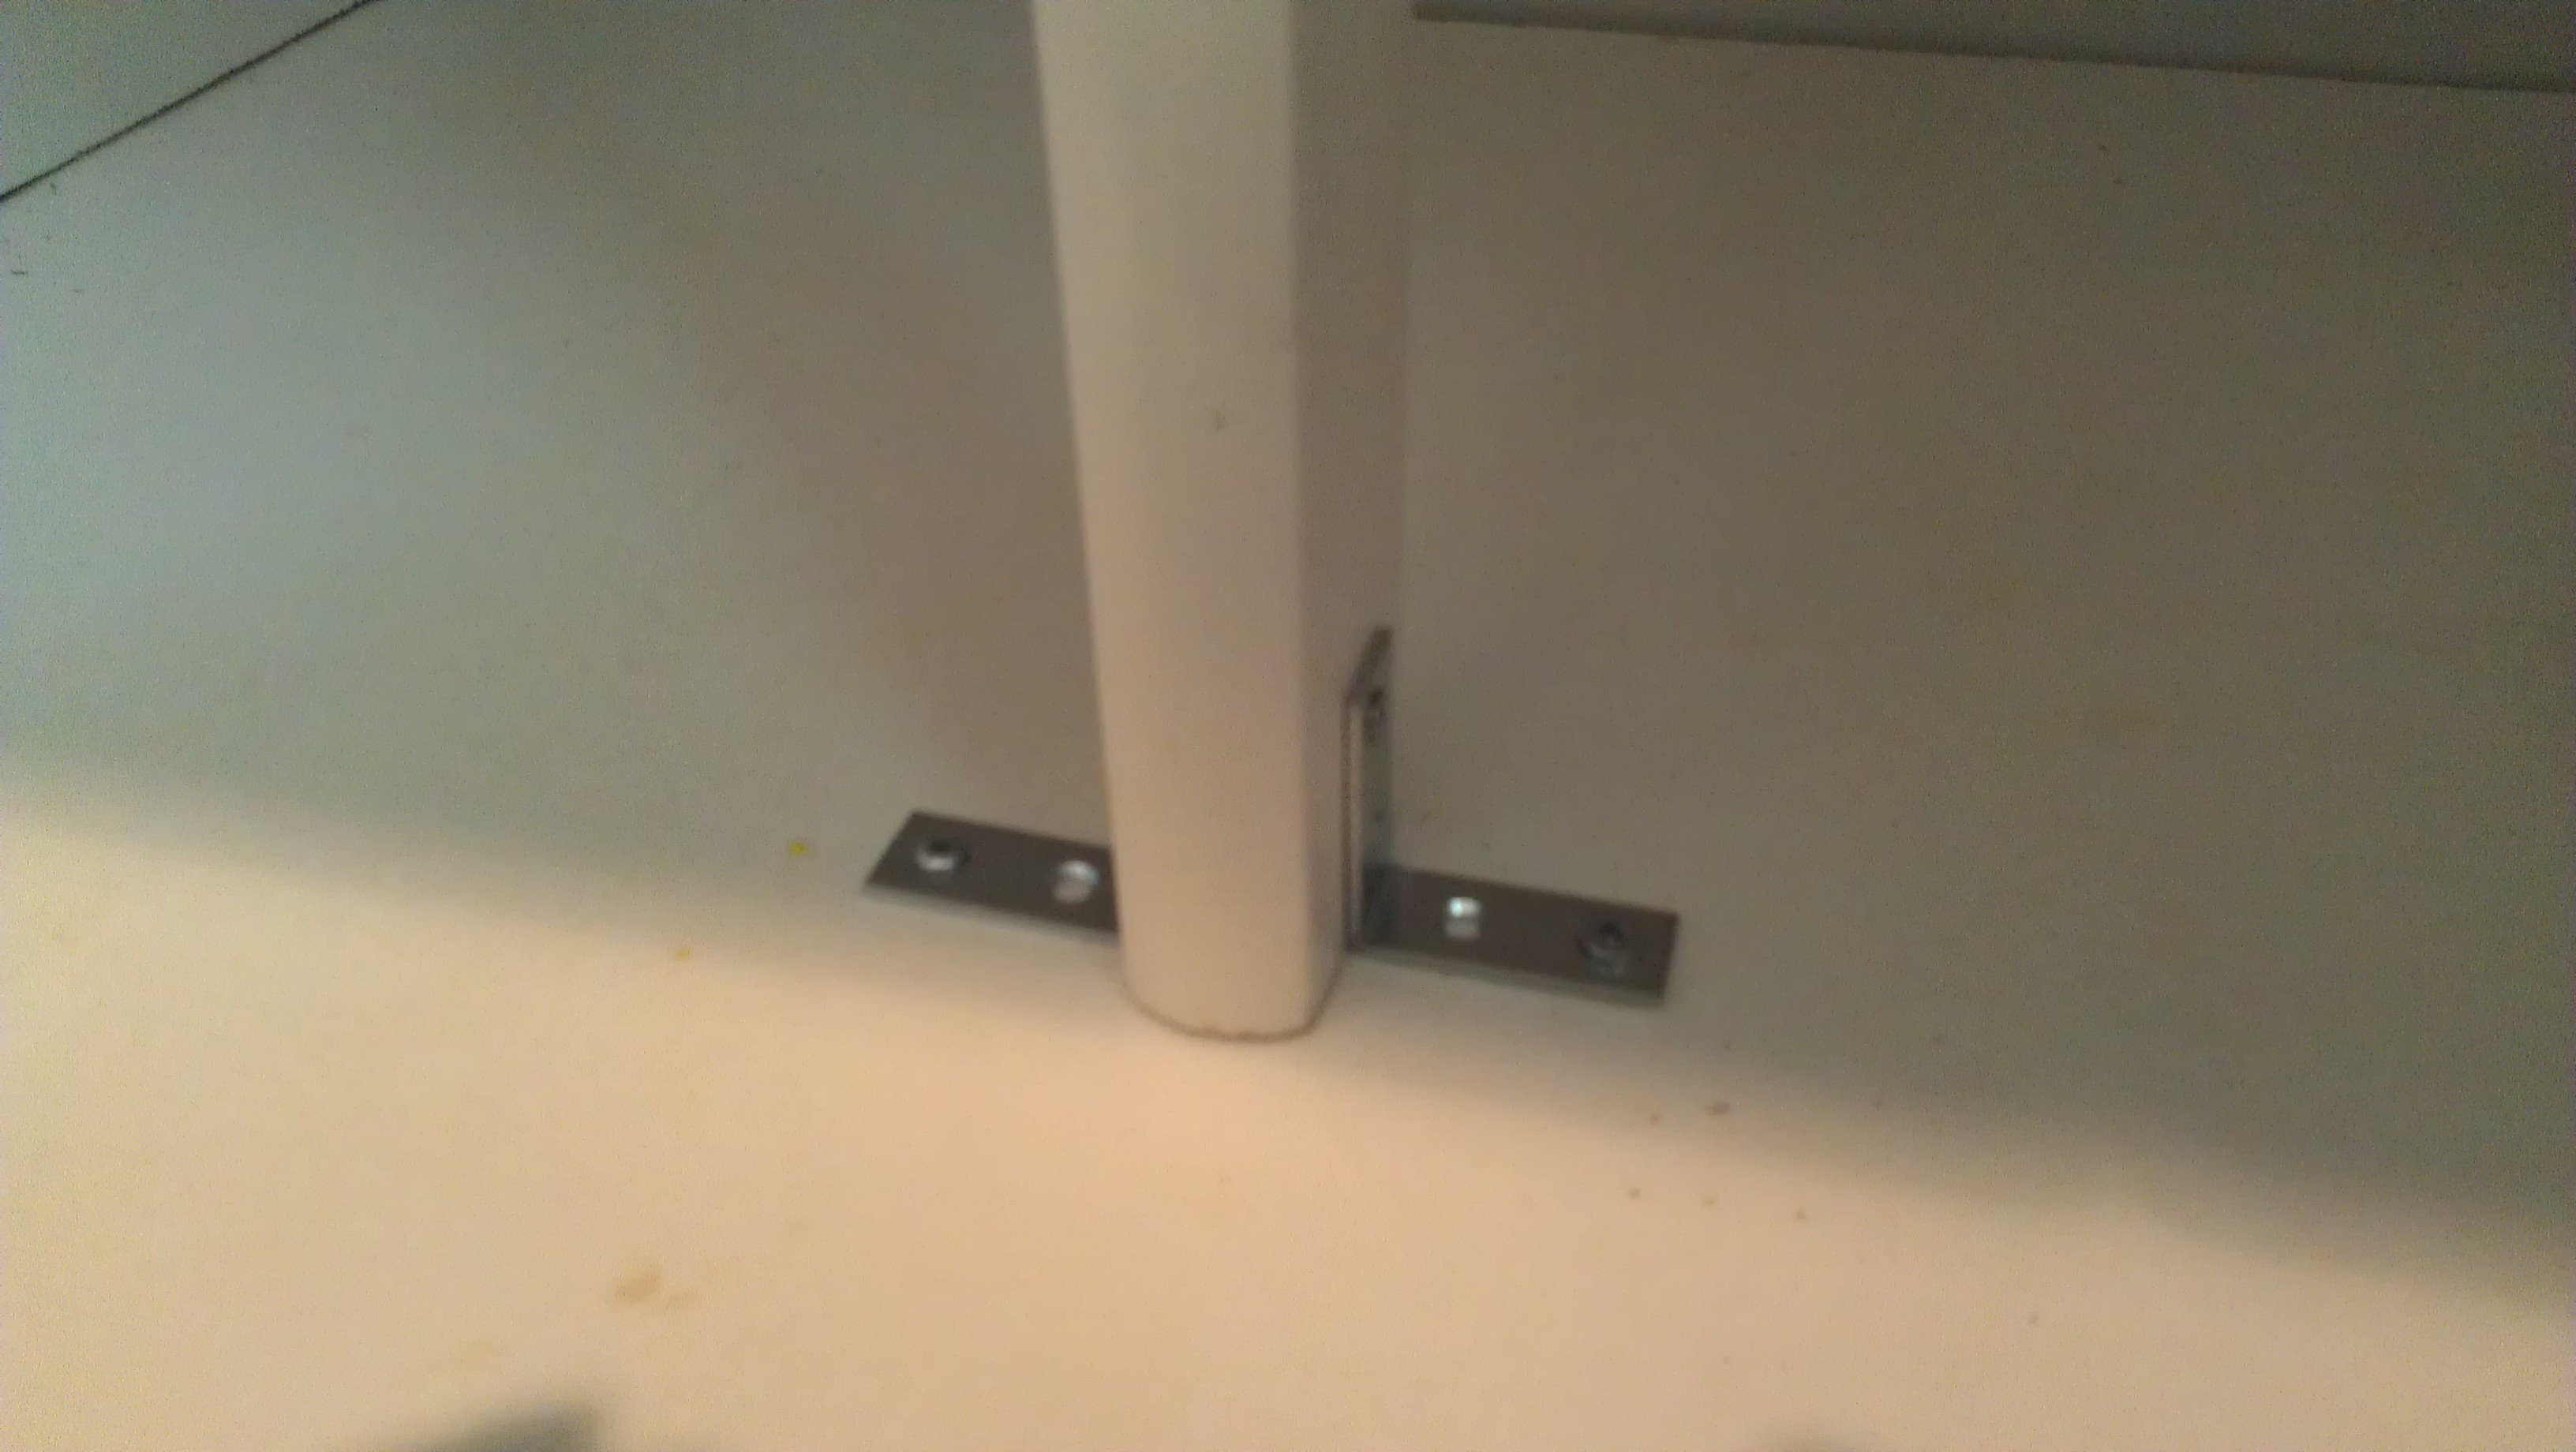
2. Take your leg and figure out, by measuring, where it should stand to support the un-bracketed side of the shelf. Put the brackets against the bottom, and mark (with a pencil) through the hole of the bracket, where you want the screw to go. Then attach the brackets to it, on either side, with one or two screws (you really only need one). And then attach the bottoms of the brackets to the floor, again with one or two screws.
Helpful Hint: If you are a beginner DIYer, it might be good to know that an easy way to get a screw started, is to take a nail and hammer it (about 1/4 of the way) into the spot that you want to screw into. Pull the nail out and you have a good starting point for your screw. This will make it MUCH easier to screw something into that spot you’ve marked.
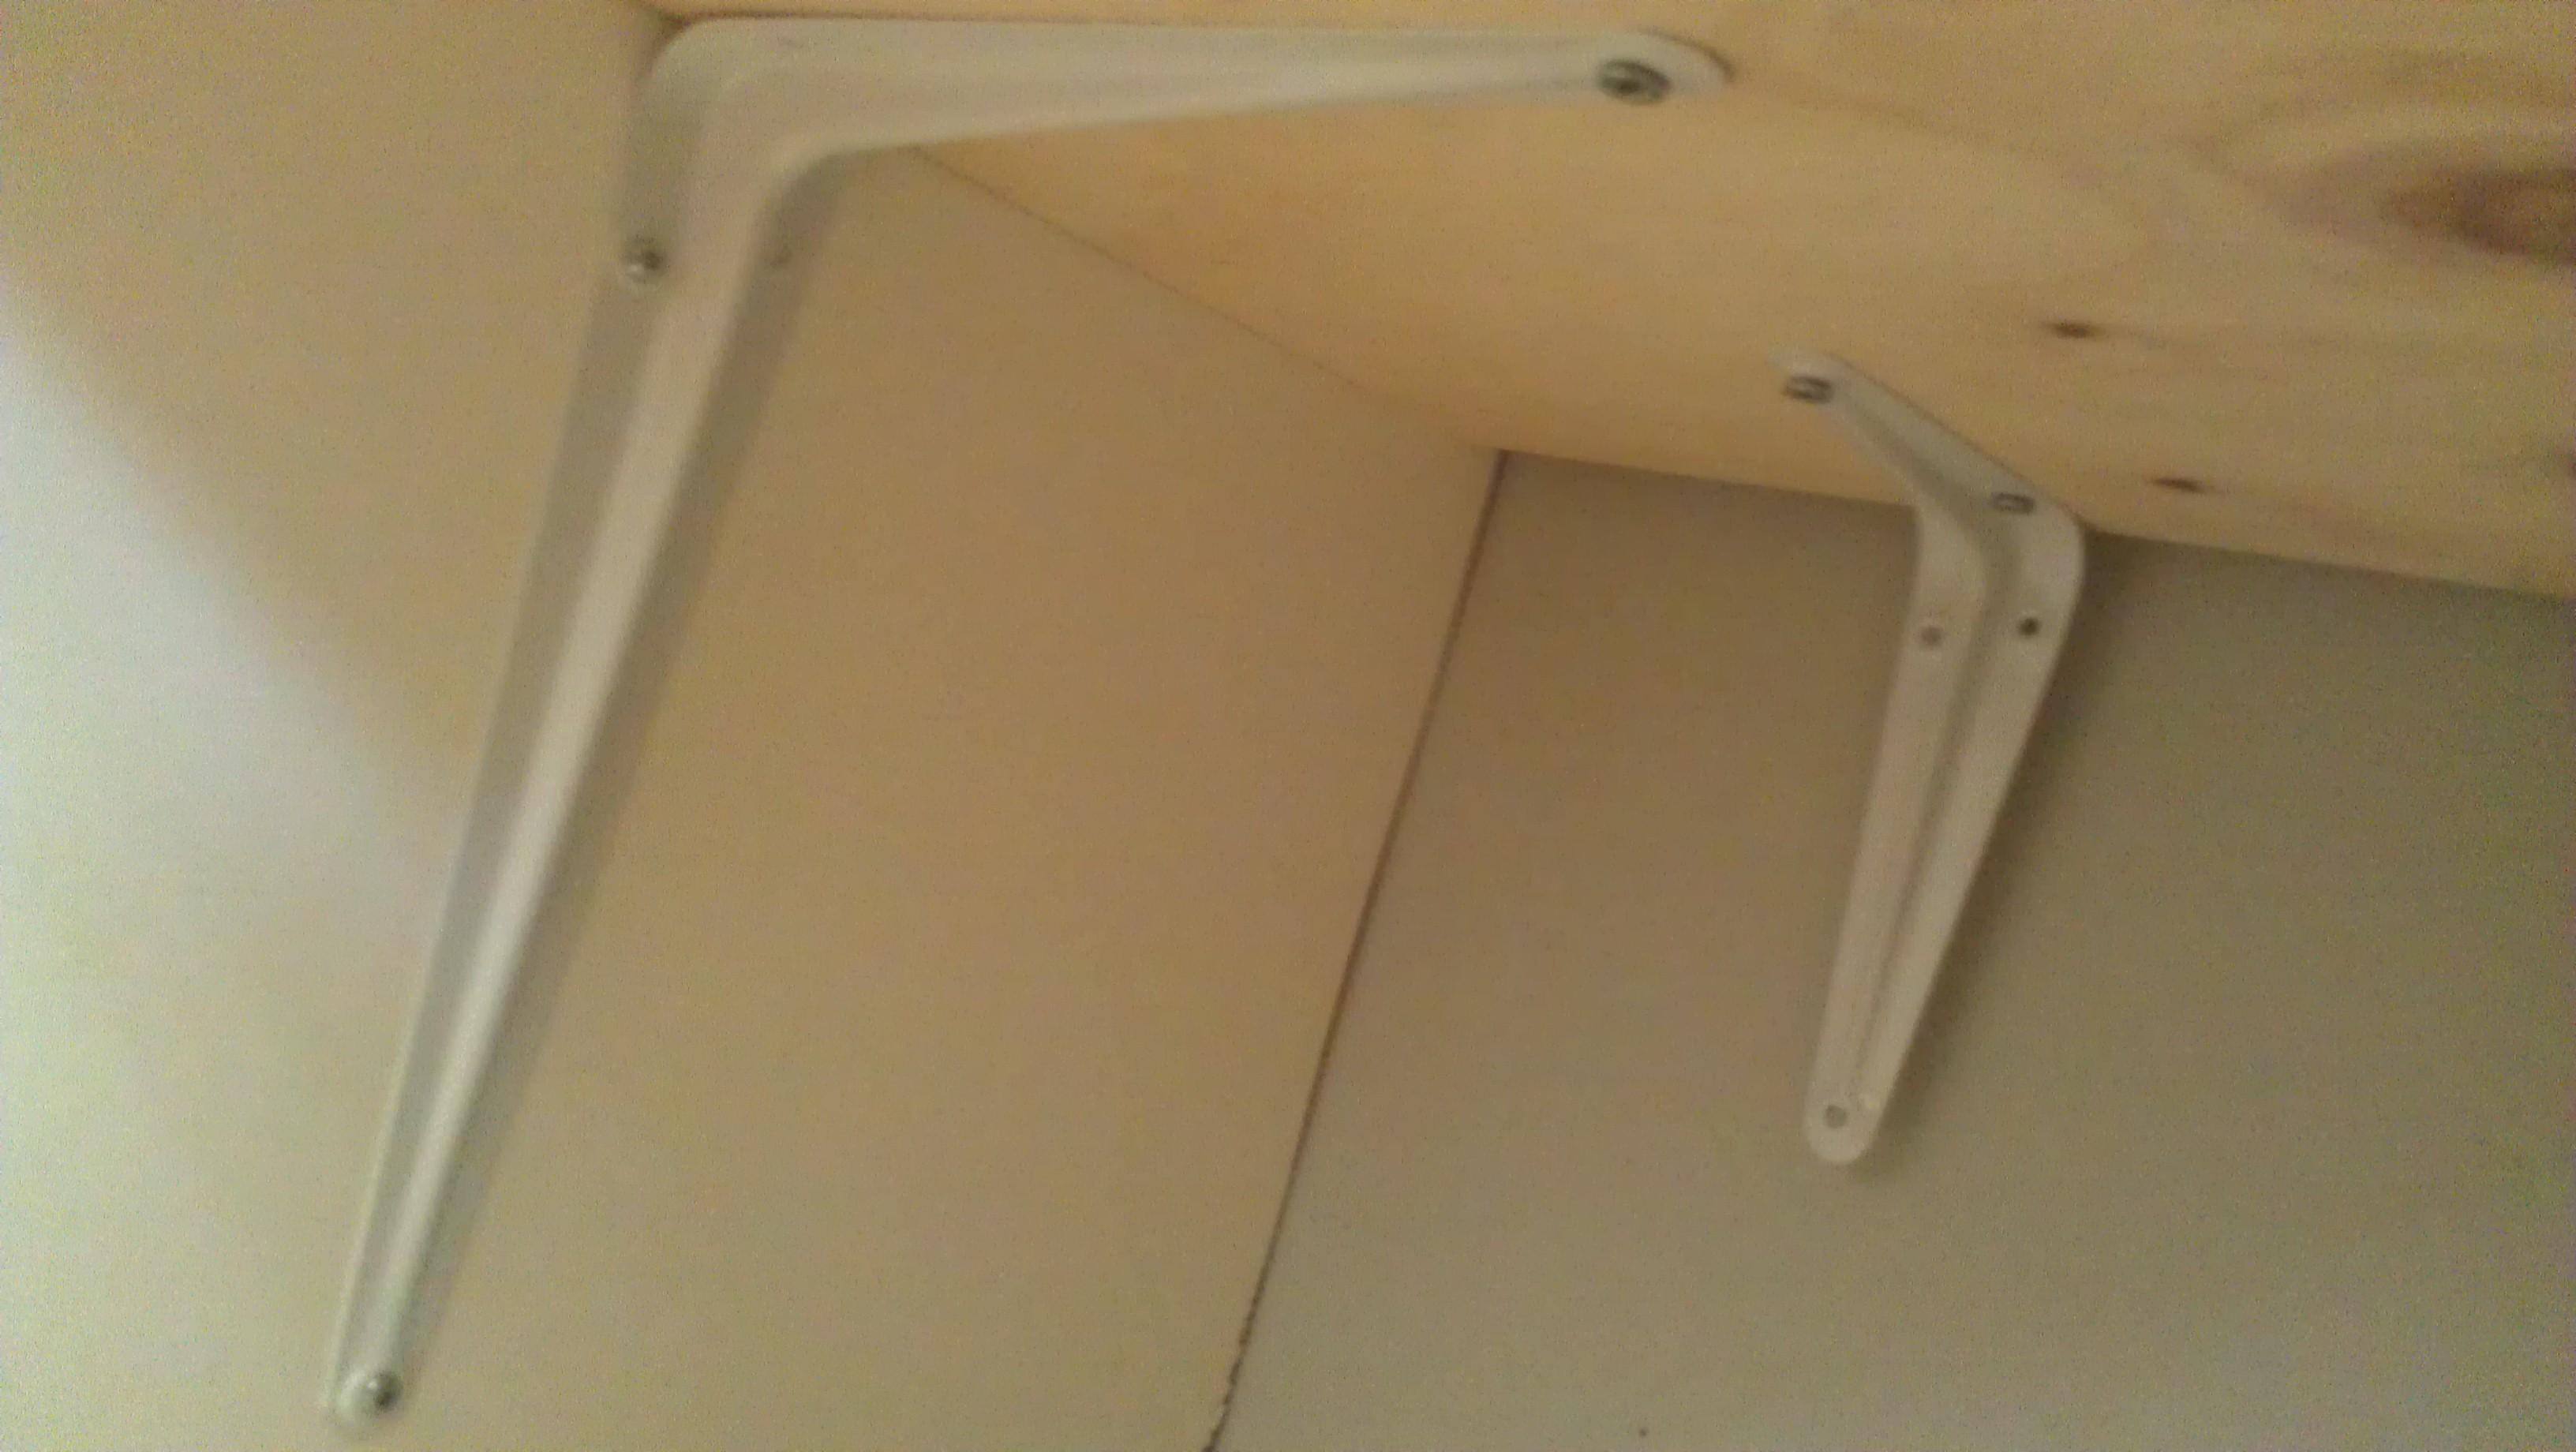
3. Attach your other, larger brackets to the bottom of what will be the back and cabinet-wall-abutting side of the shelf.
4. With some careful balancing, put the shelf in place so that it rests on the leg and is pushed right up against the side and back. Then screw the side and back brackets to the wall. (You can then attach the shelf to the leg, if you wish, but I just let it rest on top).
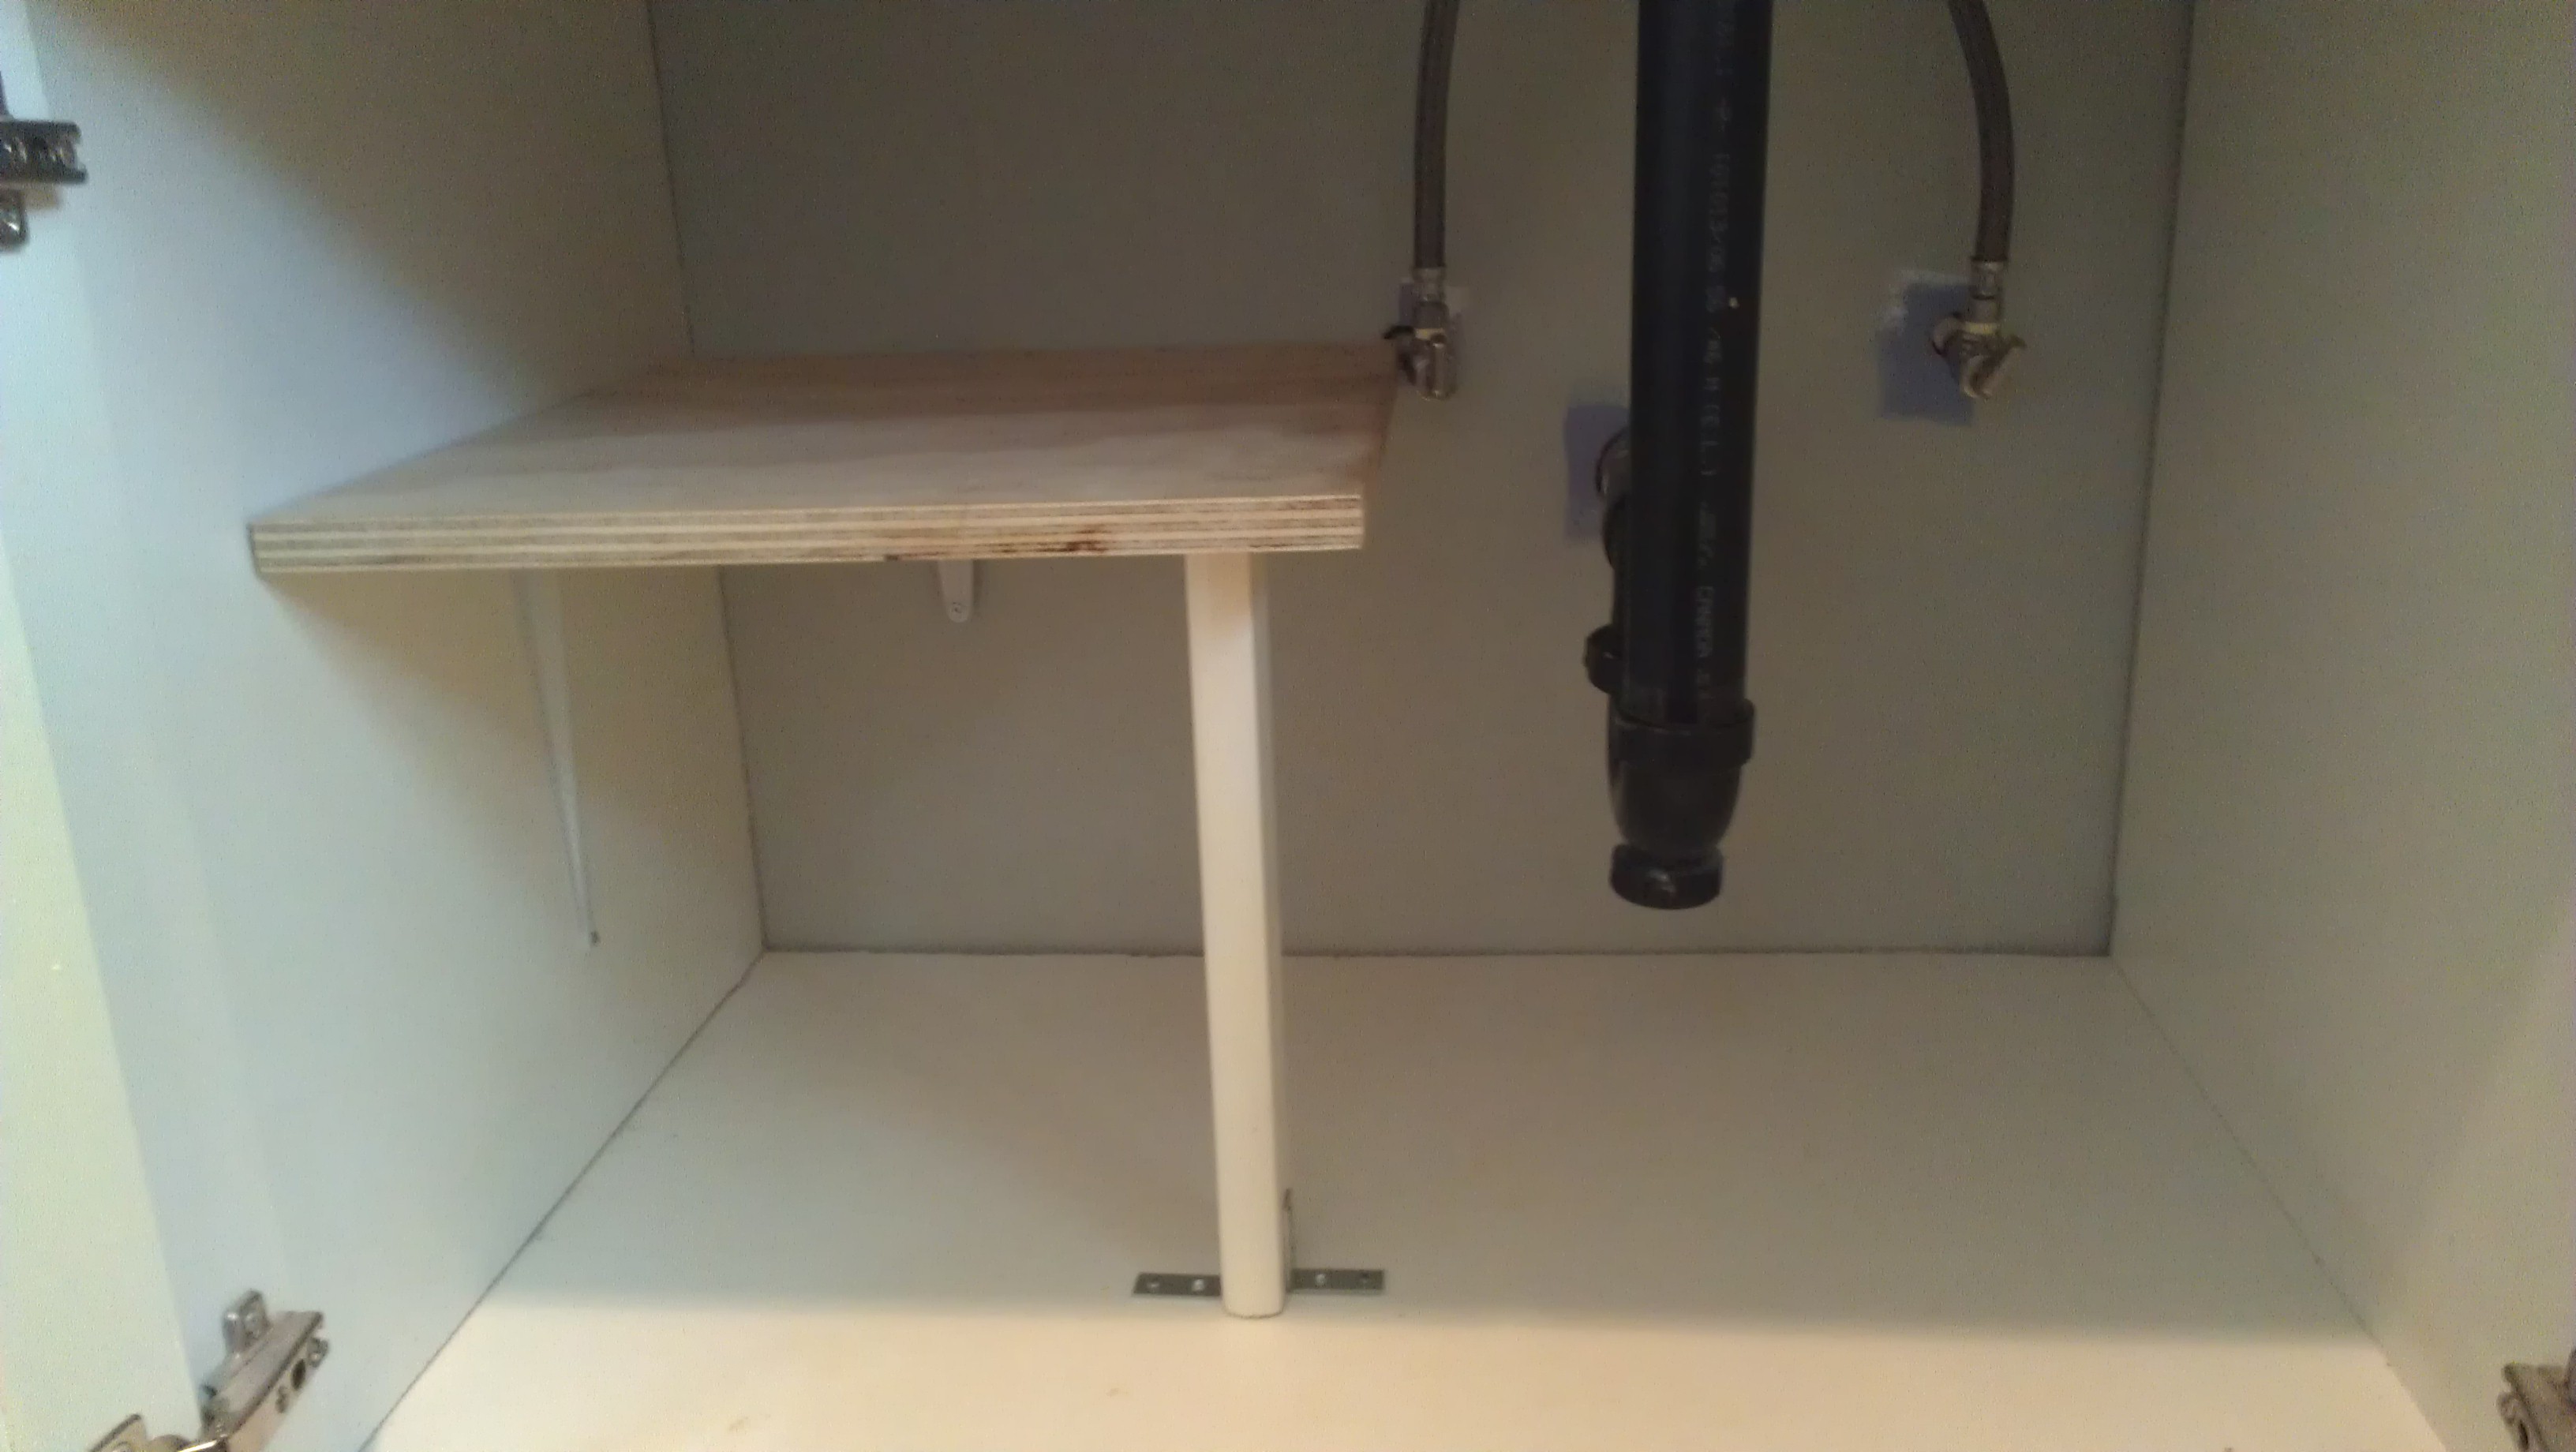
5. Paint the shelf.
6. After the shelf is dry, put everything back so it is much more orderly.
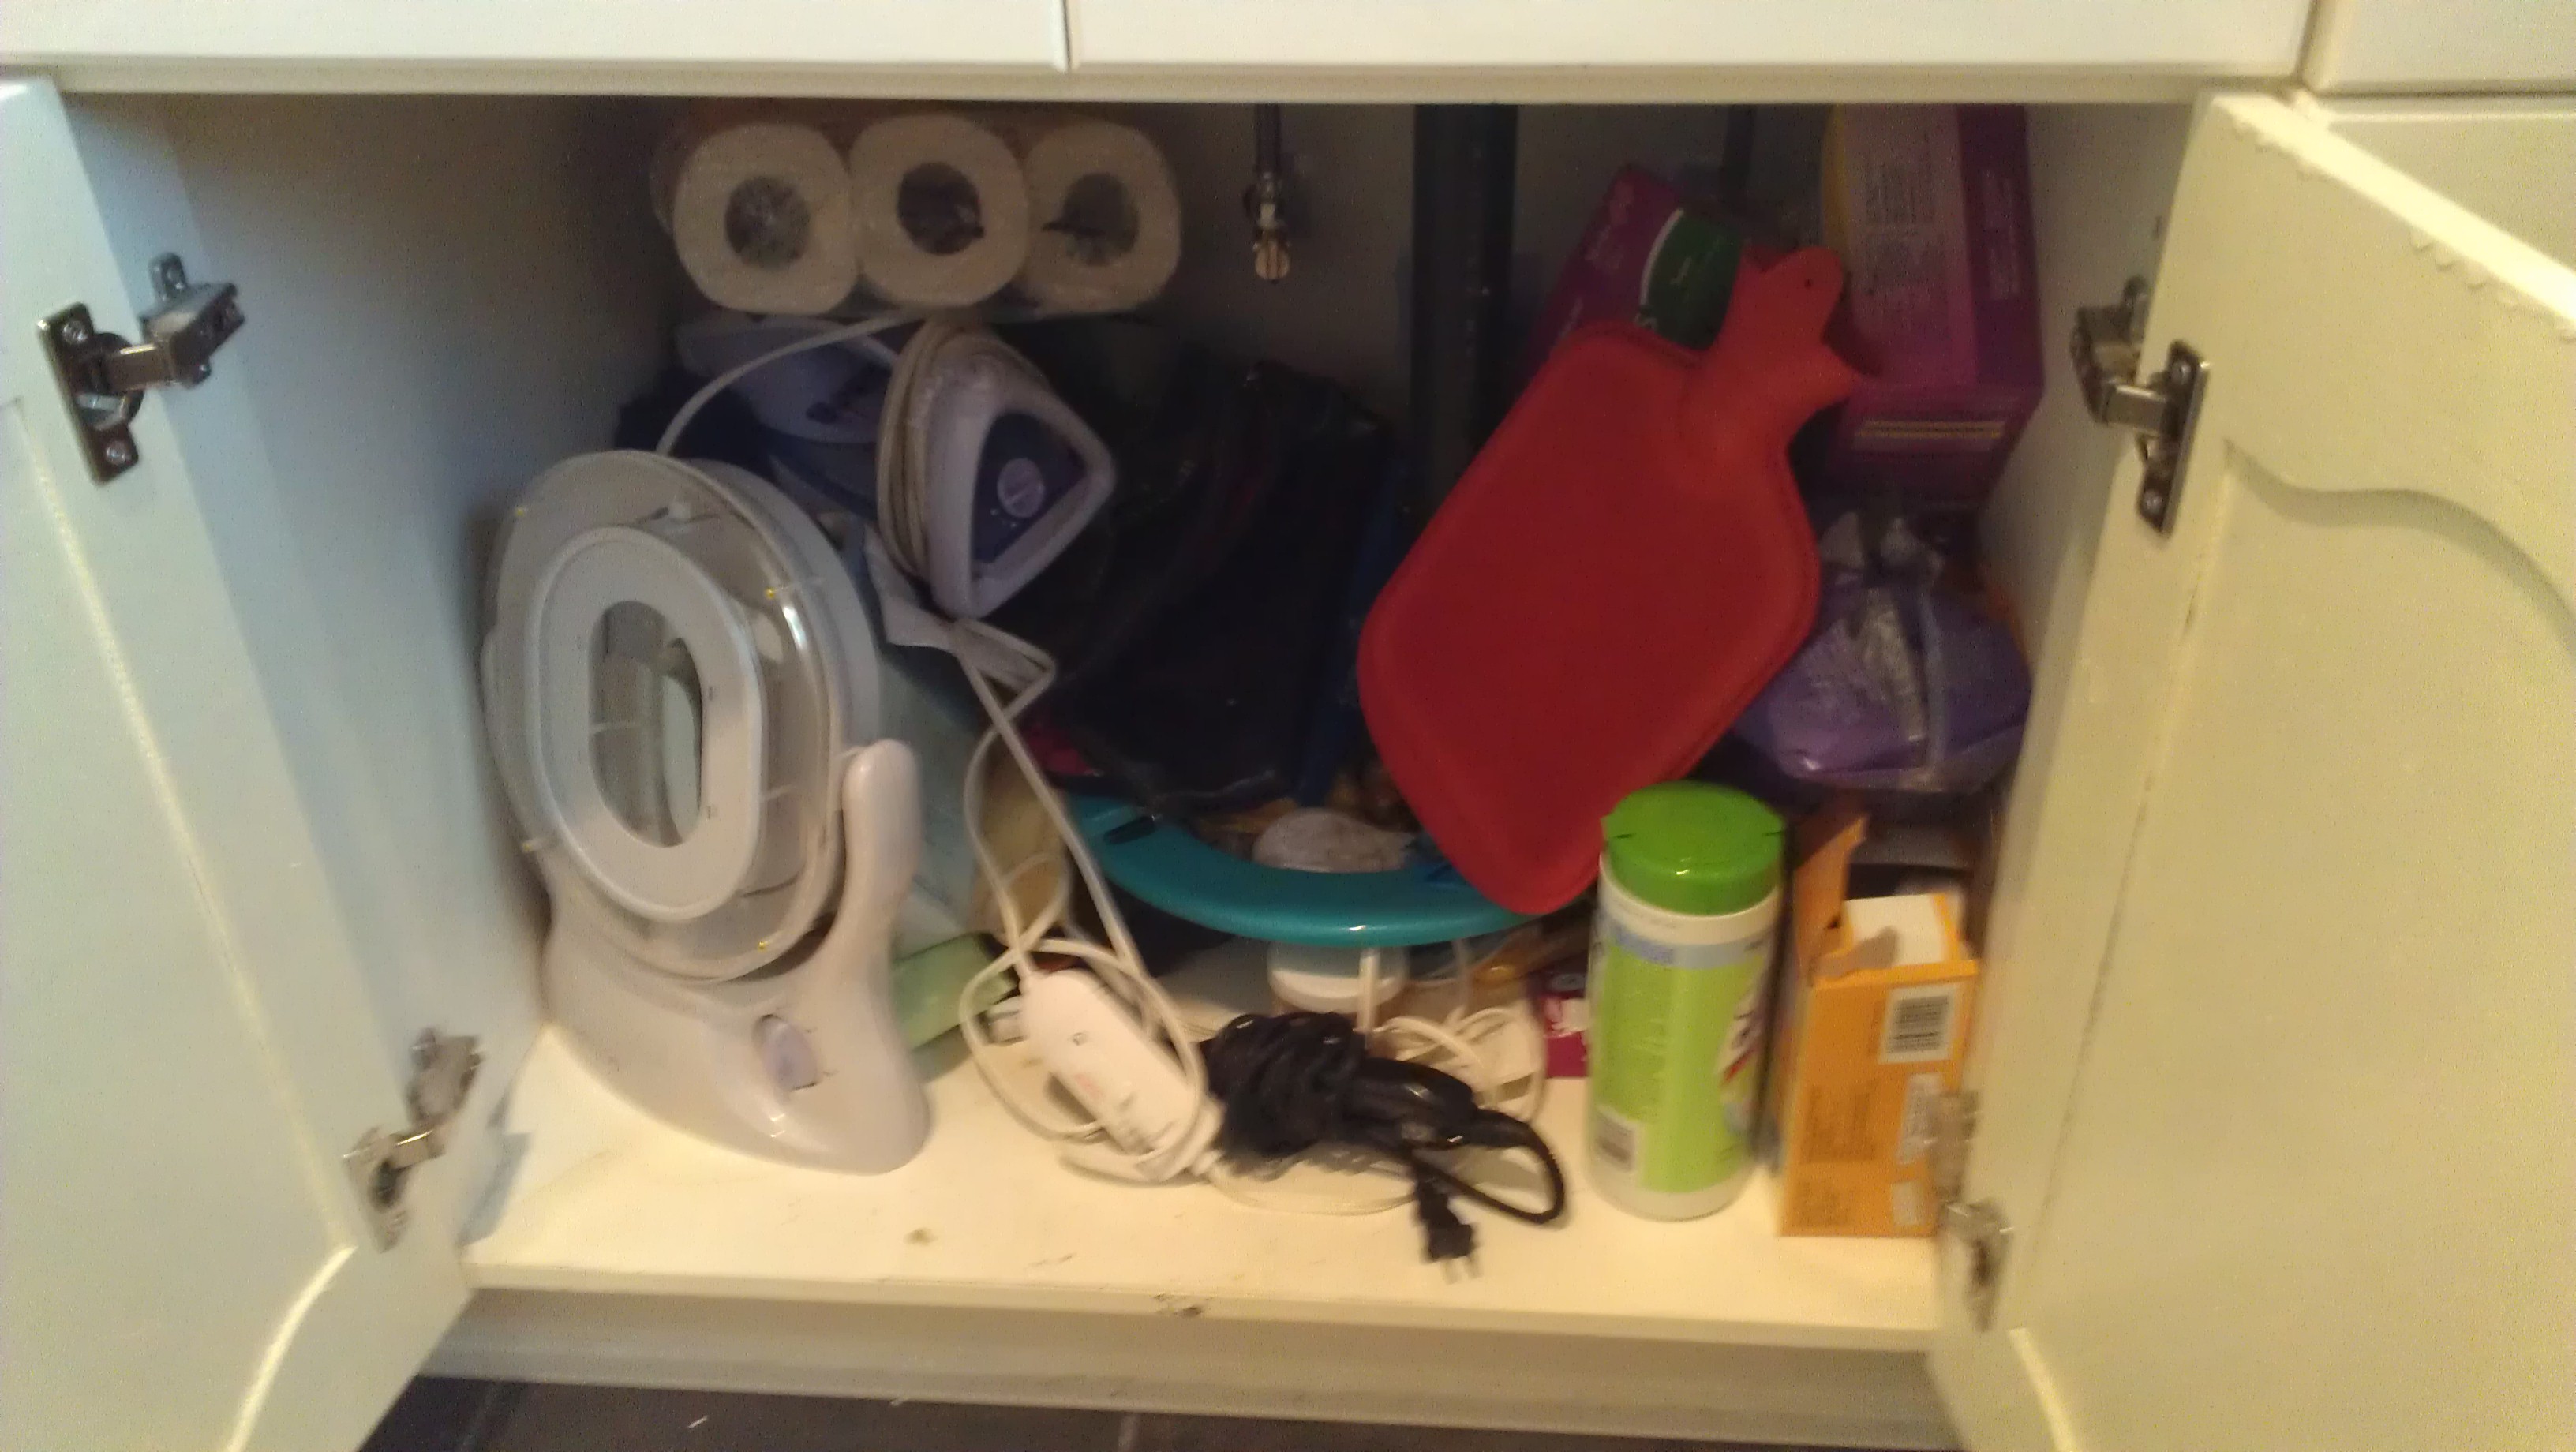
BEFORE

AFTER!