New Year, New Look | DIY Shelf Display
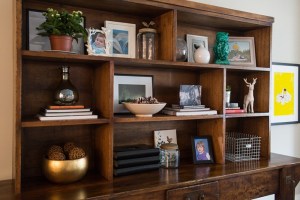
Beat the January blahs by creating an awesome display of your knick knacks, books and frames. It’s budget-friendly, do-it-yourself home decorating at its best.
By: Kimberly
It’s my first post of the new year! I finally took down our Christmas decorations and our house seemed so bare without them. In particular, our shelves in the living room.
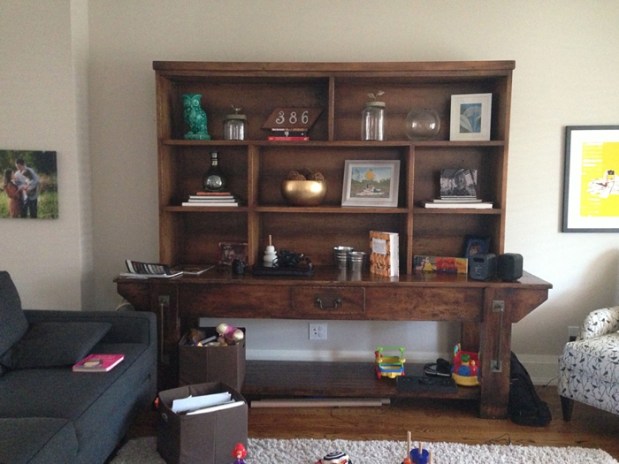
I can’t really remember how I had this set up before the holidays, but here’s what I was left with once the ceramic Santas, decorative balls, and garlands had been put away.
Awkward, sparse, blah. I spent a few minutes rearranging what was there and quickly realized that there is some real skill needed in order to make your junk look pretty. Kudos to all the interior designers out there. This isn’t easy! An overhaul was definitely in order, and I would need both some inspiration and advice. I also gave myself a zero-dollar budget to work with. That’s right. Zero. Which I held to. Almost.
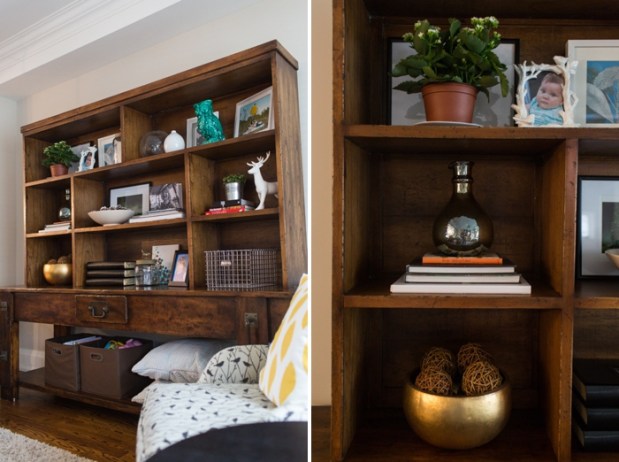
I spent some time online, scouring Pinterest and various home decorating websites. I created a folder of inspiration photos, read a few articles, flipped through some magazines, and finally felt ready to tackle my disorganized, rather barren-looking shelves. And here is what I pulled together…
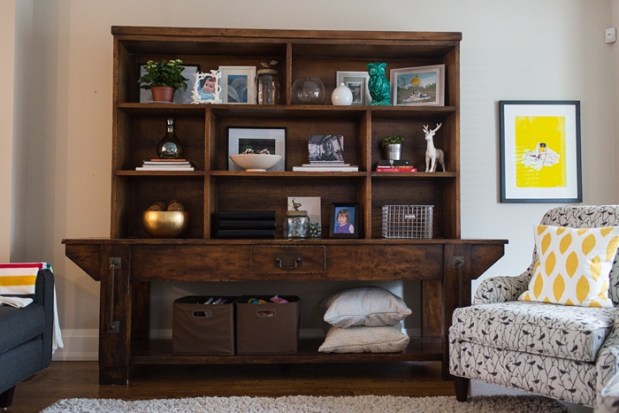
I think this will always be a work-in-progress but I am so much happier with how our living room looks. And, without further ado, here is the advice that I gathered on how to create an awesome shelf display:
1) Use what you already have. Scour every room in your house for knick-knacks, frames, bowls, vases, books, etc. You’ll probably be surprised at how much stuff you already have to work with.
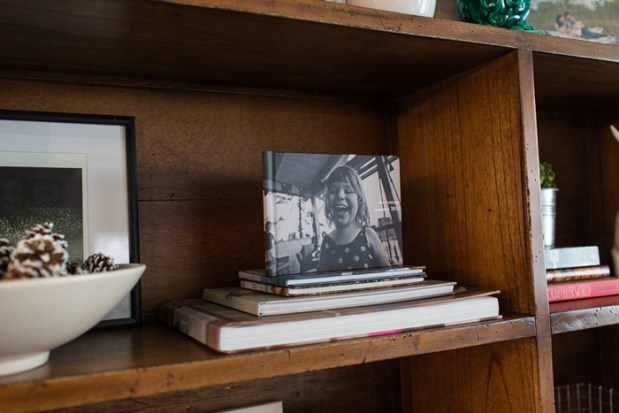
2) Use a theme or colour as inspiration for your display. Consider any collections that you might be able to use in your display. i.e.: sea shells, spoons, plates, etc. Or any colours that you naturally tend to acquire. For example, I tend to buy things in yellow. I don’t really have any collections, but I do have several photobooks. This is a great spot to display them, rather than having them hidden in a cupboard or on a book shelf.
3) Layer. Then layer some more. I was afraid of things looking too cluttered but I quickly realized that layering frames, books, etc. eliminated the feeling of “sparse”. If you have a lot of books, stack them and place a small object on top.
5) And some greenery. This was probably the best advice I found. And also why I ended up breaking my zero-dollar budget rule. I went for a walk to the local florist and purchased two small plants. They add height, texture and colour.
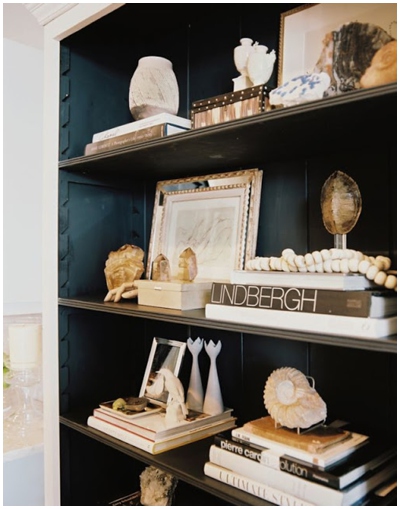
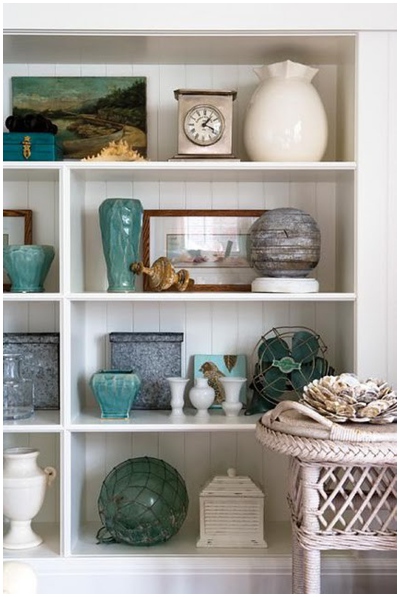
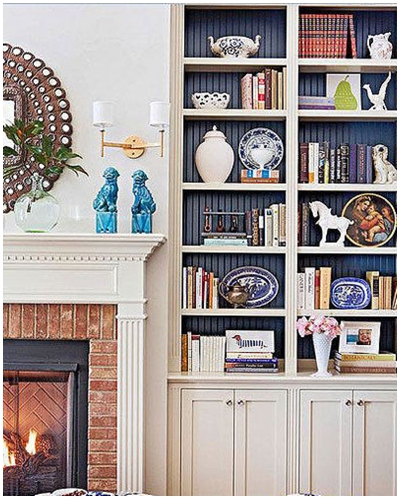
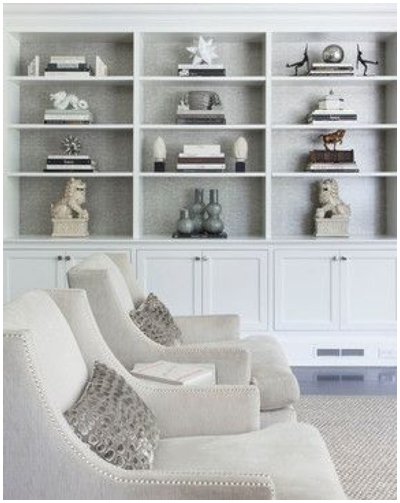
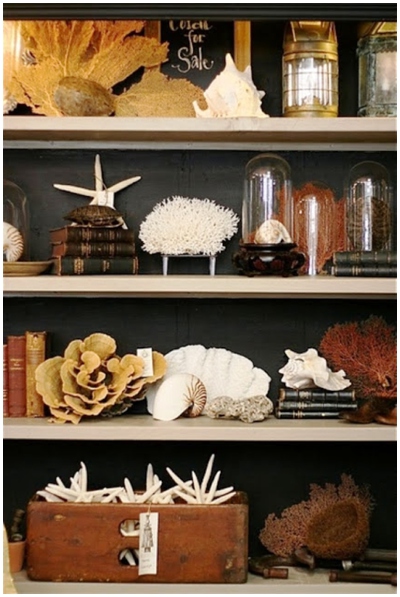
And here are some of the displays that were my inspiration. There’s a mix of modern and traditional, themed and eclectic, busy and simple.
This is a fun and easy way to change things up this winter. Happy Decorating!

