DIY Flower Wall Art | Nursery Decor

In an effort to save money, I had been on the hunt for a DIY art project for the new baby’s (now Brooke’s) room. I did a Google image search and stumbled across this fun blog – It’s Doable: Crafts, Food and Life. Now, like most DIY art projects these days, there are lots of people out there who have created their own flower art using the same technique. I’m sure you could find many variations of this on Pinterest, etc. for inspiration, but I had my own vision so I didn’t want to be swayed by any other ideas…
What I LOVE about this craft is that it can incorporate as little or as much colour, texture and pattern as you like. While I would love to be able to purchase expensive fabrics for curtains, pillows, etc., it’s just not in the budget. This allows me to introduce colours and patterns into the room without blowing the bank.
Submitted by: Kimberly
Total Time Required: 4-5 hours
Working Time Required: 2 hours
Project Costs: $30-40 (depending on what you have at home)
Materials & Tools Required
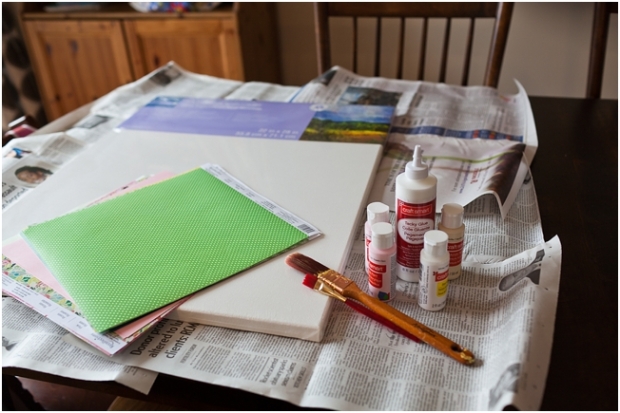
– Canvas. I used a 22 x 28 inch canvas purchased at Michaels with a 40% off coupon so the cost was $14.99.
– Scrapbooking paper
– Glue
– Acrylic Paint. I used Craftsmart acrylic paint purchased at Michaels, on sale 2 for $1. SCORE! I mixed two bottles (Light Pink & Vanilla) together to create a very pale pink. 
Project Tutorial
Step 1: Apply first coat of paint to canvas
 Step 2: While paint is drying, cut paper into rectangles (that are more on the square side as opposed to rectangle). Depending on the size of your canvas, you’ll need to adjust. I found that 3 x 3.5 inches was a good starting point for me. I used my scrapbook cutter but this can be done free-hand. Precision is not necessary.
Step 3: To create “petal” shape, using scissors, cut from one corner of the rectangle to the opposite corner in a curve. Then do the same on the other side.
Step 4: When paint is dry on canvas, apply second coat of paint. Allow to dry.
Step 4: Cut-out a circle to use as the centre of the flower. Use this is a starting point to arrange your petals. You will have to make some adjustments to the size of your petals as you go along. You will need some smaller, and you may need some skinnier.
Step 4: Once satisfied with layout, begin gluing!
*Note, this wall (above the change station) is still a work in progress!


