
Organic Awesomeness | Vegetable Plots

There is absolutely NOTHING that can beat fresh fruit and veggies from your own garden. No chemicals, no week-on-a-boat transportation, no fake ripening. Just pure goodness from your own soil. And when you hold your first, very own, little tomato in your hands, it’s just like when you held your newborn: tiny and wrinkly, but my god is it the most beautiful thing you have ever seen!
I made my garden plots 3 years ago. I did not read a tutorial. I am not a builder. I am just a mom who is not afraid to get a bunch of 4×4’s and 6 inch nails and, with a “how-hard-can-it-be” attitude, whack the thing together. It is probably my most rewarding DIY project I have ever done. It works, it looks good and I am dying to plan to plant my third harvest and start seeding this month. And, last but not least, my son actually knows how vegetables get “made” and is part of the process from buying the seeds in the store to harvesting. Is there any better way to make your toddler eat his or her greens?
Submitted by: Liesbeth
Total Time Required: 3-4 hours
Project Costs: $90 (excluding soil, seeds and plants)
- 4x4x8 outdoor treated wood (6 pcs for one garden plot): $8.73 per piece at Home Depot.
- Treated Wood 1×8 Lattice for the fencing (3 pcs for one garden plot): $4.86 per piece at Home Depot.
- Treated Wood 2x2x8 (1 for one garden plot) for the small posts: around $3.
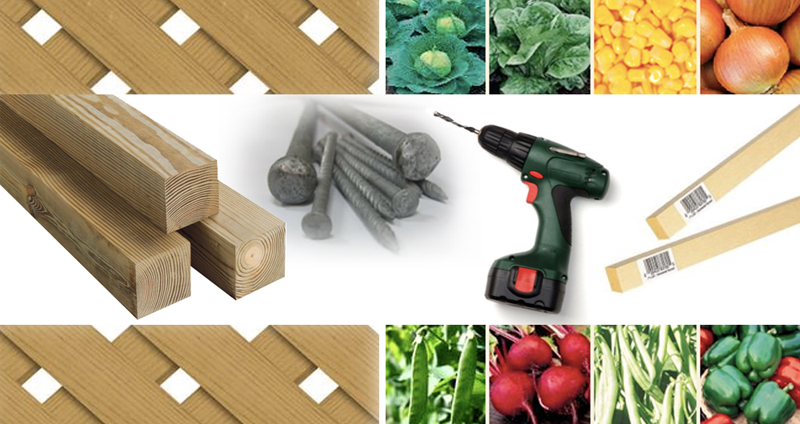
Materials & Tools Required
- 4x4x8 outdoor treated wood
- Treated Wood 1×8 Lattice (3 pcs for one garden plot). Have the people in the store cut one of them in half so have 2 short parts for the shorter side of your plot (4×1 feet).
- Treated Wood 2x2x8 (1 for one garden plot) small posts. Have them cut to into 4 pieces (these are your 4 corner posts, each 2 feet long)
- 6 or 8 inch wooden nails
- Drill
- Large Hammer
- Normal Hammer
Project Tutorial
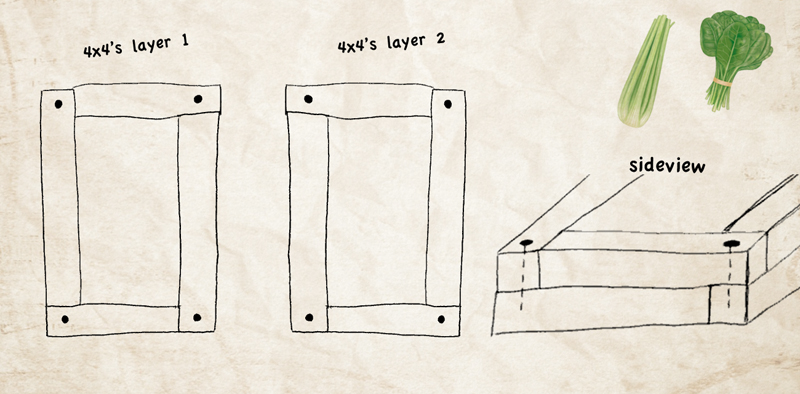
Step 1: Pre-drill the corners of your 4x4s (as there is NO way you are going to be able to hammer those huge nails into the beams, plus you would split them anyways).
Step 2: Select your perfect spot for your garden plot(s) and make sure your ground is nice and flat. Then dig out a “trench” for your 4×4’s of about an inch and a half deep so they don’t sit on top of the ground but are nicely sunken in the ground. You will have to do some fiddling to dig this little trench evenly. I kept putting the 4 x 4 in and using a level to make sure my trench was the same depth across the entire length.
Step 3: lay down your first “layer” of 4×4’s (2 in the length and 2 in the width). Now hammer your second set of 4×4’s on top using the large hammer. This likely will be a little bit of hard work, but hey…you’re knee-deep into it at this point, so don’t give up!
Step 4: dig a bit of a hole on each inside corner of your plot immediately next to the 4x4s and stick one little post in each hole. Hammer as deep as you can.
Step 5: with smaller wood nails, hammer the fencing sheets to the posts
YOUR GARDEN PLOT IS READY! fill with some nice soil, get your seeds, consult the gardening books and off you go. Enjoy!


A very practical method to feed your family truly organic vegetables while sharing the process from seed to table with your child.