
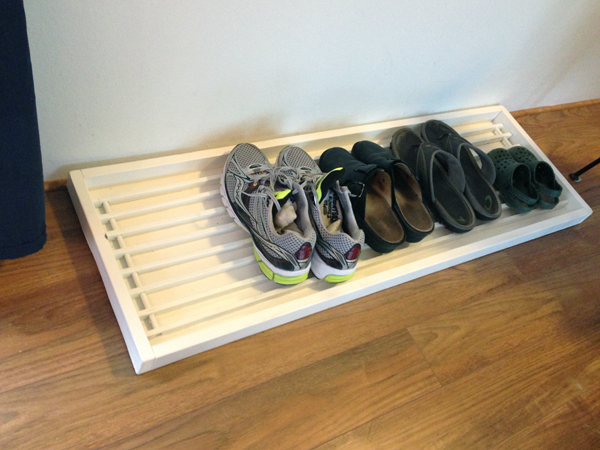
DIY White Custom Shoe Tray

Sandy shoes and flipflops were lining the entrance of our beach cottage creating a messy little corner in my otherwise perfect space. I do not like the usual plastic trays used in winter time and only found one alternative; a small overpriced metal tray. Not being scared of a bit of sawing and hammering, I decided to create a custom tray that suited my cottage.
By: Liesbeth
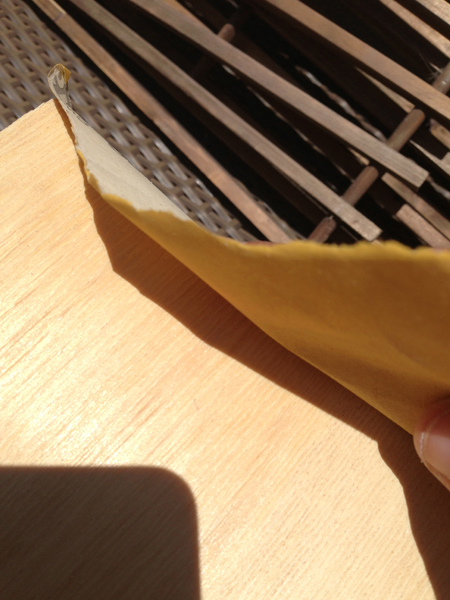
On my way to Home Depot to get the wood, a DIY miracle happened and somebody had put an old wooden shoe rack on the side of the road. Perfect for the bottom of my tray to allow the shoes to dry and sand to fall down!!!
Costs:
Around $17 ($10 for the wood and $7 for the spray paint).
Materials / Tools Needed
- ½” plywood, 42” x 14”
- 10 feet 1×2 wood cut in 2 times 40″ and 2 times 14″
- 10 feet 1×1 wood (to create the strips inside the tray for which I found the shoe rack on the street), cut in 3 times 40″
- White outdoor spray paint (semi-gloss)
- Trim nails
- Saw
- Hammer
- Sanding paper
Step-by-Step
I bought the wood at Home Depot and had the pieces cut to size.
Using sanding paper, sand all edges to ensure a smooth finish.
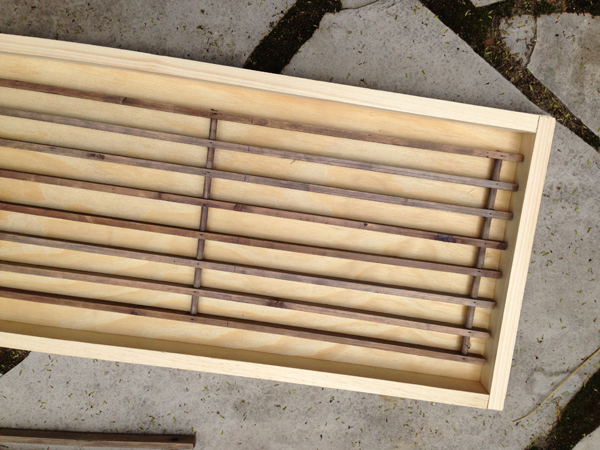
Using trim nails (one every 3 inches), hammer the 1×2” wood pieces perfectly along the edge of the plywood.
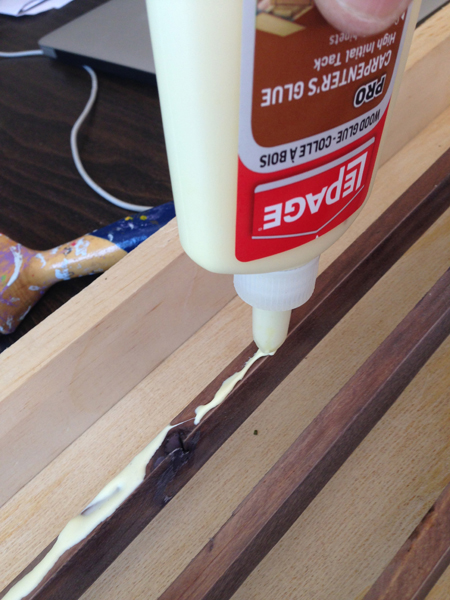
Using strong carpenter glue, glue the 1×1 strips equally spaced inside the tray. Dry for 24 hours.
Spray paint tray in white (or other desired color) and let dry for at least another 24 hours (48 is safer) before using.


I am so proud that you are my handycraft daughter!!!